
TL;DR
Start product video production by defining the viewer decision and the proof required. Choose filming for physical behavior, an agency for complex craft and logistics, or an asset-led workflow when approved UI, product images, footage, and copy already contain the proof. Freeze a source pack, map every claim to the correct asset, approve a scene plan, verify the rendered master, and only then create channel cuts. TapVid is an Explainer Video Engine for asset-led production, not a filming agency.
Product video production is the controlled process of turning a product claim, approved source material, and a distribution goal into a video viewers can understand and reviewers can verify. The best route may be a shoot, an agency, an internal team, or an asset-led workflow. Choose it from what the video must prove, not from which method looks fashionable.
Create a reviewable product video from approved copy and original assets
01
What product video production actually includes
Product video production begins before a camera records or a timeline opens. It includes the decision the video must support, the audience, the product claim, the evidence, the script, the visual plan, production, review, delivery, and maintenance. A polished export can still fail if it shows the wrong model, hides a condition, uses an outdated interface, or sends a buyer to the wrong next step. Treat production as a chain of inspectable decisions. The creative work matters, but it has to sit on top of accurate product material and a clear communication job.
The term covers several different jobs. A launch film builds anticipation, a product demo proves a workflow, an ecommerce clip helps a shopper inspect an item, and a feature explainer makes one mechanism understandable. Do not force one master video to do all four. Write a one-sentence contract: after watching, this audience should understand this product behavior or value, believe it because of this visible proof, and take this next step. If the contract contains multiple audiences, several products, and three calls to action, split the project before production starts.
02
Choose the right product video production route
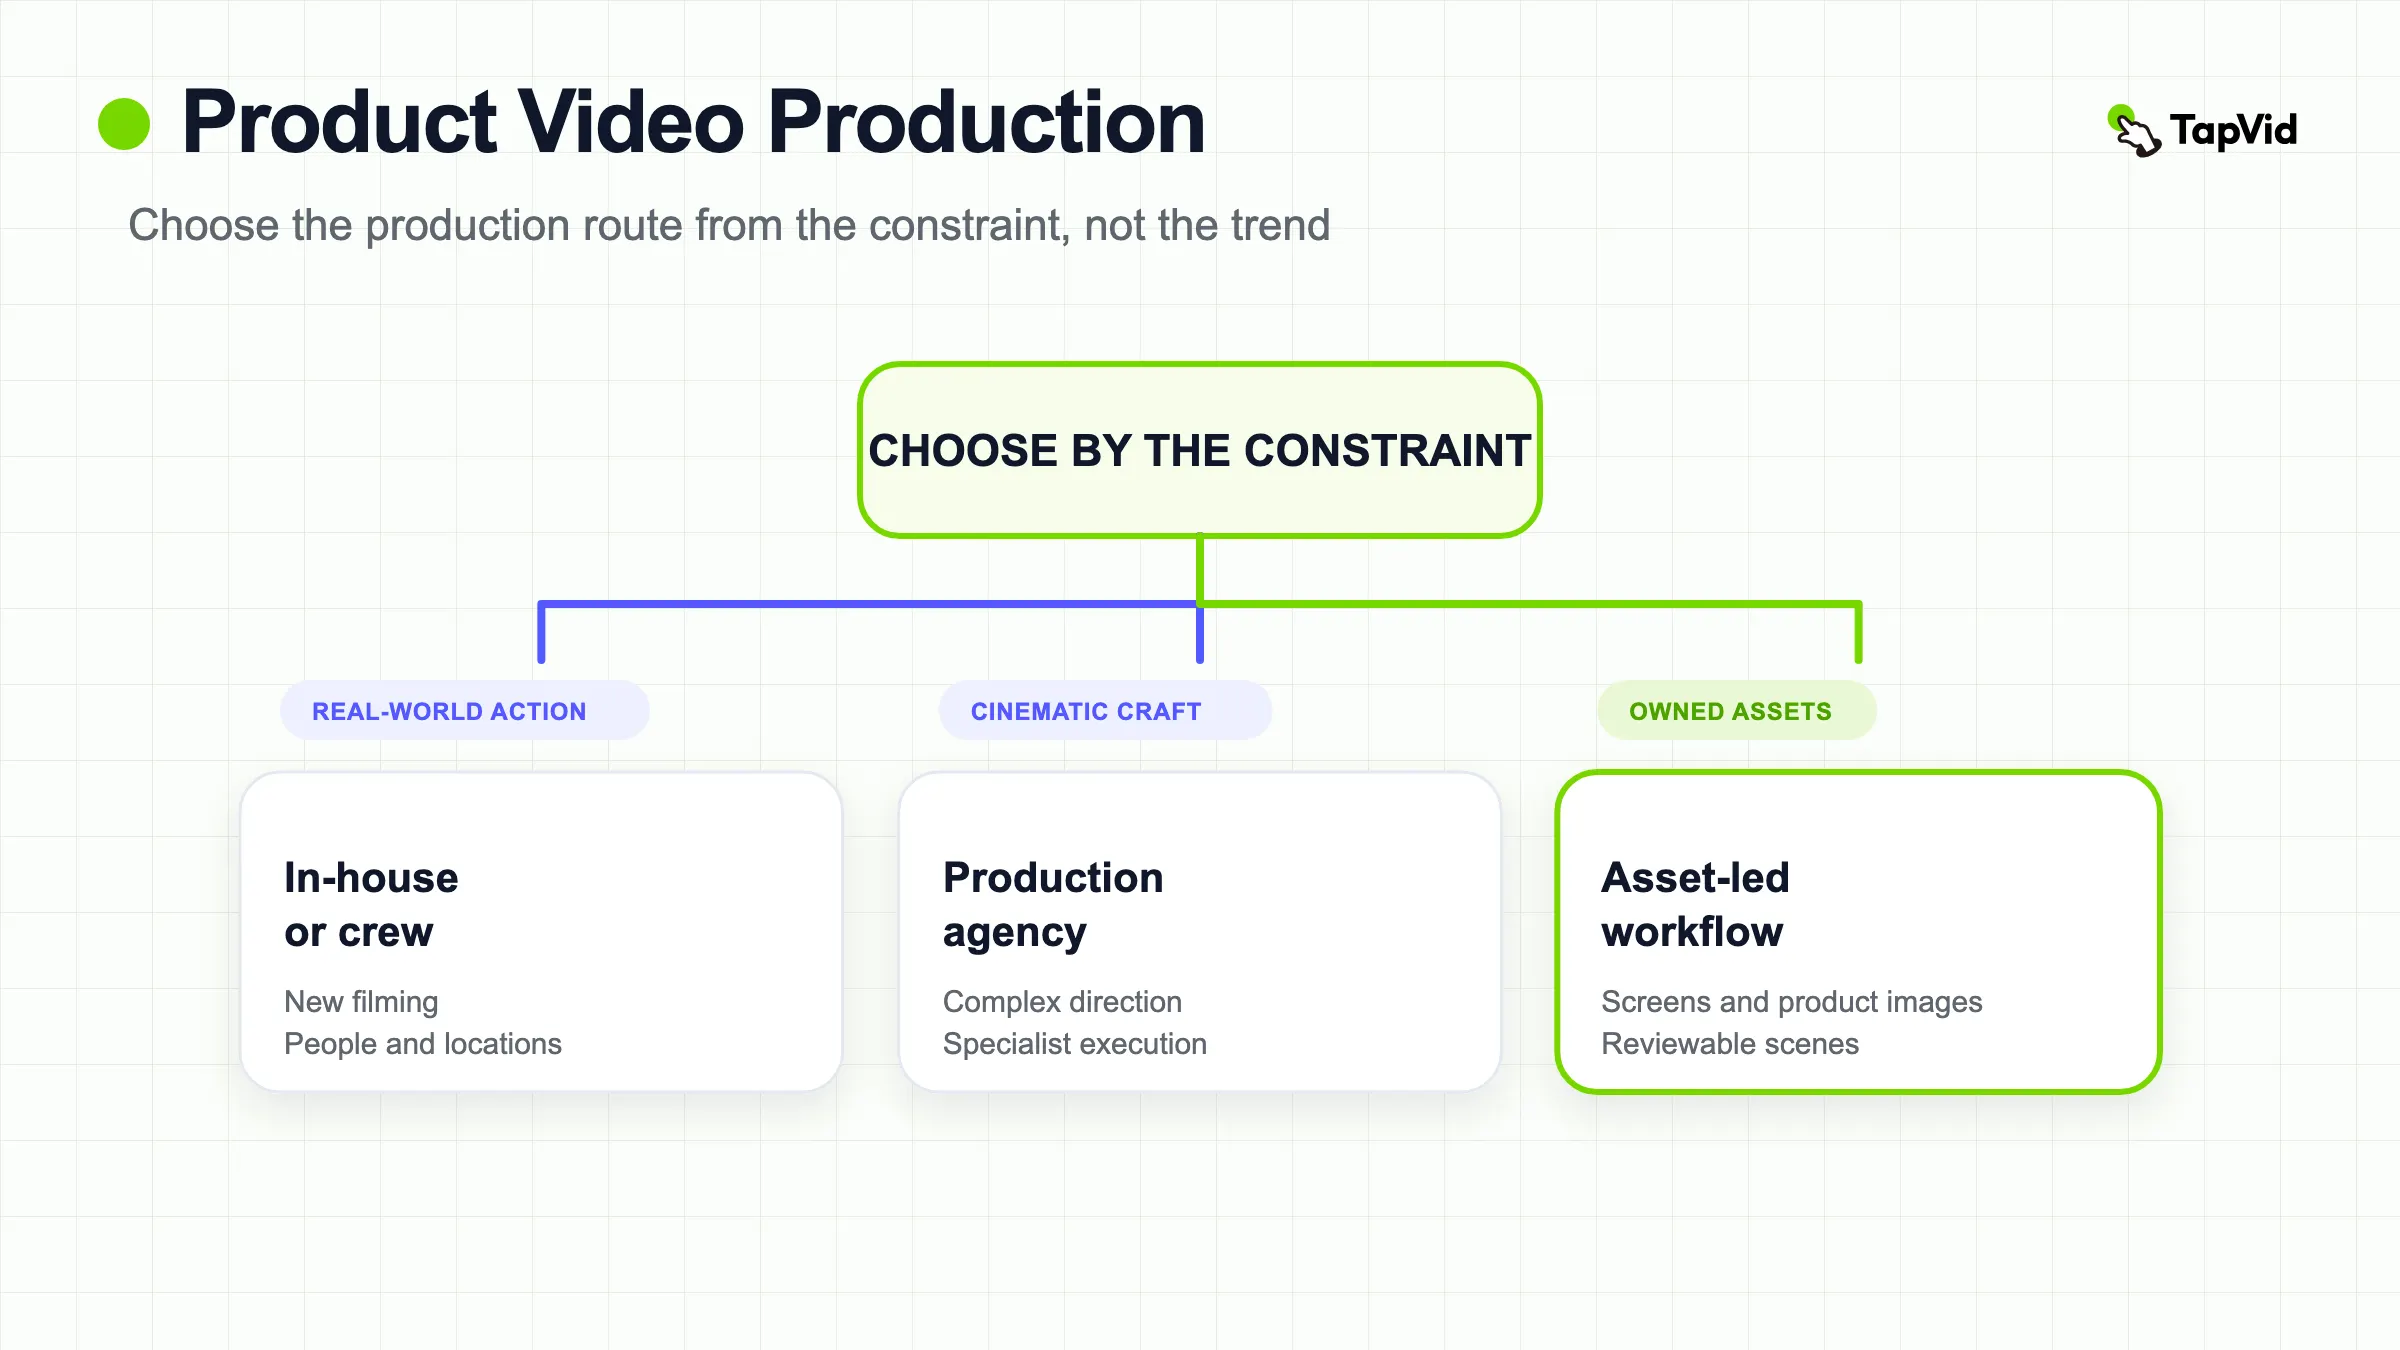
Choose the route from the material the viewer needs to see. Film new footage when physical handling, scale, texture, people, a location, or real-world performance is central to the claim. Use an experienced production partner when the concept needs casting, sets, complex lighting, specialist cinematography, or a large coordinated crew. Work in-house when the team owns the skills, equipment, time, and review discipline. Use an asset-led workflow when the proof already exists in product images, UI screens, screen recordings, diagrams, approved footage, and literal copy.
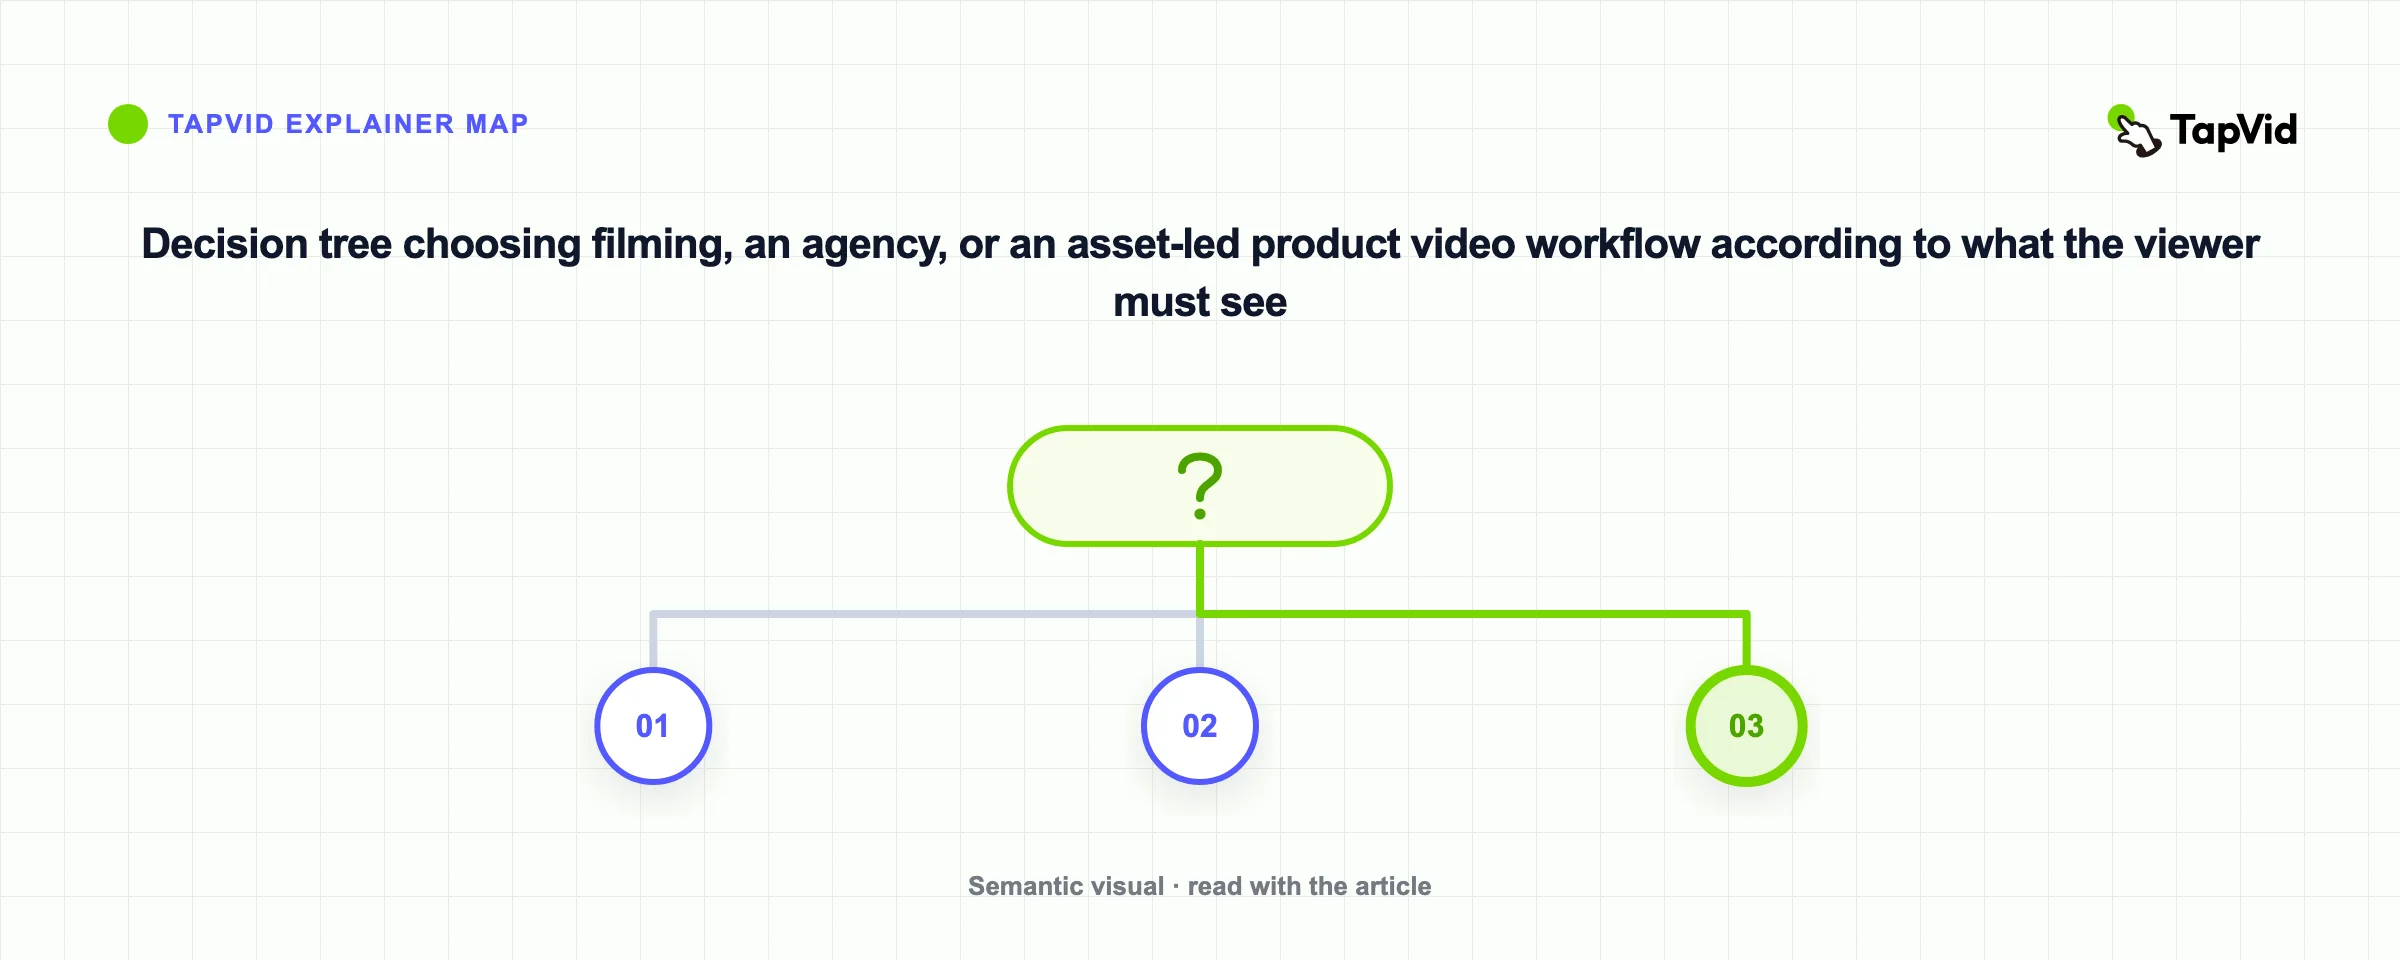
These routes can be combined. A hardware launch may need a short controlled shoot, an internal screen recording, and motion graphics from an external specialist. The useful question is not “agency or AI?” It is “which parts require capture, which require exact layout, which require creative motion, and who approves each handoff?” The decision tree below keeps the production method subordinate to the proof. If you mainly need to demonstrate software behavior, the AI product demo video guide goes deeper on recording and reviewing the workflow itself.
03
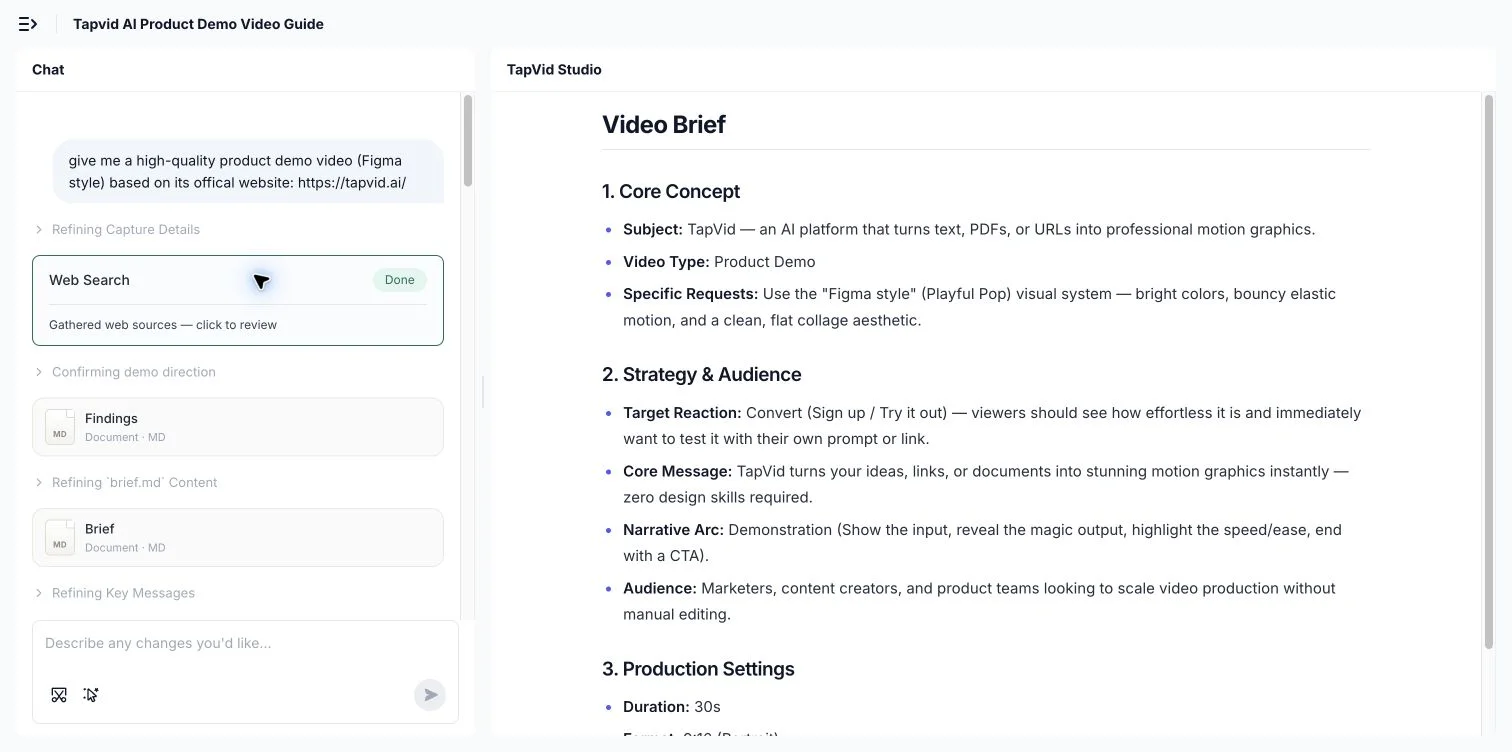
Write a production brief that can survive review
A useful brief records the audience, moment of need, product, version, single message, approved claim, evidence, desired action, channel, aspect ratio, deadline owner, and reviewer. Add exclusions: claims that are not approved, markets where the offer differs, features still in beta, assets that cannot be used, and conditions that must remain visible. Name the source owner for prices, model names, legal wording, and availability. A brief should reduce ambiguity. If it only says “make it exciting” and “highlight our innovation,” it has not done the production work.
Separate literal facts from creative treatment. Product names, numbers, UI labels, prices, parameters, and legal qualifiers may need to appear exactly as supplied. Pacing, transitions, music, framing, and visual metaphor can be explored more freely. This split prevents a creative tool or hurried editor from polishing a fact into a different promise. It also makes revision faster because reviewers can say whether the problem is factual, structural, or stylistic. The production team should never have to guess which words are protected and which can be rewritten.
04
Build the source pack before the shot list
Collect the approved script, product images, logos, UI screenshots, screen recordings, footage, diagrams, brand files, citations, pronunciation notes, and CTA destination in one versioned source pack. Give every asset a stable ID and label the product, market, version, owner, permission, and date. Remove obvious duplicates and mark superseded files instead of leaving five near-identical screenshots in a folder. For a multi-SKU project, the file name alone is not enough. Record which copy, image, price, and call to action belong to each SKU so Product A cannot drift into Product B’s scene.
Check source quality at the size and crop the channel will use. A transparent product PNG may look clean on desktop but expose a rough edge in a vertical crop. A UI screenshot may be readable at full resolution but illegible after it becomes one panel in a mobile video. A screen recording may include customer data, test credentials, or an unfinished state. Fix or replace the source before motion work begins. The product demo video examples can help identify which proof pattern fits your product, but your own approved assets must carry the actual claim.
05
Map every claim to a truthful scene
Create a claim-to-scene table with claim ID, exact wording, evidence source, on-screen asset, product and version, required qualifier, scene purpose, reviewer, and status. A claim about a dashboard needs the relevant dashboard, not generic office footage. A statement about a physical feature needs a shot that makes the feature visible. A comparative claim needs a current, appropriately scoped source. If evidence is missing, mark the line blocked. Motion, confident narration, and a beautiful render do not upgrade an unsupported claim.
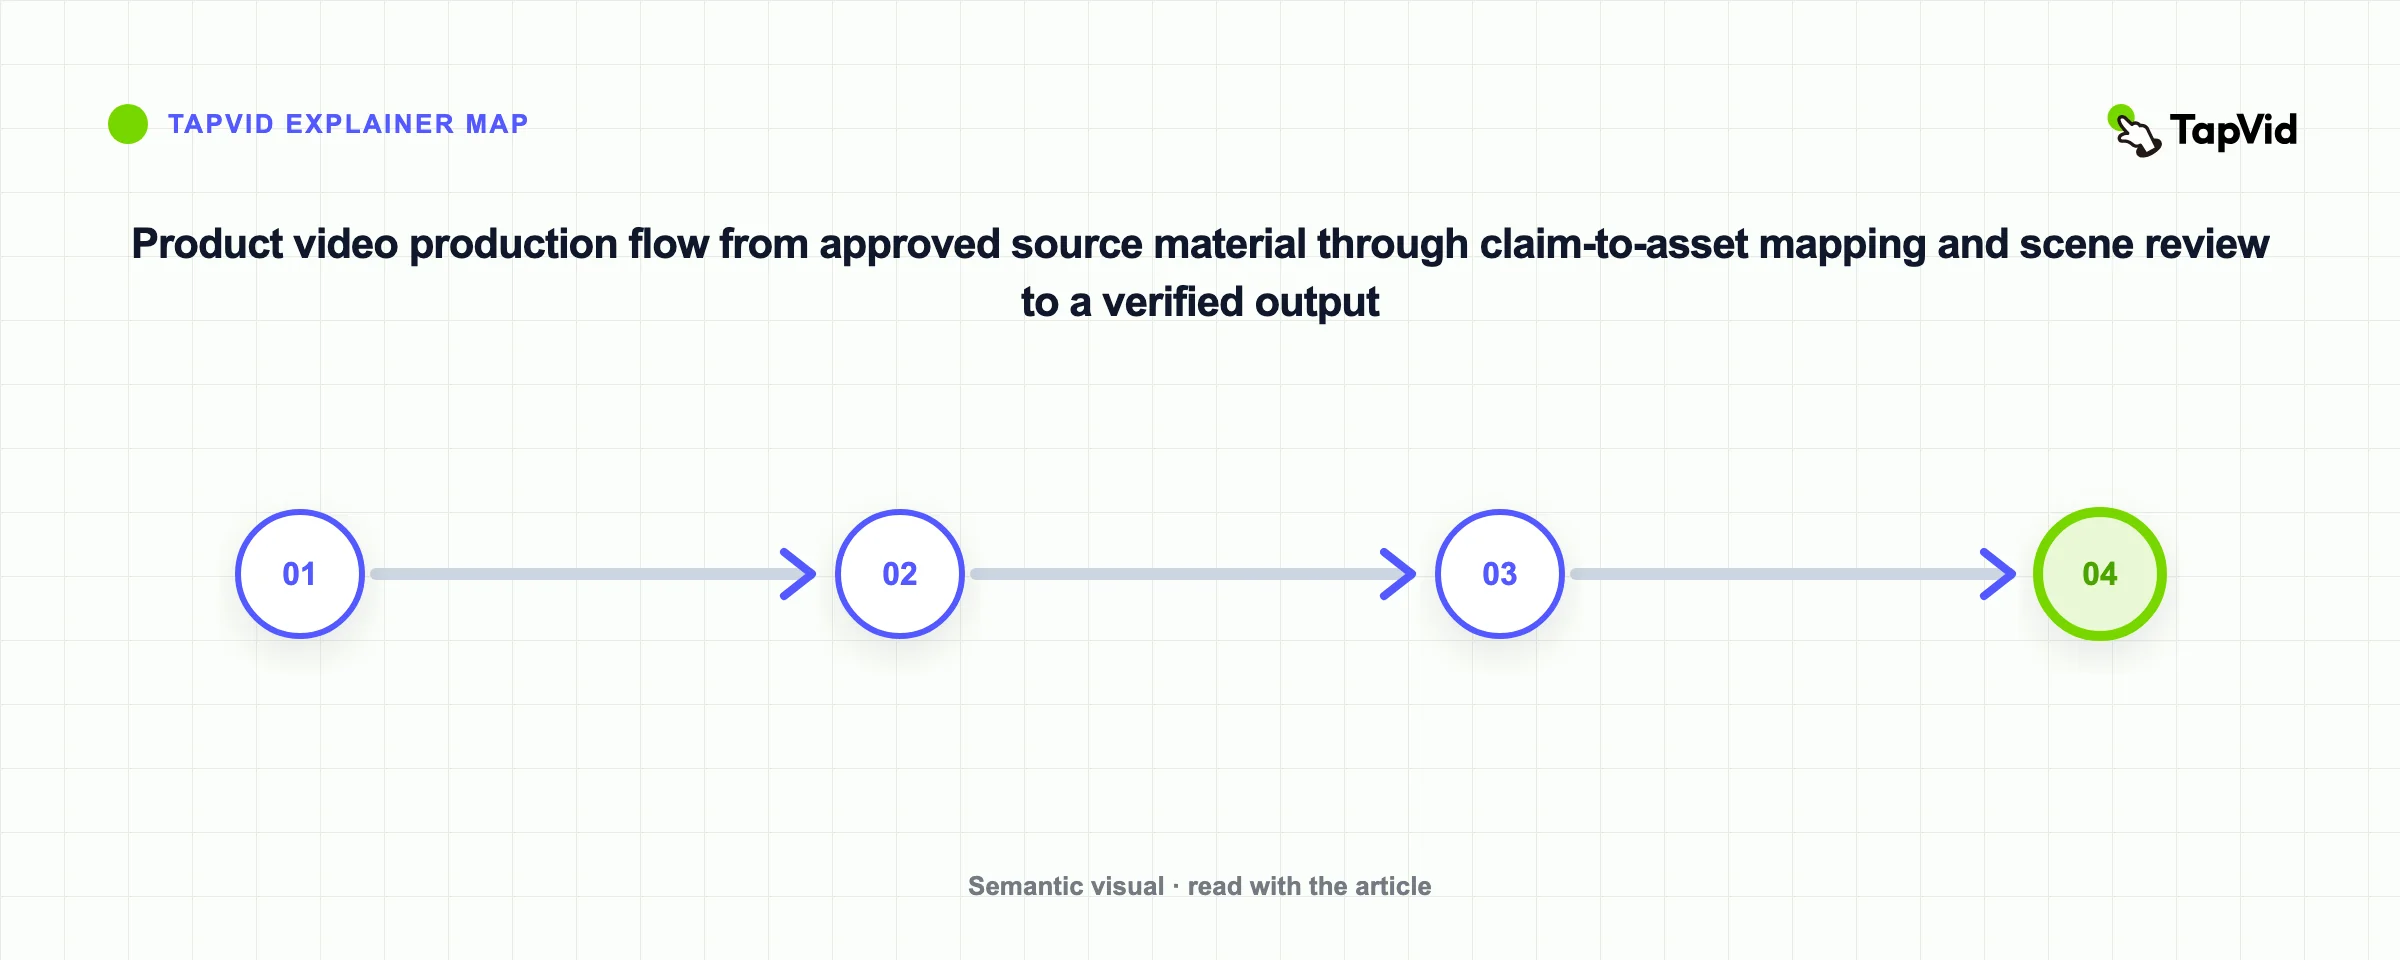
This mapping protects three kinds of accuracy. Asset fidelity means the product image, logo, UI, or footage remains recognizable rather than being redrawn into a different object. Information fidelity means supplied wording, numbers, model names, parameters, prices, and legal copy are not silently rewritten. Correct correspondence means the narration, scene, and asset refer to the same product and condition. TapVid’s role in an asset-led workflow is to turn a supplied script and product material into a reviewable explainer video. It is not a substitute for capturing evidence that does not yet exist.
06
Turn the brief into a reviewable scene plan
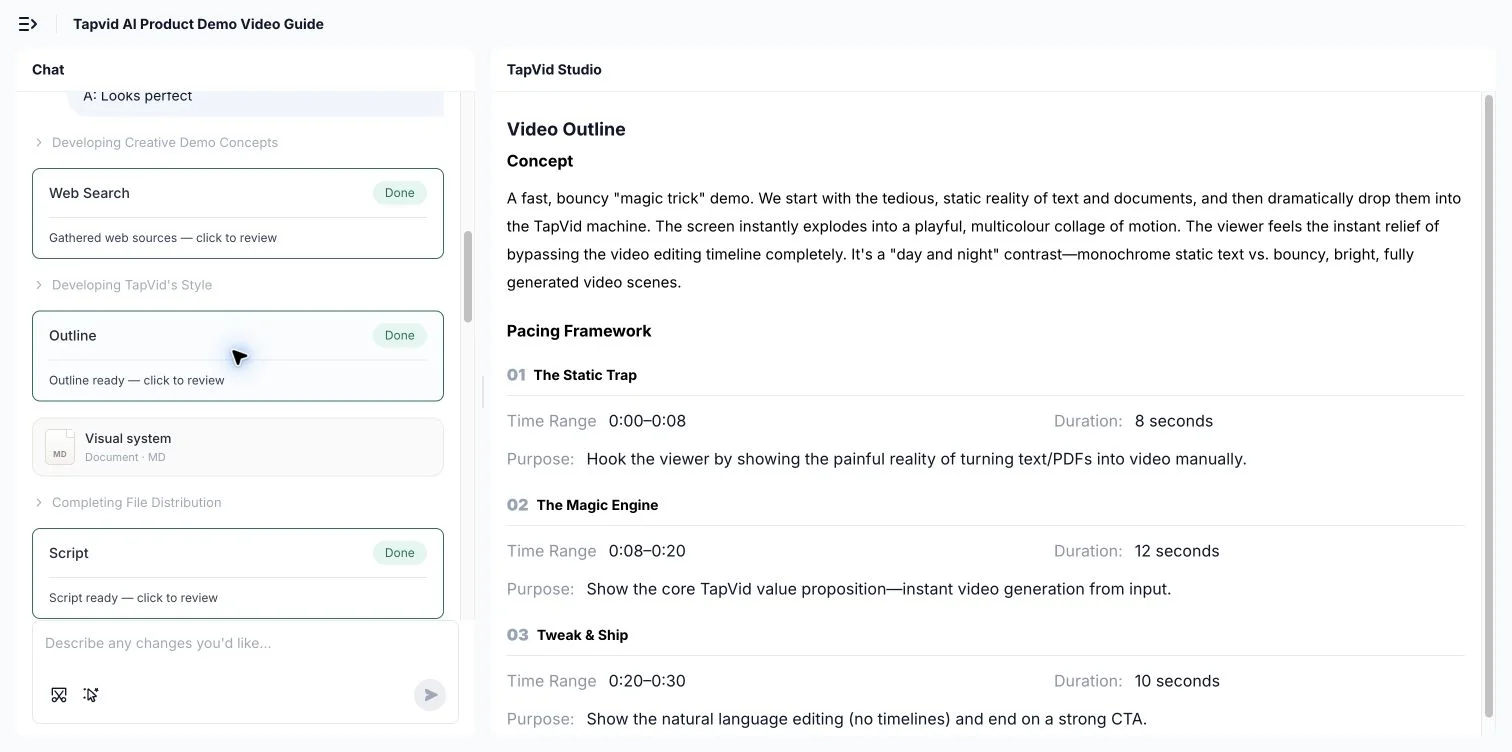
The scene plan should show sequence, narration, on-screen text, asset ID, intended motion, proof role, duration range, caption requirement, transition, and reviewer. Review it without sound first. A viewer should still be able to recognize the product and follow the basic claim. Then read the narration without visuals. It should remain factual, specific, and coherent. Finally, review the two together. This catches the common failure in which the words describe one feature while the frame displays a different screen, SKU, or version.
Make changes while the structure is cheap to change. Moving a proof scene, replacing an asset, or shortening a claim in an outline is easier than rebuilding a polished sequence. In an asset-led product workflow, TapVid exposes the outline and scene purpose before the final output so the team can inspect correspondence. The screenshot below is first-party product evidence of that review surface, not a promise that every render will be correct. The actual output still needs checks for timing, crop, captions, transitions, and the final call to action.
07
Study a real product film without copying its surface
Samsung Philippines’ official 2023 Galaxy A film is a useful public example because each feature claim is paired with an observable product moment: screen, camera, water resistance, and battery positioning appear as distinct beats. The video is not a TapVid output, and its inclusion here does not establish sales or conversion results. Watch the relationship between claim, product view, pace, and repeated campaign language. Do not copy its visual style unless that style belongs to your product and brand.
The transferable lesson is structural. Give one scene one job, keep the product visible when the claim depends on the product, and let repetition reinforce a bounded message rather than cover multiple unrelated benefits. A smaller company does not need Samsung’s production scale to apply that discipline. It can use a phone shoot, owned product images, UI captures, simple motion, or an asset-led explainer. The correct route depends on the proof. Verify every current feature, condition, and offer from the brand’s official source before reusing a claim in your own material.
08
Review the master before creating channel cuts
Approve one master argument before making vertical, square, teaser, silent, or localized versions. Review product identity, claim wording, source correspondence, visual continuity, captions, pronunciation, music and footage rights, CTA, end card, mobile legibility, and export behavior. Check every link and QR code. Watch once with sound, once muted, once at mobile size, and once while pausing on every product or text frame. Keep a decision log so an old asset or rejected phrase does not return in a later cut.
A channel cut is not just a resize. A vertical crop can remove a qualifier or hide the product. A shorter edit can preserve the hook but delete the proof that made the hook credible. Captions can cover UI labels. A localized voiceover can change the timing and expose a scene mismatch. Derive cuts only after the master is approved, then review each cut as a separate delivery. Keep the same stable source IDs and claim IDs so reviewers can trace the derivative back to the approved master.
09
Plan updates and version control before launch
Product videos age when interfaces change, SKUs rotate, prices move, claims are revised, or a campaign ends. Record the source version, approval date, market, channel, aspect ratio, language, and owner with every export. Define the trigger that makes the video stale. A launch date, feature flag, pricing update, legal review, or brand refresh may all require a new check. Do not overwrite the only approved master. Keep the prior state and the reason for the change so the team can reproduce or audit the delivery.
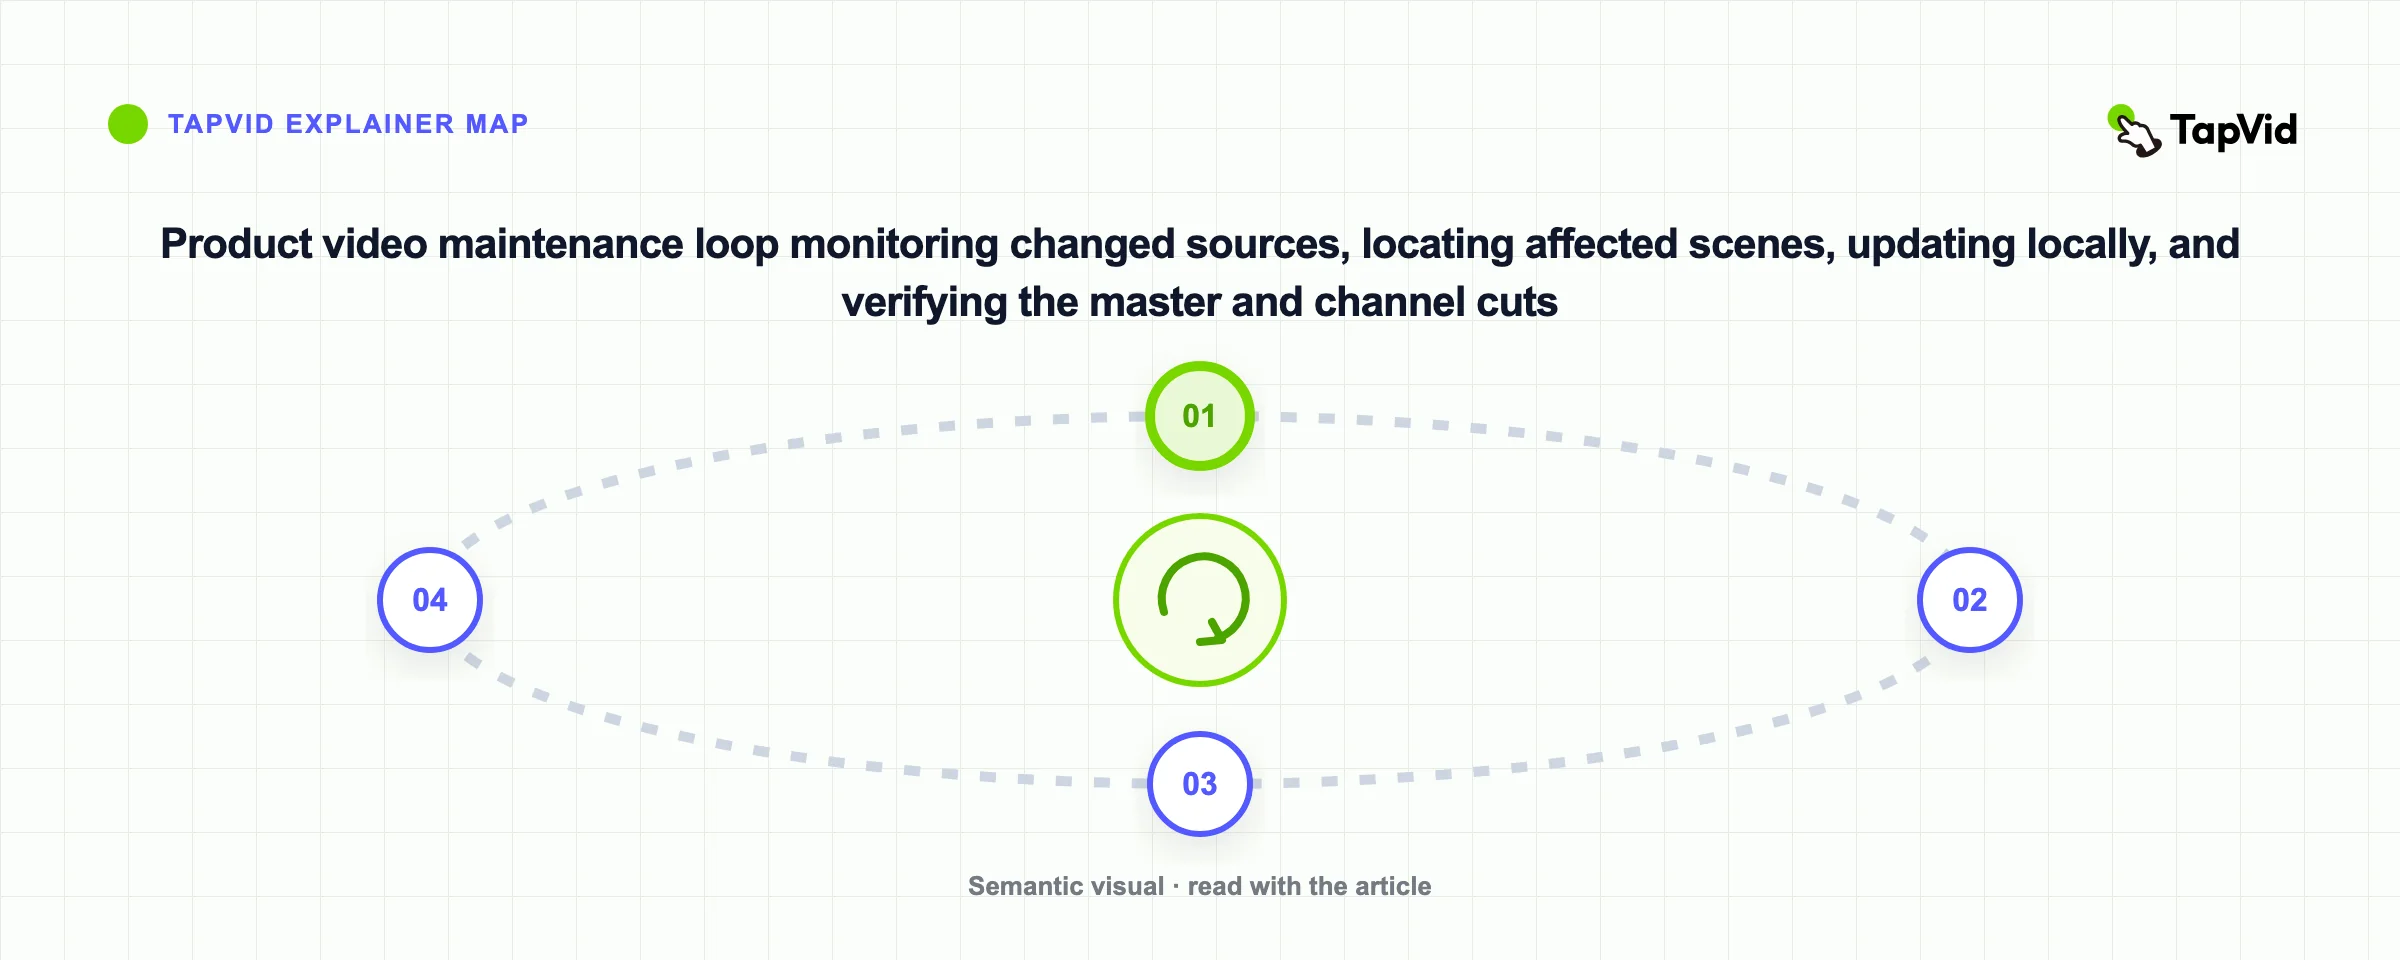
Structure the video so a local change can remain local. If one feature screen changes, the ideal workflow updates that scene without disturbing approved sections. That depends on stable scene boundaries and traceable source assets, not only on software. The video version control guide provides a practical naming and review model. If your main question is budget rather than workflow, use the explainer video cost guide and treat any estimate as dependent on scope, source readiness, craft, and revision requirements.
10
Product video production checklist
Before production, confirm one audience, one decision, one product version, one primary action, approved claims, source owners, permission, channel requirements, and review owners. During production, check every scene against the brief and claim-to-scene table. Before delivery, test captions, crops, product identity, protected wording, CTA, links, file names, and playback. After launch, preserve the source pack, master, derivative map, approvals, and update triggers. This checklist is deliberately operational because production quality is the accumulated result of these small decisions.
No route guarantees performance. A camera crew cannot rescue an unclear decision, an agency cannot validate an unsupported claim, and an automated workflow cannot create missing evidence. The practical advantage comes from matching the route to the proof and making each handoff inspectable. For teams with approved product assets and copy, TapVid can support the asset-led route as an Explainer Video Engine: videos true to your assets, in minutes. Review the current product and output for your own use case before publishing.
What are the main stages of product video production?
Define the decision, choose the route, freeze the brief and source pack, map claims to scenes, approve the scene plan, produce the master, verify it, create channel cuts, and preserve versions and update triggers.
Should I hire an agency or make the product video in-house?
Use the route that matches the proof, craft, logistics, skills, and review capacity. Complex capture may justify an agency; repeatable UI or asset-led work may fit an internal or software-assisted workflow.
Can I make a product video without filming?
Yes, when approved product images, UI, screen recordings, diagrams, footage, and copy already contain the evidence the viewer needs. Do not use generated imagery as proof of physical behavior that was never captured.
How do I keep product videos accurate after updates?
Use stable asset and scene IDs, preserve approved masters, record product versions and markets, define stale-content triggers, and rerun review when a source fact or product view changes.