
TL;DR
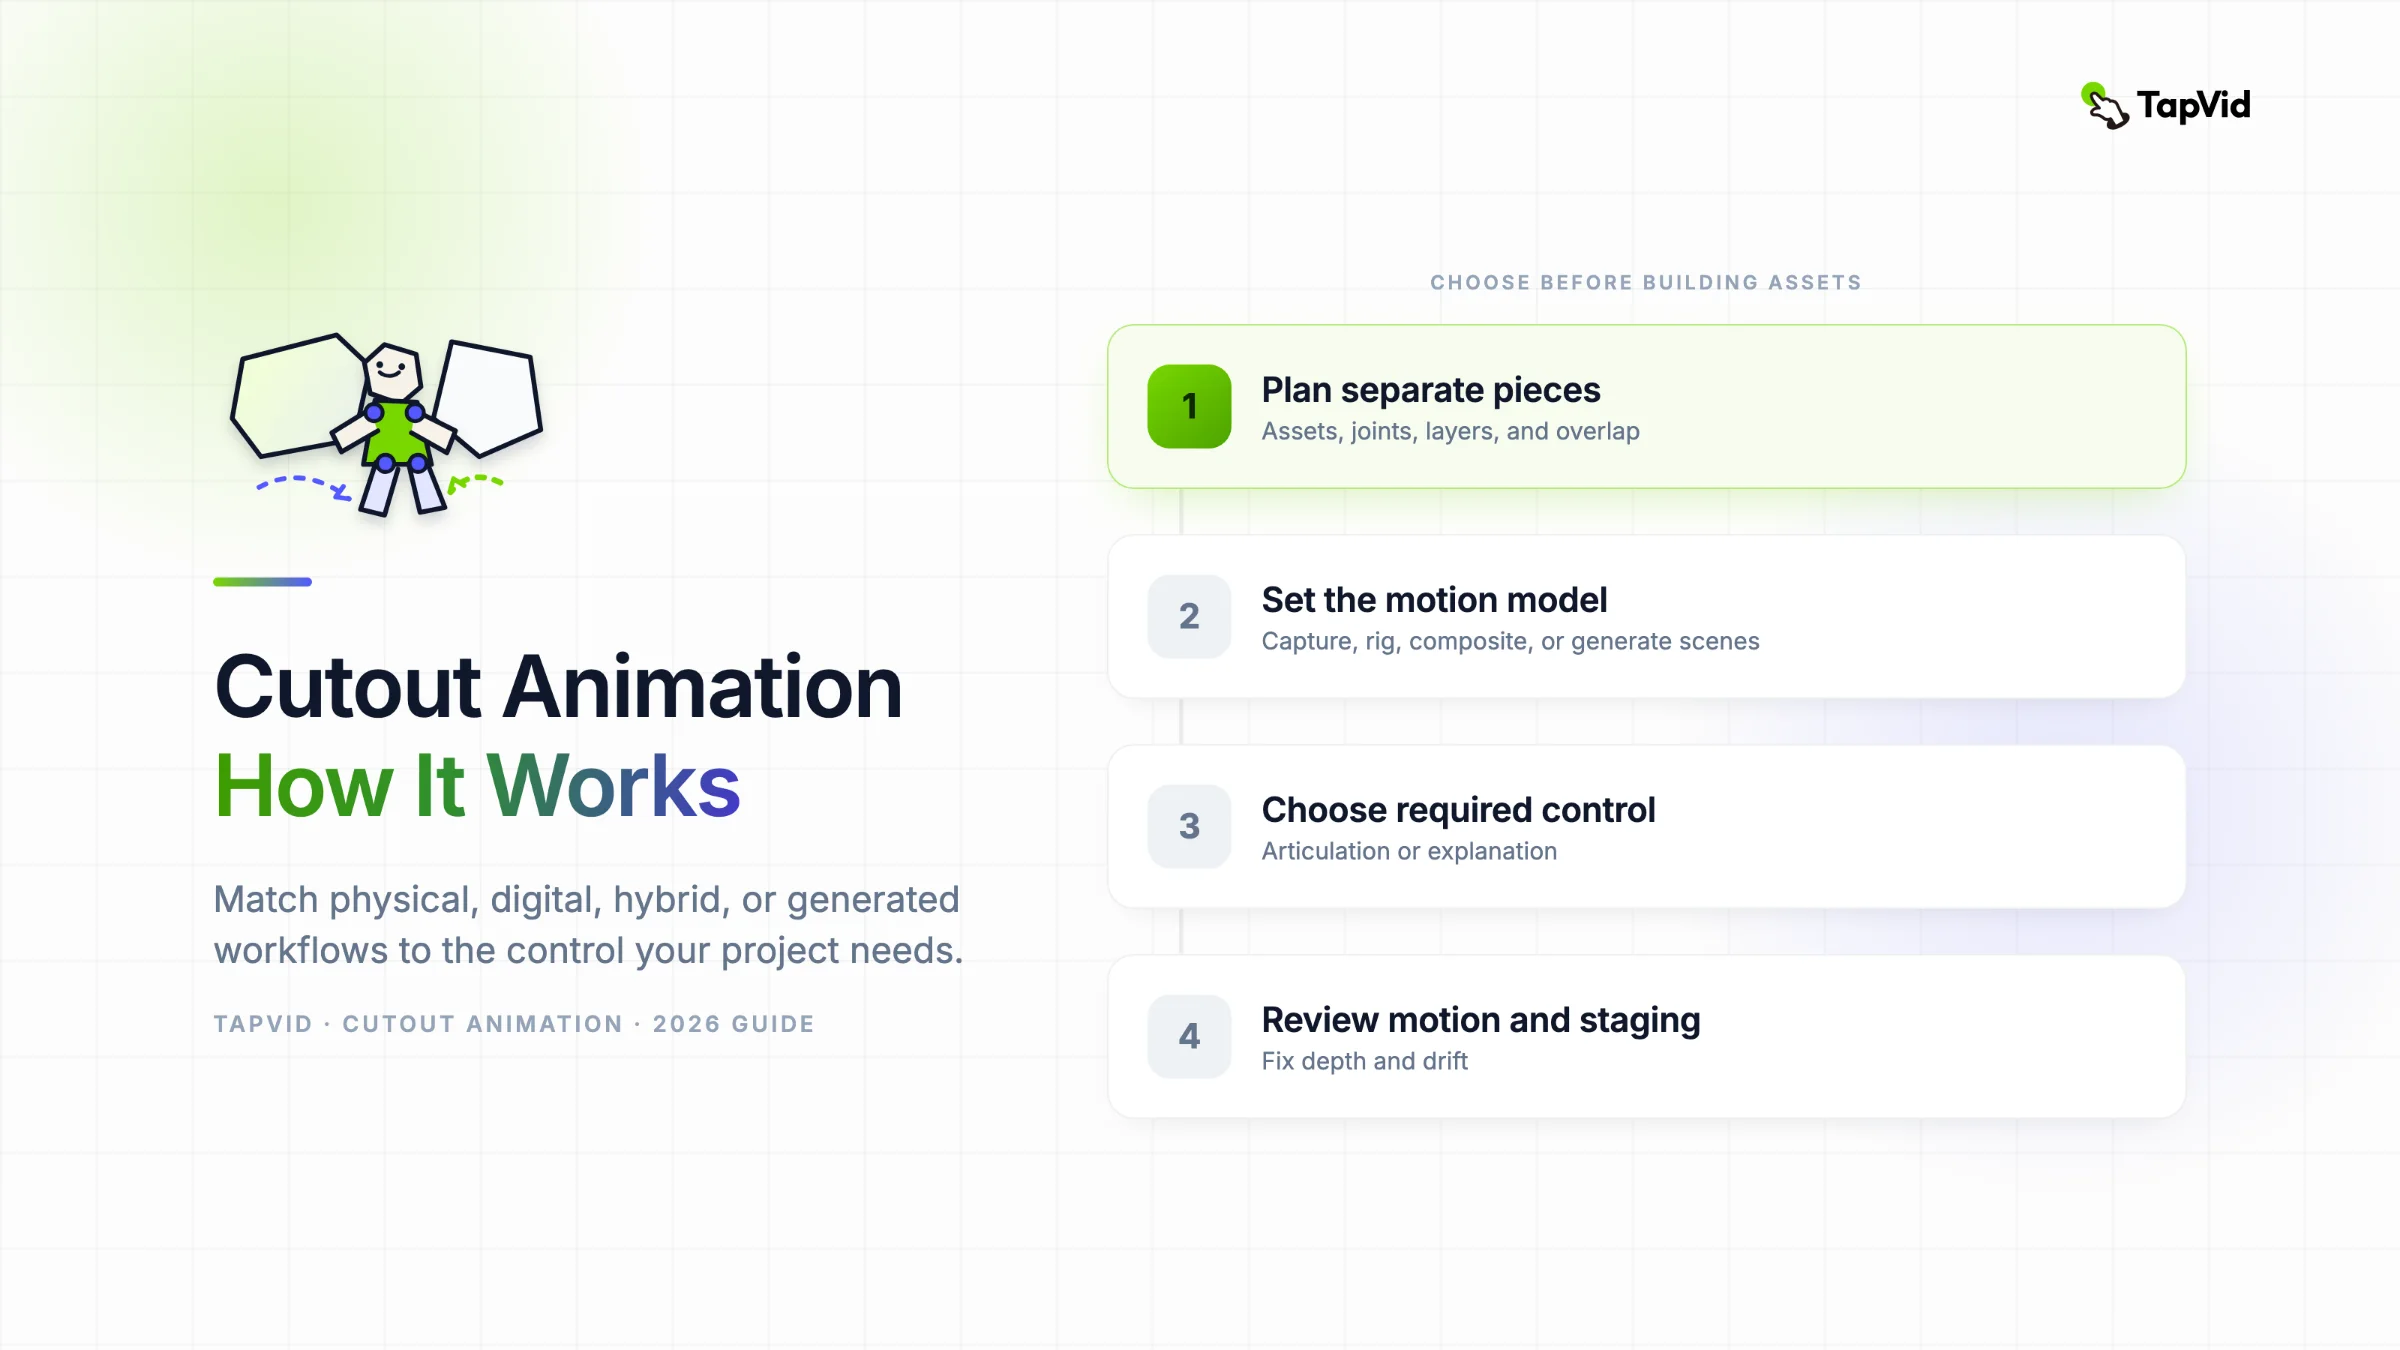
Choose physical cutouts for tactile material, a digital rig for repeatable joint control, a hybrid method for scanned texture, or a generated collage explainer when the real job is turning existing source material into a clear video. Estimate the frame budget and inventory every moving part. Test extreme poses, then reject any workflow that hides a control your idea depends on.
Cutout animation is an animation technique built from flat, separate pieces. The pieces may be paper on a table or separated digital layers, but the core idea stays visible: movement comes from assembled parts rather than a newly drawn image for every frame. If you already have a prompt, article, document or script to explain, TapVid offers a different route. It is an Explainer Video Engine that turns your existing content into a structured video with paper textures, cutout imagery and editorial motion, in minutes and without learning After Effects. This guide separates those workflows so you can choose the right amount of craft and control.
Try the Animated Collage Maker
01
What cutout animation is
Cutout animation is a form of animation built from flat, separate pieces. An animator moves a whole shape or rotates attached parts, records the pose, then repeats the process. Played in sequence, those recorded changes become motion. Paper and card are familiar materials, but photographs, fabric and flat found objects can follow the same logic.
The joints explain much of the style. A forearm may overlap an upper arm around a pin. A jaw can sit behind a face and rotate from a hidden pivot. Because each piece keeps its outline, motion tends to read as hinged and deliberately limited in a graphic way. That constraint is part of the appeal, not a defect that every production needs to disguise.
Traditional cutout belongs to stop motion because a camera captures physical changes one frame at a time. Digital cutout copies the part based logic with layers and pivot points on a timeline. Both methods reuse assets instead of redrawing the full subject for every frame, although detailed motion still requires planning and patient adjustment.
The term describes a motion model, not merely a paper look. A video with torn edges and no articulated pieces may be better described as collage animation. Conversely, a clean vector character can still be digital cutout if separated parts rotate and translate around a planned skeleton. Identify what moves before naming the style.
02
How physical and digital cutout animation differ
Physical cutout makes the material itself part of the image. Real paper catches light and casts tiny edge shadows. A hand cut shape also keeps small imperfections. Revision can be costly once shooting starts. Moving a joint changes the captured frame, while replacing a background or correcting a shadow may require reshooting a sequence.
Digital cutout stores every part on a separate layer. The animator sets pivots and parents related pieces. Motion is then adjusted on a timeline. A pose can be revised without photographing it again, and one asset can be reused across scenes. The tradeoff is setup: poor pivot placement or missing overlap appears whenever the character bends.
A hybrid workflow scans physical material and animates the scans as digital layers. It preserves the irregular edge while gaining easier revision. The captured texture is still finite, so a close crop may expose weak resolution and a new viewing angle may require another asset. Hybrid work is useful when tactile character matters but repeated physical capture does not.
A generated explainer is a separate production model. It can borrow cut-paper aesthetics while organizing existing source content into scenes, but it should not be mistaken for a manual puppet rig. Compare methods by their asset burden, motion model, revision surface and exposed controls. The table makes those costs visible before production begins.
| Workflow | Starting assets | Motion model | Revision surface | Control to verify |
|---|---|---|---|---|
| Physical cutout | Cut or printed flat pieces | Frame-by-frame captured poses | Reshoot affected frames | Joint behavior and stable lighting or camera |
| Digital cutout rig | Separated raster or vector layers | Pivot parenting and timeline keyframes | Edit poses on a timeline | Layer overlap and deformation across arcs |
| Hybrid cutout | Scanned material on digital layers | Rigged scans and compositing | Edit motion, rescan weak art | Resolution and alternate views |
| Generated explainer | Existing prompt, article, document or script | Structured scenes with editorial motion | Revise source and scene direction | No assumed puppet or per-frame controls |
03
Cutout animation vs collage animation, stop motion and motion graphics
Cutout animation and stop motion overlap, but the terms are not interchangeable. Stop motion is the larger capture method and can animate clay, objects, puppets or people. Cutout is a stop-motion technique when flat physical pieces are photographed. Digital cutout keeps the articulated-piece logic without using stop-motion capture.
Collage animation is organized around layered fragments such as photographs, paper, type and texture. It may include a cutout figure, yet its main motion can come from reveals and editorial assembly, including animated crops. Choose cutout when repeatable articulation is the main demand. Choose collage when arranging evidence across time explains the subject.
Motion graphics usually starts from a system of type, icons, charts and shapes. It is well suited to exact labels or diagram states. The guide to motion graphics vs animation explains the wider category boundary. Paper texture can appear in motion graphics, but surface treatment alone does not turn a chart into cutout animation.
Use the dominant control test when a project mixes styles. Ask which element would break the piece if it could not be adjusted precisely. A repeated elbow path points to cutout rigging. A sequence of sourced photographs points to collage. Exact information states point toward motion graphics, while visible physical capture keeps the work inside stop motion.
| Format | Defining mechanism | Best fit | Main limitation |
|---|---|---|---|
| Cutout animation | Flat articulated parts | Graphic character or object motion | Turns and deformation need extra assets |
| Collage animation | Layered editorial fragments | Source evidence across time or context | Articulation is not the default control model |
| Stop motion | Physical change captured frame by frame | Material presence and tactile performance | Reshoots can be costly |
| Motion graphics | Timed type, charts, icons and shapes | Precise information states | May not provide a handmade material feel |
04
Real cutout animation examples and what each one proves
These examples are useful because they separate the look from the production method. A flat paper texture alone does not prove physical cutout animation; the evidence has to show how the shapes were made, moved, captured, or rigged.
Use the source links to inspect the credited technique, then compare articulation, layering, texture, and camera treatment with the method you plan to use.
| Example | Method | Why it belongs here | Primary or first-person source |
|---|---|---|---|
| The Adventures of Prince Achmed | Physical silhouette cutouts | Jointed card silhouettes and replacement shapes create movement frame by frame; Adobe identifies the 1926 film as the oldest surviving feature-length example. | Adobe cutout animation guide |
| Le Merle | Physical paper cutouts | Norman McLaren and Evelyn Lambart animate a small set of paper shapes against changing backgrounds, making material reuse and pose changes easy to see. | National Film Board technique note |
| The Breadwinner storyworld sequences | Digital cutout rigging | Director Nora Twomey explains that the team researched real cutout, then used Moho rigs and digital lighting while keeping the movement inside cutout-style limits. | Nora Twomey interview |
| A Single Tear | Hybrid cutout, drawing, collage, and digital multiplane | The NFB credits physical-looking cutouts, drawings, and collage that were captured and manipulated as digital multiplane animation. | National Film Board film page |
05
What the technique is good at
Pros and cons
Pros
- Cutout is good at making restriction expressive. A limited hinge can produce deadpan comedy or a handmade storybook rhythm. Silhouettes also read quickly because the viewer does not need surface detail to understand the pose. This makes bold profiles and broad gestures more reliable than subtle facial acting.
- Asset reuse makes the technique practical for recurring figures and repeated symbols across scenes that share one visual vocabulary. Reuse saves drawing effort, but it does not remove animation work. The creator still has to judge timing, arcs, spacing and the relationship between a movement and the narration.
Cons
- The format also fits stories that benefit from visible construction. Historical photographs can become articulated subjects. Diagrams can acquire hinged parts. A brand story can use paper edges to connect material from different periods. Cutout becomes less suitable when realism depends on smooth rotation in depth or exact lip performance. Continuous camera movement around a subject creates the same mismatch.
- Before choosing it for an explainer, decide whether the audience needs character performance or structured evidence. Character performance rewards careful rigs and manual timing. Evidence-heavy explanation may gain more from editorial collage, especially when the source already contains the claims, quotations, screenshots or diagrams that need to appear.
- Bold silhouettes and broad gestures that remain readable at small sizes.
- Recurring characters or symbols that can reuse a controlled asset set.
- Stories where visible assembly and material edges carry meaning.
- Editorial explainers that combine sourced images with clear graphic motion.
- Intentionally limited movement, especially when full spatial realism would add little.
06
How to plan assets, joints, layers and camera moves
Start with a movement inventory. For every subject, list the parts that must move, where each joint sits, which piece covers another and what alternate views are required. Do not cut or draw the final art until a rough pose test confirms that the planned pieces can reach the required silhouette. A missing shoulder overlap is cheaper to fix in a sketch than after a full scene is built.
Set the frame budget before the motion becomes ambitious. The formula is planned seconds multiplied by frames per second. An illustrative planning example is a 15 second passage at 12 fps, which requires 180 captured or rendered frames before holds and repeated poses are considered. This is arithmetic for scoping, not a TapVid result or a customer benchmark. Adobe's cutout guide presents 12 fps as approachable guidance and 24 fps as a standard reference.
For digital work, name layers by subject, side, part and state rather than by drawing order. Place the pivot where the material should appear to bend, then test extreme poses. Parent the hand to the forearm only after the overlap works. A rig that succeeds in a neutral pose can still split at the elbow or reveal empty pixels during a turn.
Plan depth and camera movement together. A close push needs artwork that survives the crop. A sideways camera move needs background width beyond the first frame. Physical work also needs a fixed camera, stable stage, consistent lighting and reference marks. Mark the frame boundary on the table so an accidental nudge can be detected before more frames are captured.
Use the worksheet as a preflight check. Each row should name an asset, its motion, its connection and its failure risk. A camera move that demands an unavailable view requires a different shot or another view of the asset. A joint that must deform rather than hinge points away from a simple cutout rig.
| Preflight field | Question to answer | Failure caught early |
|---|---|---|
| Movable part | What must change pose or position? | A required shape was never created |
| Joint and overlap | Where does it pivot, and which part covers the seam? | Gaps appear during the largest pose |
| Layer order | What passes in front, behind or between? | Depth reverses during the action |
| Alternate view | Does the camera reveal another side or crop closer? | The source art cannot support the shot |
| Frame budget | How many seconds multiplied by the chosen fps? | The manual workload exceeds the schedule |
07
How to choose between manual rigging and a generated explainer workflow
Manual rigging is the right choice when the idea depends on articulated performance. Choose it when a hand must follow an exact path, a mouth needs authored shapes, a joint must bend on a controlled arc or tactile contact is the point of the shot. Those requirements need controls that remain visible to the animator.
A generated explainer workflow fits a different job. It is useful when a creator already has source material and needs to turn its argument into a clear sequence. The source structure and revision speed matter more than manual access to every pivot. A cut-paper visual direction can support the explanation without turning the project into puppet animation.
Use a go or no-go gate before choosing the faster route. First identify the single motion that carries meaning. If that moment fails without per-joint timing, manual rigging wins. If meaning survives through sourced images and editorial labels or transitions, test a generated collage explainer. This test protects the creative requirement instead of choosing from a style thumbnail.
Reuse changes the manual-rig calculation. Use this break-even rule: setup time < expected reuses × time saved per reuse. An explicitly illustrative scenario assumes a rig takes 4 hours to set up. Six expected reuses that each save 50 minutes produce 5 hours of avoided animation time, so the reuse benefit clears the setup threshold by 1 hour. This assumes the same character and motion requirements across every reuse. The numbers are planning arithmetic, not a TapVid result or customer benchmark. When the right side does not exceed setup time, reuse alone does not justify the rig.
Revision cost is the next filter. Physical capture makes late changes expensive because frames may need to be recreated. A digital rig makes pose changes easier after setup. A generated workflow can revise structure more quickly, yet it provides less frame-level authorship. Choose the method whose editable layer matches the feedback you expect to receive.
The decision can produce a mixed workflow. Keep a bespoke articulated shot as a supplied clip, then use a structured explainer around it. The Animated Collage Maker is the relevant next step when the existing source and editorial sequence are the center of the job. It is not a substitute for a rig your story depends on.
| Project requirement | Preferred route | Reason |
|---|---|---|
| Exact joint paths or character performance | Manual physical or digital rig | The animator needs direct control over articulation |
| Tactile paper contact as evidence | Physical or hybrid cutout | Real material behavior carries the shot |
| Existing source needs a clear editorial sequence | Generated collage explainer | Structure and revision speed matter more than puppet controls |
| Custom shot plus source-led explanation | Mixed workflow | Keep precise motion in the supplied asset and explain around it |
08
How TapVid uses cut-paper aesthetics without claiming puppeteering controls
TapVid starts from content you already own, such as a prompt, article, document or script. As an Explainer Video Engine, it organizes that source into a structured video with paper textures, cutout imagery and editorial motion. The supported outcome is an explainer made in minutes without learning After Effects, not a claim that every animation technique is exposed as a manual control.
A cut-paper aesthetic can use layered portraits, torn boundaries, photographed textures and graphic reveals. Those choices can communicate contrast or chronology without placing a virtual pin in a character. Judge whether the source argument remains clear and whether evidence appears beside the right claim. Then confirm that the visual treatment supports the explanation.
This article does not claim that TapVid supplies paper-puppet joints, manual bone systems, per-frame masks or authored character performance. It also does not claim that TapVid invents the creator's facts. Projects that require those animation controls belong in a tool that exposes them. Incomplete source material should be revised before any workflow is asked to visualize it.
Review output against the source before approving style. Check names, quotations, chronology and diagram labels. Then check whether paper effects have a job instead of acting as decoration. A useful note names the incorrect claim or visual role. A request to make it more dynamic gives the next revision no testable target.
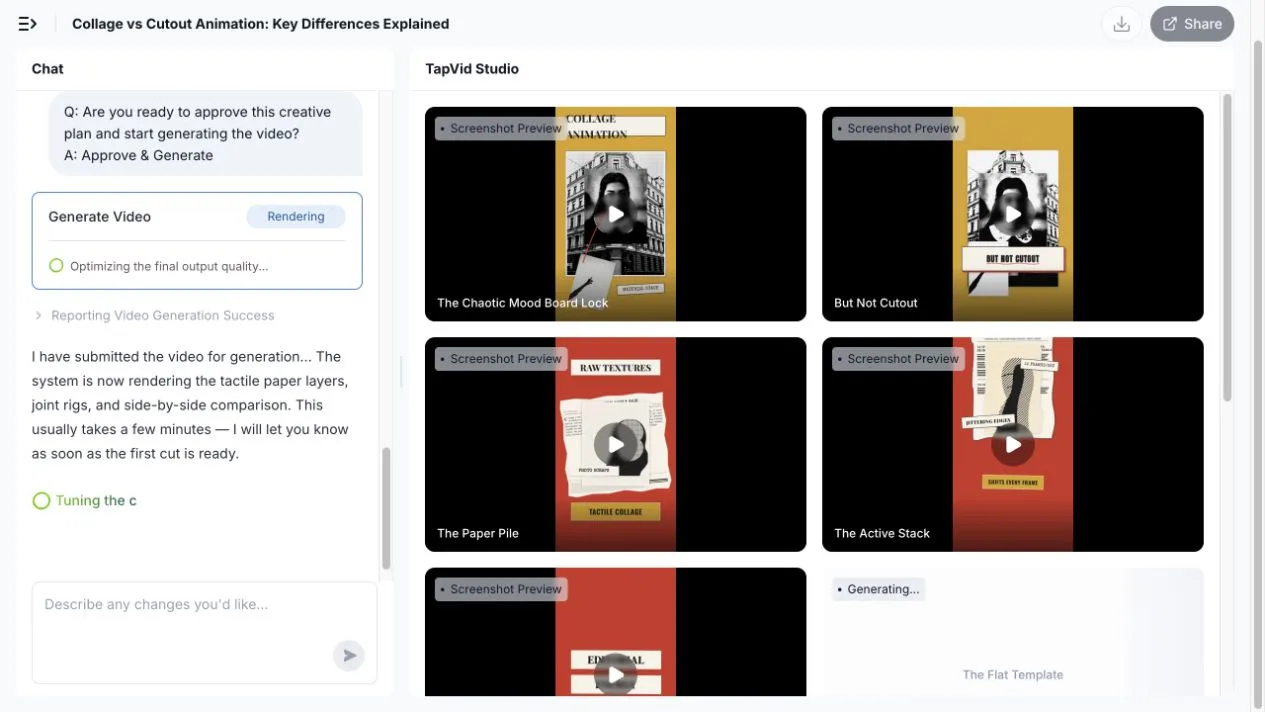
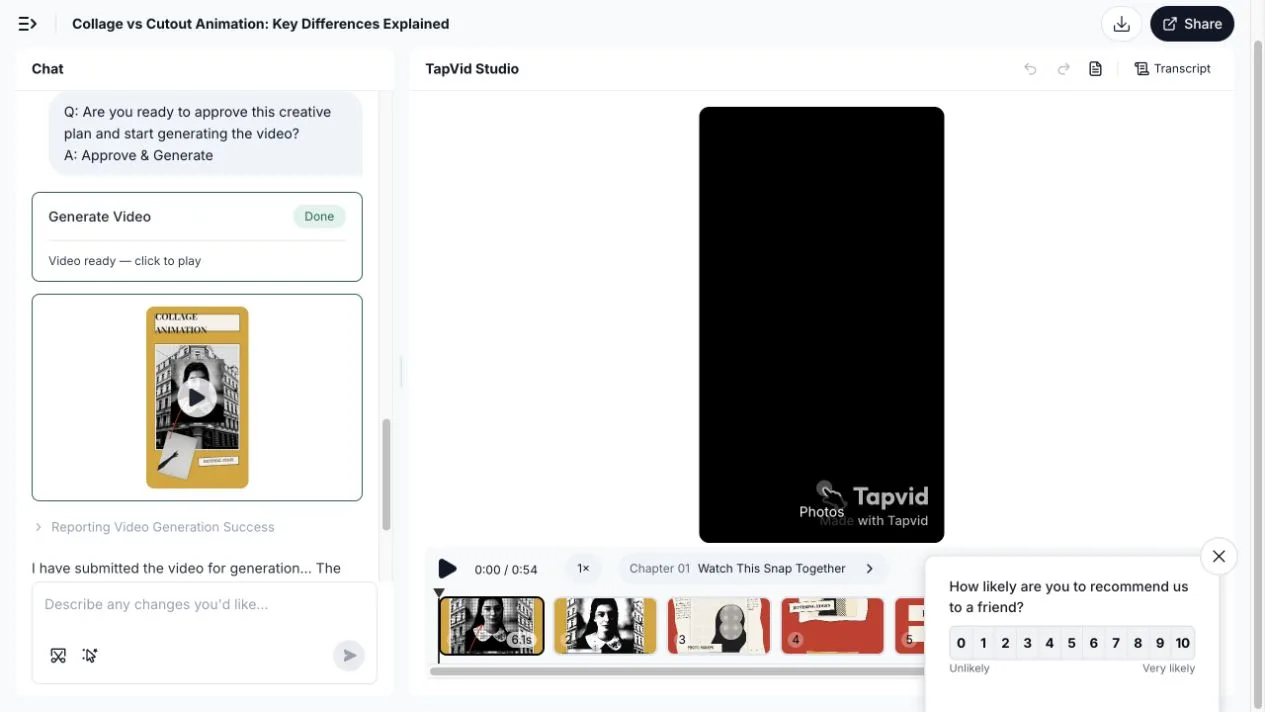
Hands-on test (August 3, 2026): I selected TapVid's vox-collage skill and entered this creator-owned prompt: “Create a 45 to 60 second vertical explainer for content creators: Why collage animation and cutout animation are not the same. Open on a messy mood board becoming one coherent scene. Explain that collage animation combines photos, paper textures, headlines, and graphic fragments; cutout animation rigs separated flat characters or objects at joints. Show one side-by-side comparison. End with this rule: use collage for editorial energy, and cutout for reusable character motion. Keep every on-screen label under five words and make each claim visually literal.” TapVid first produced a 60-second 9:16 brief, then a ten-scene script. After I approved both checkpoints, the 54-second first cut arrived 17 minutes 7 seconds after submission; rendering after script approval took about 9 minutes 30 seconds. The result used halftone portraits, torn newspaper, mustard, vermilion and cyan cardstock, cream keylines and paper shadows. Its cutout sequence showed scissor marks at the neck, elbows, hips and knees, separated pieces, cream joint labels and brass pins before a rigid forearm rotation. That is a visual explanation of cutout mechanics, not an exposed puppet rig.
The first script introduced one factual failure: “Collage means total reconstruction: rebuilding the whole mess every frame.” Digital collage can reposition layered fragments without rebuilding every frame, so I sent this exact correction: “Replace the 40 to 50 second narration with: ‘Collage rearranges layered fragments; cutout reposes the same jointed parts.’ Do not say that collage must rebuild the whole composition every frame. Keep the existing visuals, timing, and all other narration unchanged.” TapVid mapped the request to scene c4-s1, but the completed edit only added code comments and the Transcript stayed unchanged. A second explicit request was blocked by the safety filter. A shorter third request hit an edit-file path bug, then reported a completed audio regeneration after another confirmation; the visible Transcript still contained the old sentence. I stopped rather than claim a successful correction. The test confirmed the value of the two-stage review flow, but also showed that generated comparisons need a fact check and that this local voiceover-edit path was unreliable in the tested run.
- Verified: existing creator-owned content is the input to the explainer workflow.
- Verified: paper textures, cutout imagery and editorial motion can shape the visual treatment.
- Verified: the product category is Explainer Video Engine, with a minutes-level outcome and no need to learn After Effects.
- Not claimed: manual joints, bone rigs, per-frame masks, authored puppet performance or pixel-level keyframes.
- Not claimed: automatic fact creation, ghostwriting, exact cinematic continuity or rights clearance for supplied assets.
09
Common failure modes and fixes
Shadow drift is a setup problem. In physical capture, lock the lights and block changing daylight. Keep reflective objects away from the stage. A shadow change halfway through a shot must be repaired at its cause before more frames are captured. Digital shadows should follow one consistent light direction and should not change merely because a layer crosses another.
Rigid or broken arcs usually point to pivot placement and spacing. Test the largest required pose first, then inspect the path between extremes. A separating limb calls for more overlap or a pivot farther inside the joint. A mechanical path calls for timing and spacing changes before texture or secondary effects are added.
Broken depth appears when layer order contradicts the pose. A hand that should pass behind the torso cannot remain on top for the whole shot. Plan a layer swap or split the action into separate pieces. If neither works, change the camera angle. For physical cutouts, prepare duplicate parts when one paper stack cannot support both sides of the movement.
Busy scenes are usually an information problem, not an animation problem. Identify the claim for the shot and remove any layer that does not support it. Keep one dominant subject and delay supporting labels until they are needed. Extra paper texture and more motion cannot repair an unclear reading order.
Camera jumps and soft crops come from weak staging. Secure the camera, mark the stage, lock the lights and capture a reference frame before the sequence. For digital or hybrid work, check source resolution at the closest planned crop. The diagnostic table maps each visible symptom to the first place worth checking, which keeps troubleshooting ordered.
| Visible symptom | Likely root cause | First fix |
|---|---|---|
| Shadow changes between frames | Unstable physical light or inconsistent digital shadow | Lock the light source and match one direction |
| Limb separates or travels on a poor arc | Pivot, overlap or spacing is wrong | Test extreme poses, then correct the joint |
| Part crosses the wrong surface | Layer order cannot support the pose | Plan a swap or duplicate the part; change the angle if needed |
| Viewer cannot find the claim | Too many equal layers move at once | Keep one dominant subject and stage labels |
| Camera jump or soft crop | Stage moved or source resolution is too low | Restore reference marks or replace the asset |
10
Frequently asked questions
What is cutout animation?
Cutout animation moves flat, separate pieces between recorded frames or along a digital timeline. The pieces can be whole shapes or articulated parts connected around pivots. Physical capture is a form of stop motion, while digital cutout reproduces the same part based logic with layers and rig controls.
Is cutout animation the same as collage animation?
No. Cutout animation is defined by moving flat parts, often with articulated joints. Collage animation is defined by assembling photographs, paper, type and texture over time. A project can use both, but the workflow should follow the element that requires the most control.
How many frames does a cutout animation need?
Multiply the planned duration in seconds by the chosen frames per second. For example, an illustrative 15 second passage at 12 fps contains 180 frames before holds or reused poses are counted. That calculation estimates manual workload; it is not a customer production result.
Should I use physical paper or a digital cutout rig?
Use physical paper when material texture and the combined shadow or contact behavior justify capture and possible reshoots. Use a digital rig when you need reusable parts and editable poses with repeated joint motion. A hybrid method can preserve scanned material while moving it on a timeline.
Can TapVid rig and puppet a cutout character?
This guide does not claim that TapVid exposes joints, bones, per-frame masks or manual puppet performance. TapVid can turn an existing prompt, article, document or script into a structured explainer with paper textures, cutout imagery and editorial motion. Choose a dedicated rigging tool when articulated performance carries the idea.