
TL;DR
Separate the one-time introduction from recurring expertise videos. Start with an owned source, choose face-led, voiceover, or hybrid delivery, use a four-part script, verify identity and claims, then build a repeatable source-to-video loop.
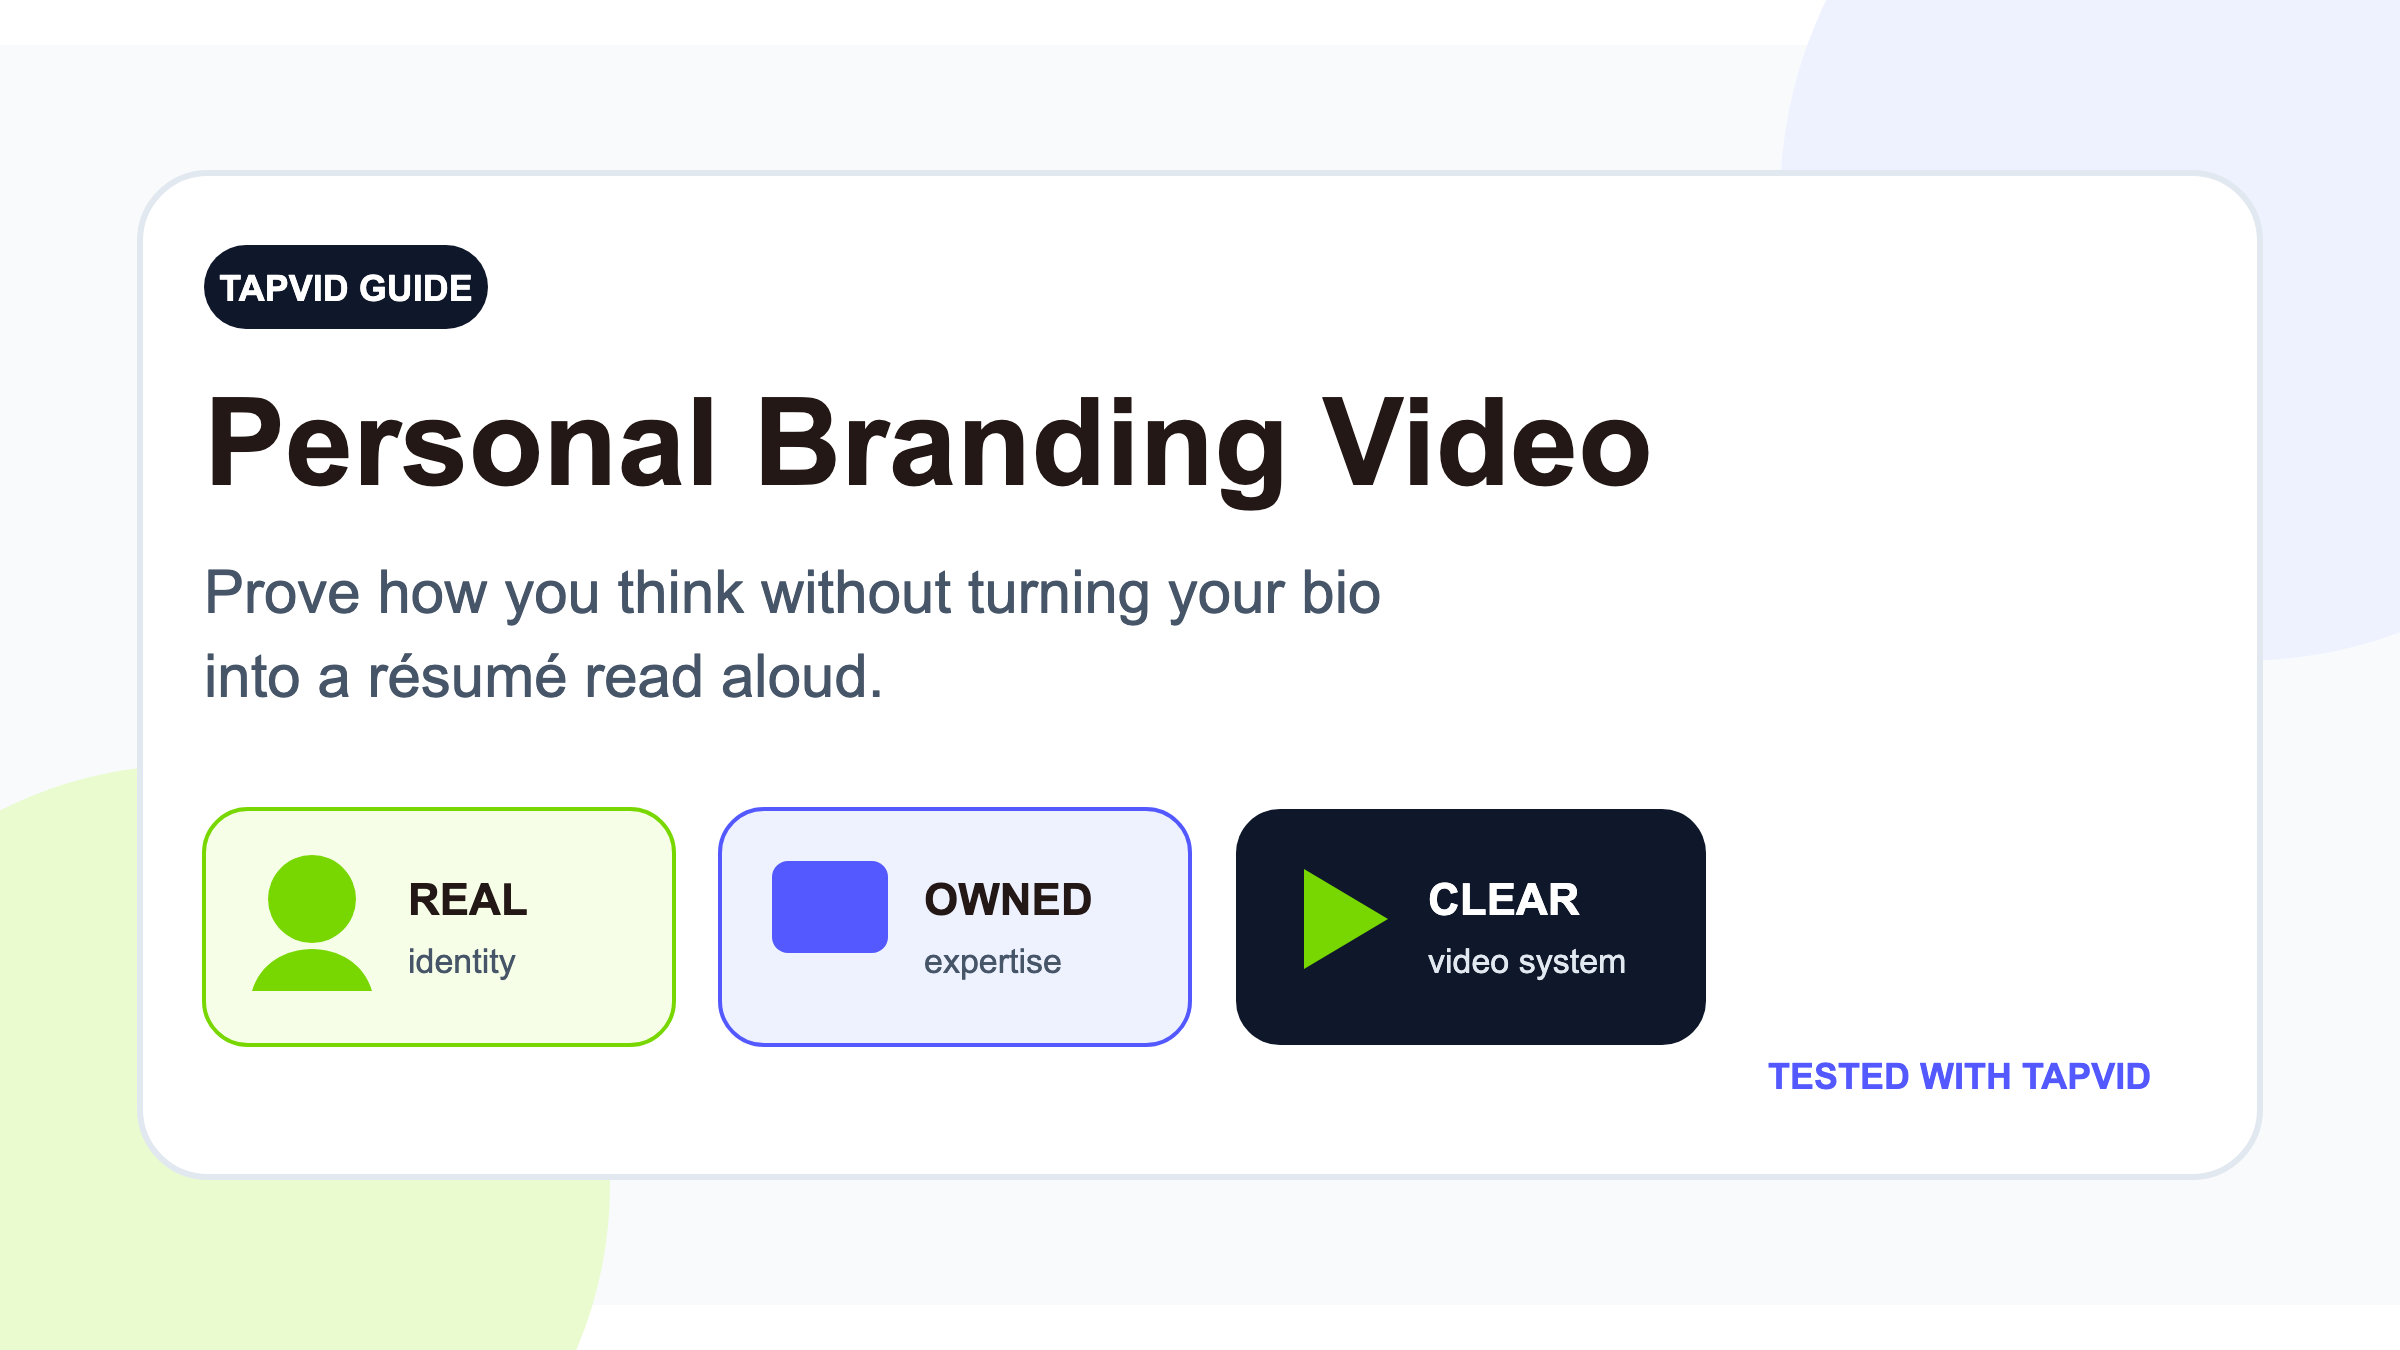
A personal branding video is not a résumé read aloud. It is a short proof of how you think, whom you help, and what someone will gain by following your work. The strongest version does not invent a camera persona. It turns a point of view you already use in articles, talks, client work, or product decisions into a clear visual story.
Turn your owned expertise into a motion-graphics explainer
01
What a personal branding video should prove
A profile photo and job title identify you. A personal branding video should add a reason to care by showing how you frame a problem, what you believe that others overlook, what evidence shaped that belief, and what kind of work people can expect. That is different from listing credentials. "I am a strategist and lifelong learner" is easy to say and hard to evaluate. "I help creators turn finished articles and scripts into explainers because the bottleneck is production, not ideas" gives the viewer a specific audience, problem, and point of view. Start with a published bio, article, talk transcript, approved case, or script you stand behind. AI can structure and visualize that source. It should not invent a founder title, client result, personal story, or expertise claim because the detail sounds plausible.
02
Choose the job: introduction or authority system
A personal introduction video is a relatively stable asset for a website, LinkedIn Featured section, speaker page, proposal, or channel trailer. Its job is to help a new viewer understand who you help, how you think, and where to go next. A recurring expertise video does different work: each episode turns one idea from an article, newsletter, client question, research note, or talk into a focused explanation. Most professionals need both, but they should not overload one video with both jobs. Make the introduction once and review it when your work changes. Build the authority system as a repeatable publishing workflow.
03
Decide whether to show your face
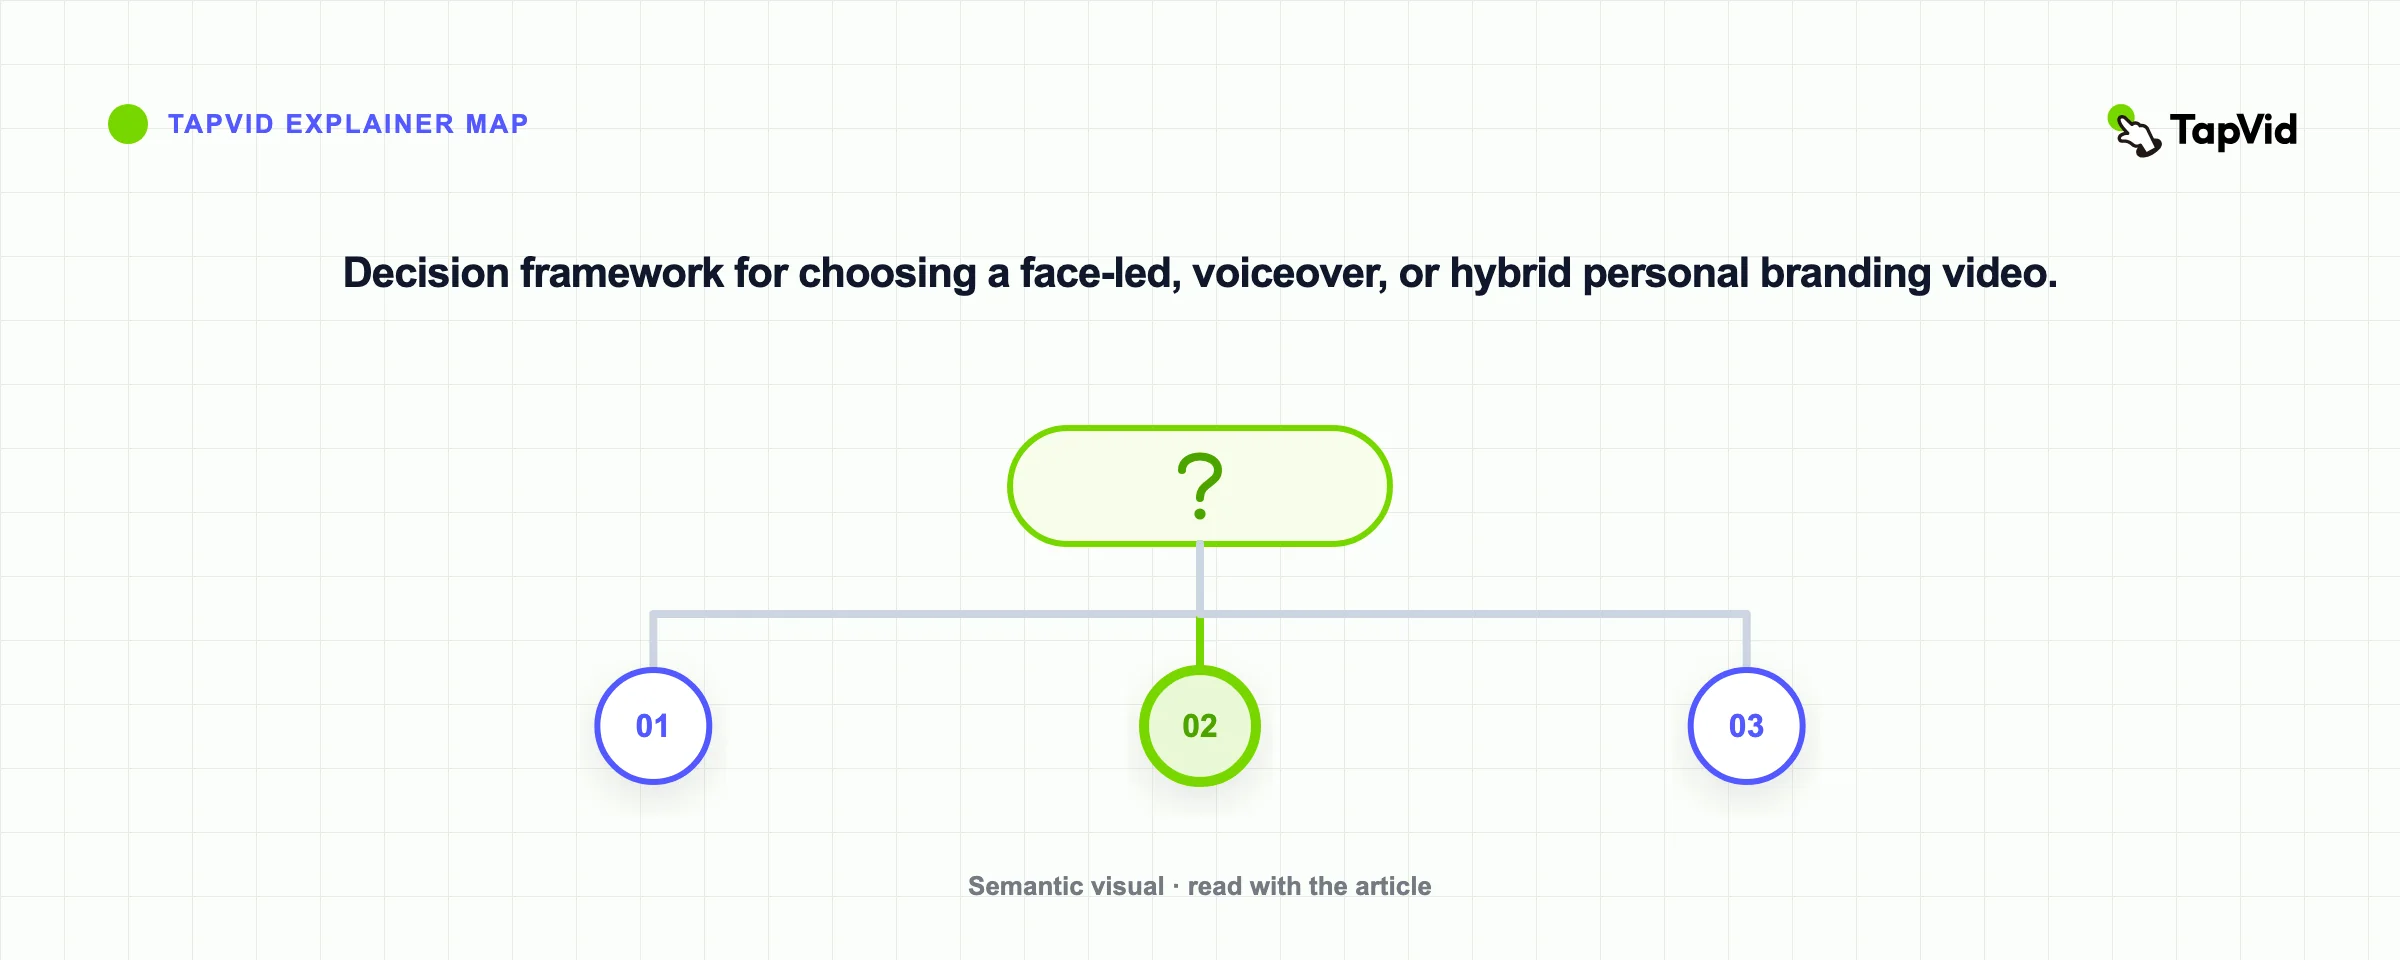
Show your face when personal presence is part of the buying, hiring, following, or speaking decision. A real camera moment carries voice, delivery, and interpersonal fit. Use voiceover plus visuals when the idea is the proof, including frameworks, processes, document-based analysis, diagrams, and product thinking. A hybrid can open with the real person, move into documents or motion graphics, then return for the invitation. Do not use a synthetic likeness merely because a human face seems required. If the viewer is choosing you, an artificial face can create the wrong uncertainty. Match the source too: a personal story often suits the person's voice, an article framework may be clearer as graphics, and a live product lesson may need a screen recording.
04
Write a four-part personal brand script
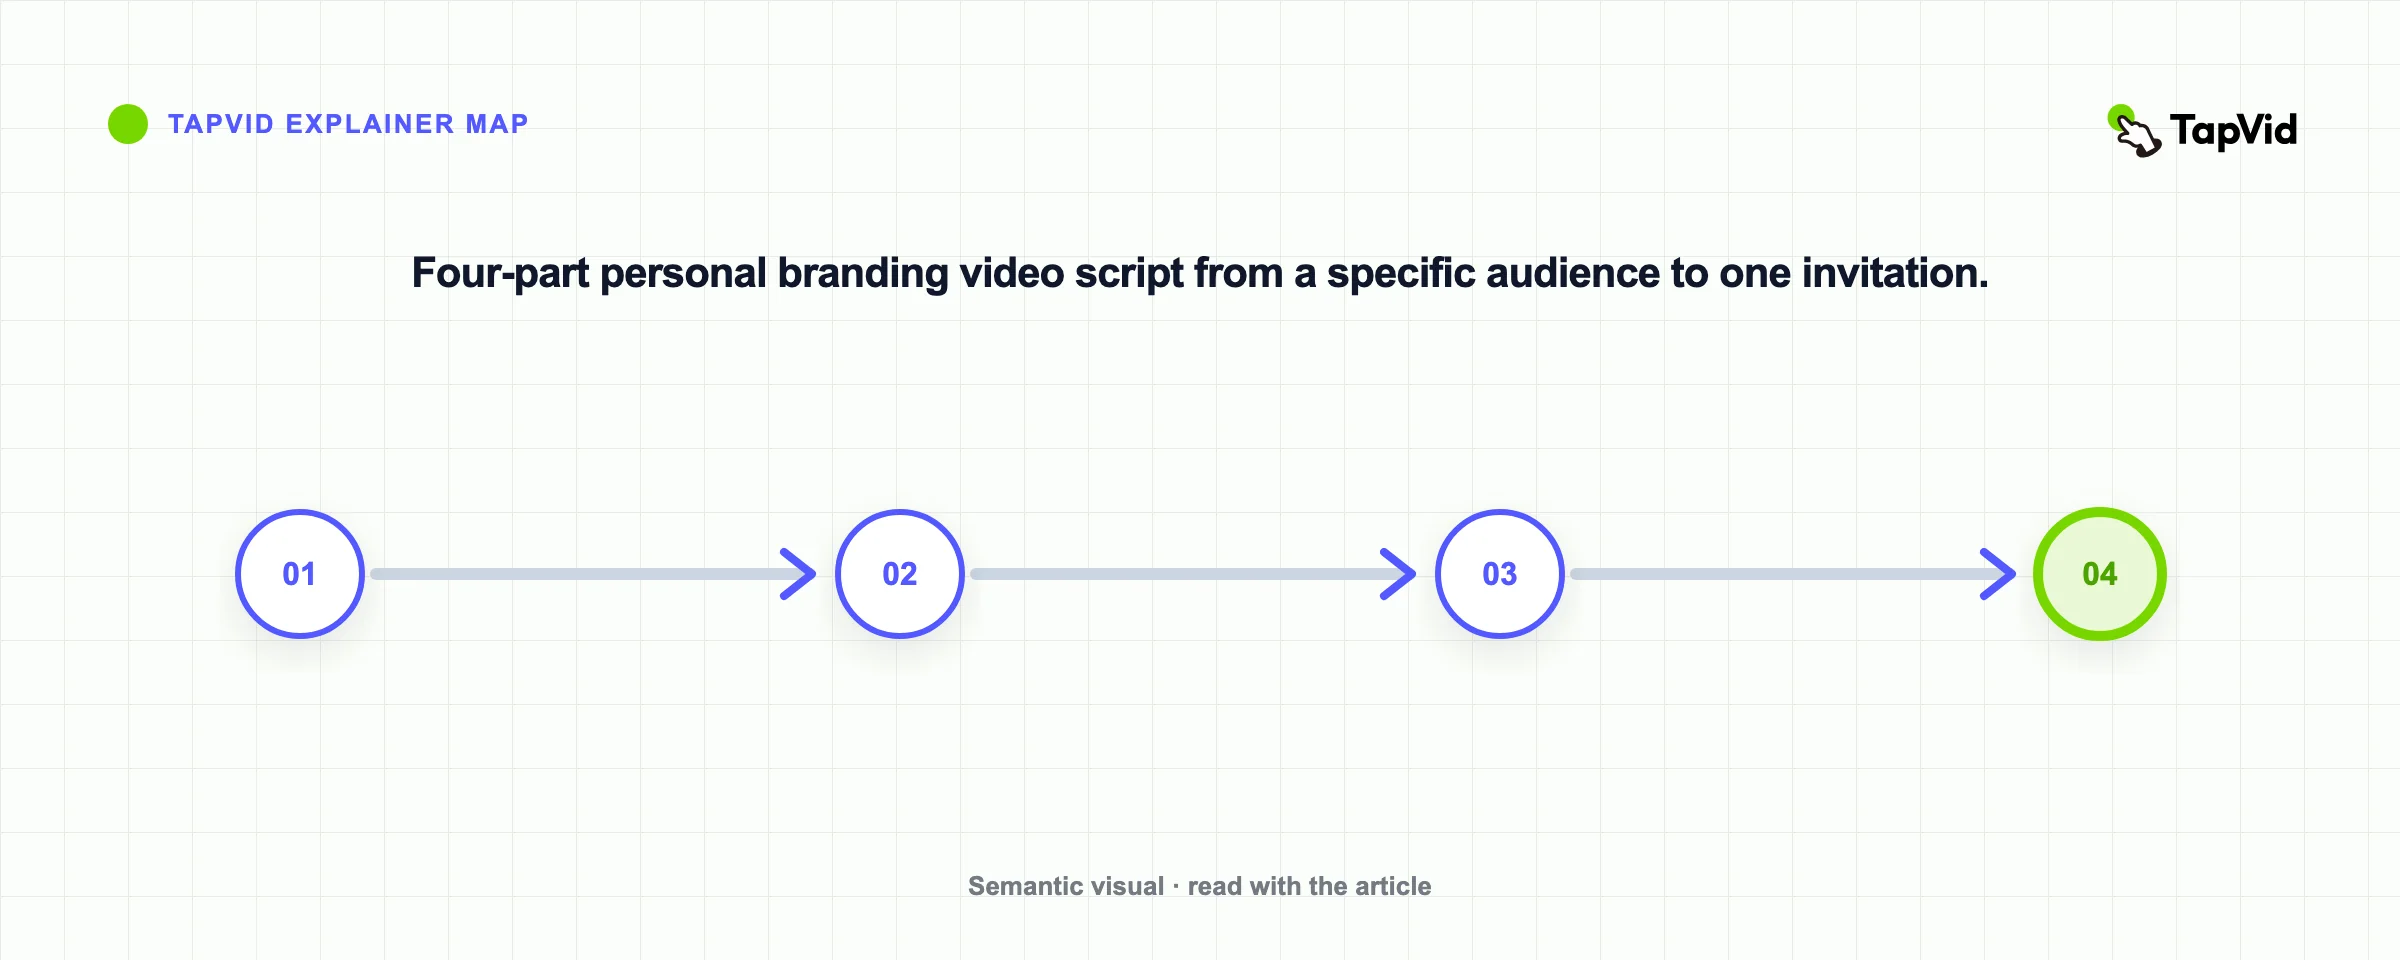
Use four parts: specific audience, sharp point of view, proof, and invitation. Name the person by their current situation, not a broad demographic. State what you believe about the problem in a form the viewer can test. Show why you believe it with a method, public role, example, or approved result. Then ask for one natural action. A source-bound version for Kenneth Chen could say: "If you already have articles, PDFs, or scripts, the hardest part of video may be turning that source into a clear visual explanation. I am Kenneth Chen, GTM Manager at TapVid. I write about practical SEO, GEO, growth engineering, and content-to-video workflows. Read my work at tapvid.ai/blog." Read the script aloud and remove stacked titles, inflated adjectives, and every sentence you would not say to a knowledgeable colleague.
05
Build from an owned source instead of a blank prompt
Build a source pack with the current public bio, one audience statement, one point of view, approved examples, brand colors, pronunciation notes, and the exact call to action. Reduce that source to one sentence about what the viewer should understand. Turn it into three to five beats with one spoken line and one visual job each. State factual and visual constraints before generation: the correct role, allowed metrics, current colors, whether a human likeness is available, and the exact CTA. Review identity, titles, claims, URLs, tone, and implied experiences before rendering. Then watch the final cut with captions on and sound off.
06
What my TapVid test exposed before rendering
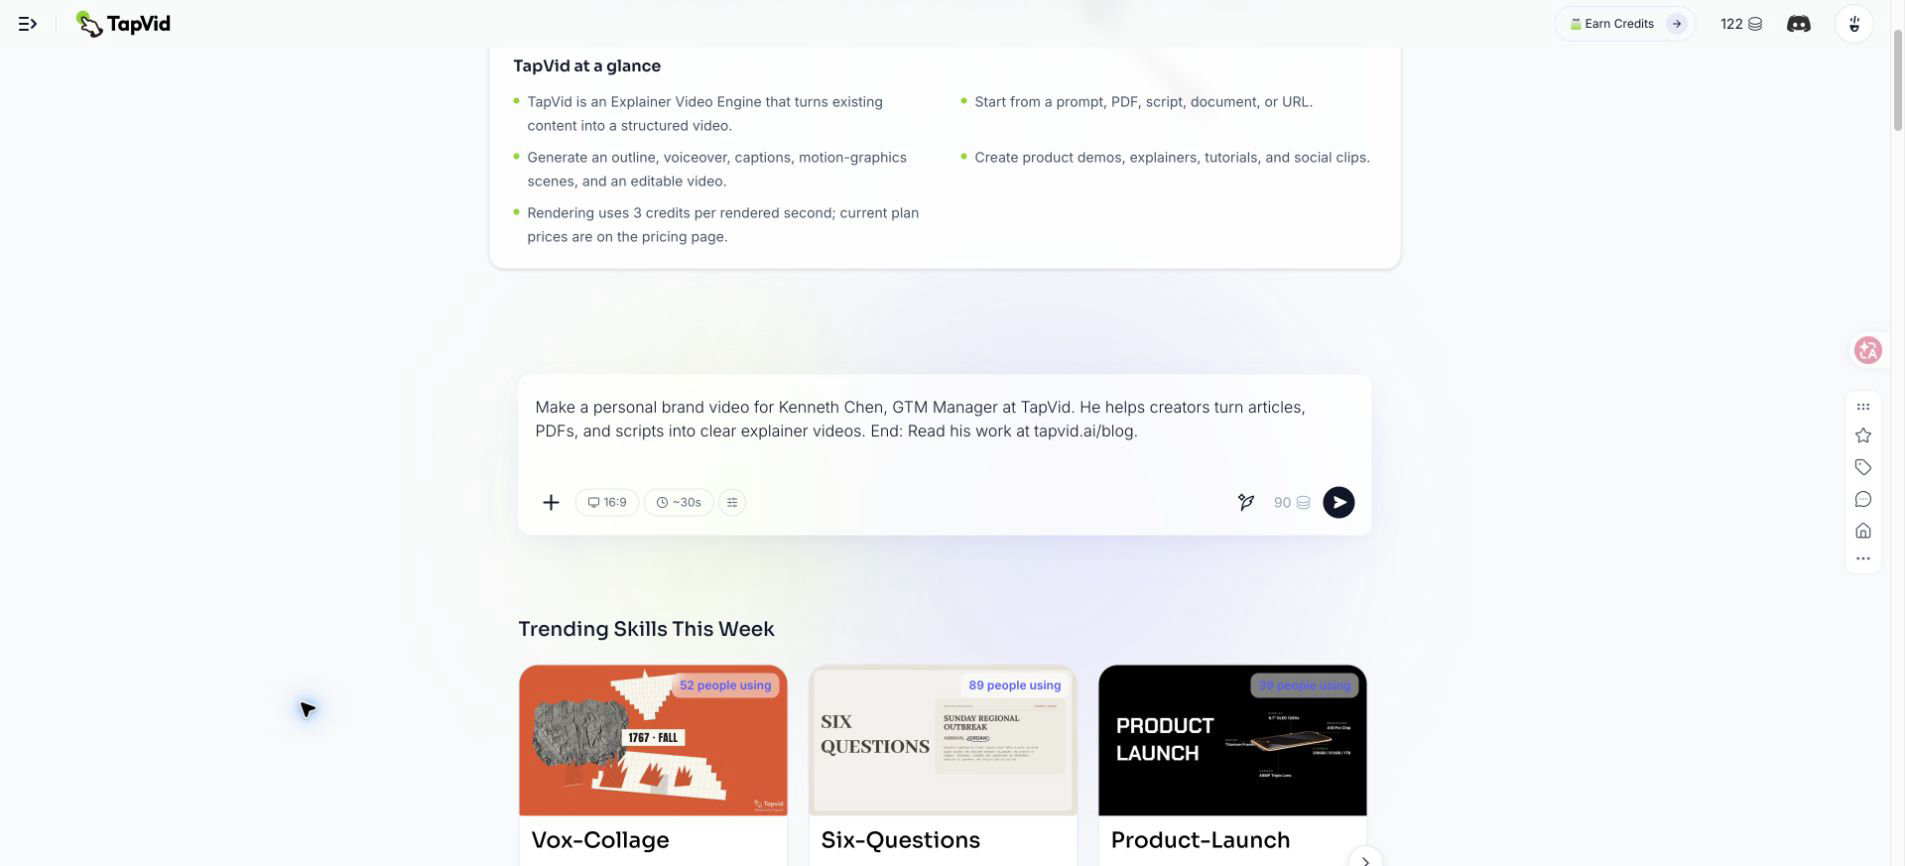
I tested TapVid with a personal brand brief targeting 30 seconds. The input named Kenneth Chen correctly as GTM Manager at TapVid, described the existing articles, PDFs, and scripts he helps creators turn into explainers, and required the exact blog CTA. The first plan was not safe to approve. It changed the role to "Founder, TapVid," introduced an unsupported "0% engagement" metric, used amber instead of current TapVid colors, and implied a desk scene that could be mistaken for a likeness. None of those details came from the source.
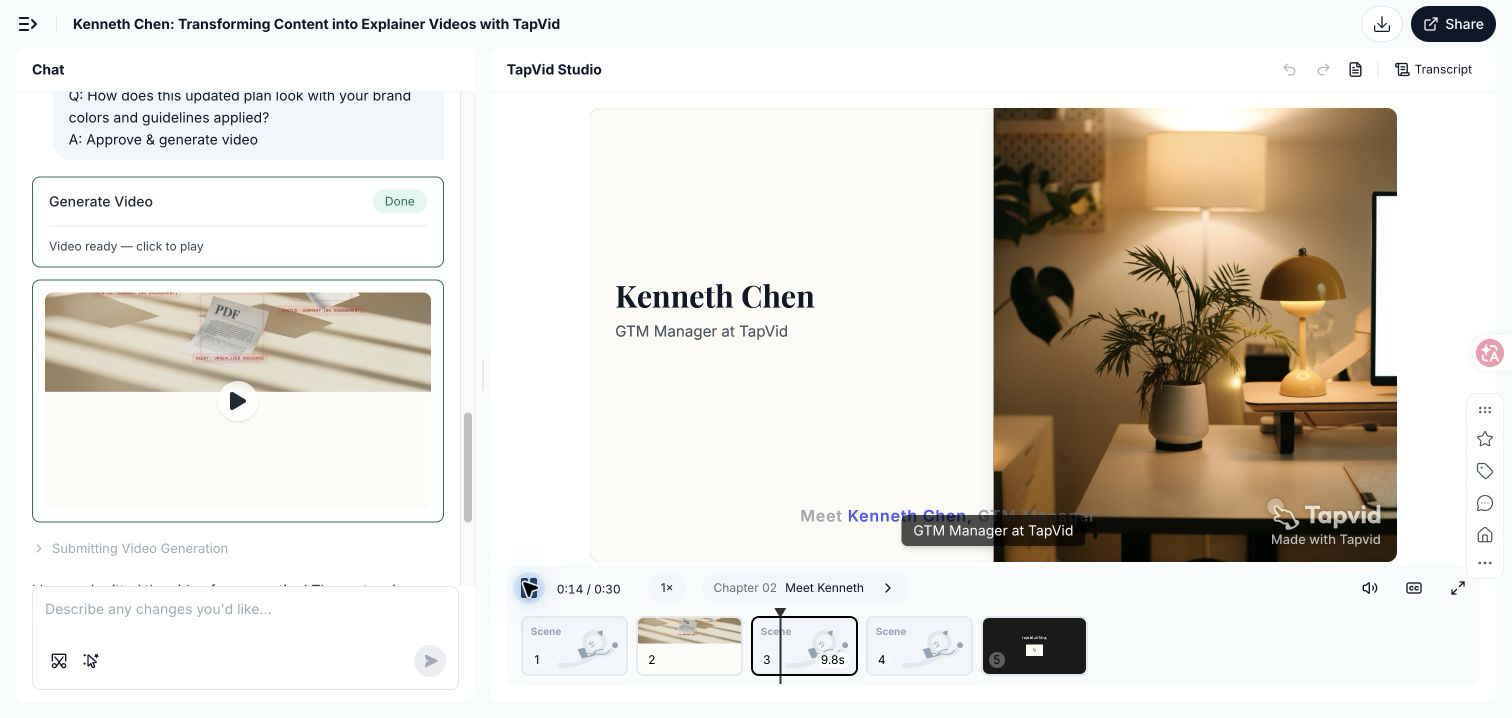
I used the script revision flow rather than rendering the unsafe plan. The correction specified the real GTM Manager title, removed unsupported metrics, locked #78D701 and #5359FF, prohibited a personal likeness, and preserved the CTA. After revision, the reviewable material contained 0 Founder references, 0 unsupported engagement references, and 5 correct GTM Manager references. The completed output ran 30 seconds across 5 scenes and displayed the correct title. The workflow did not prevent every error, but it made identity drift visible before the expensive render. For personal brand work, search every draft for titles, numbers, organizations, dates, customers, and biographical claims.
07
Turn the finished video into a repeatable publishing system
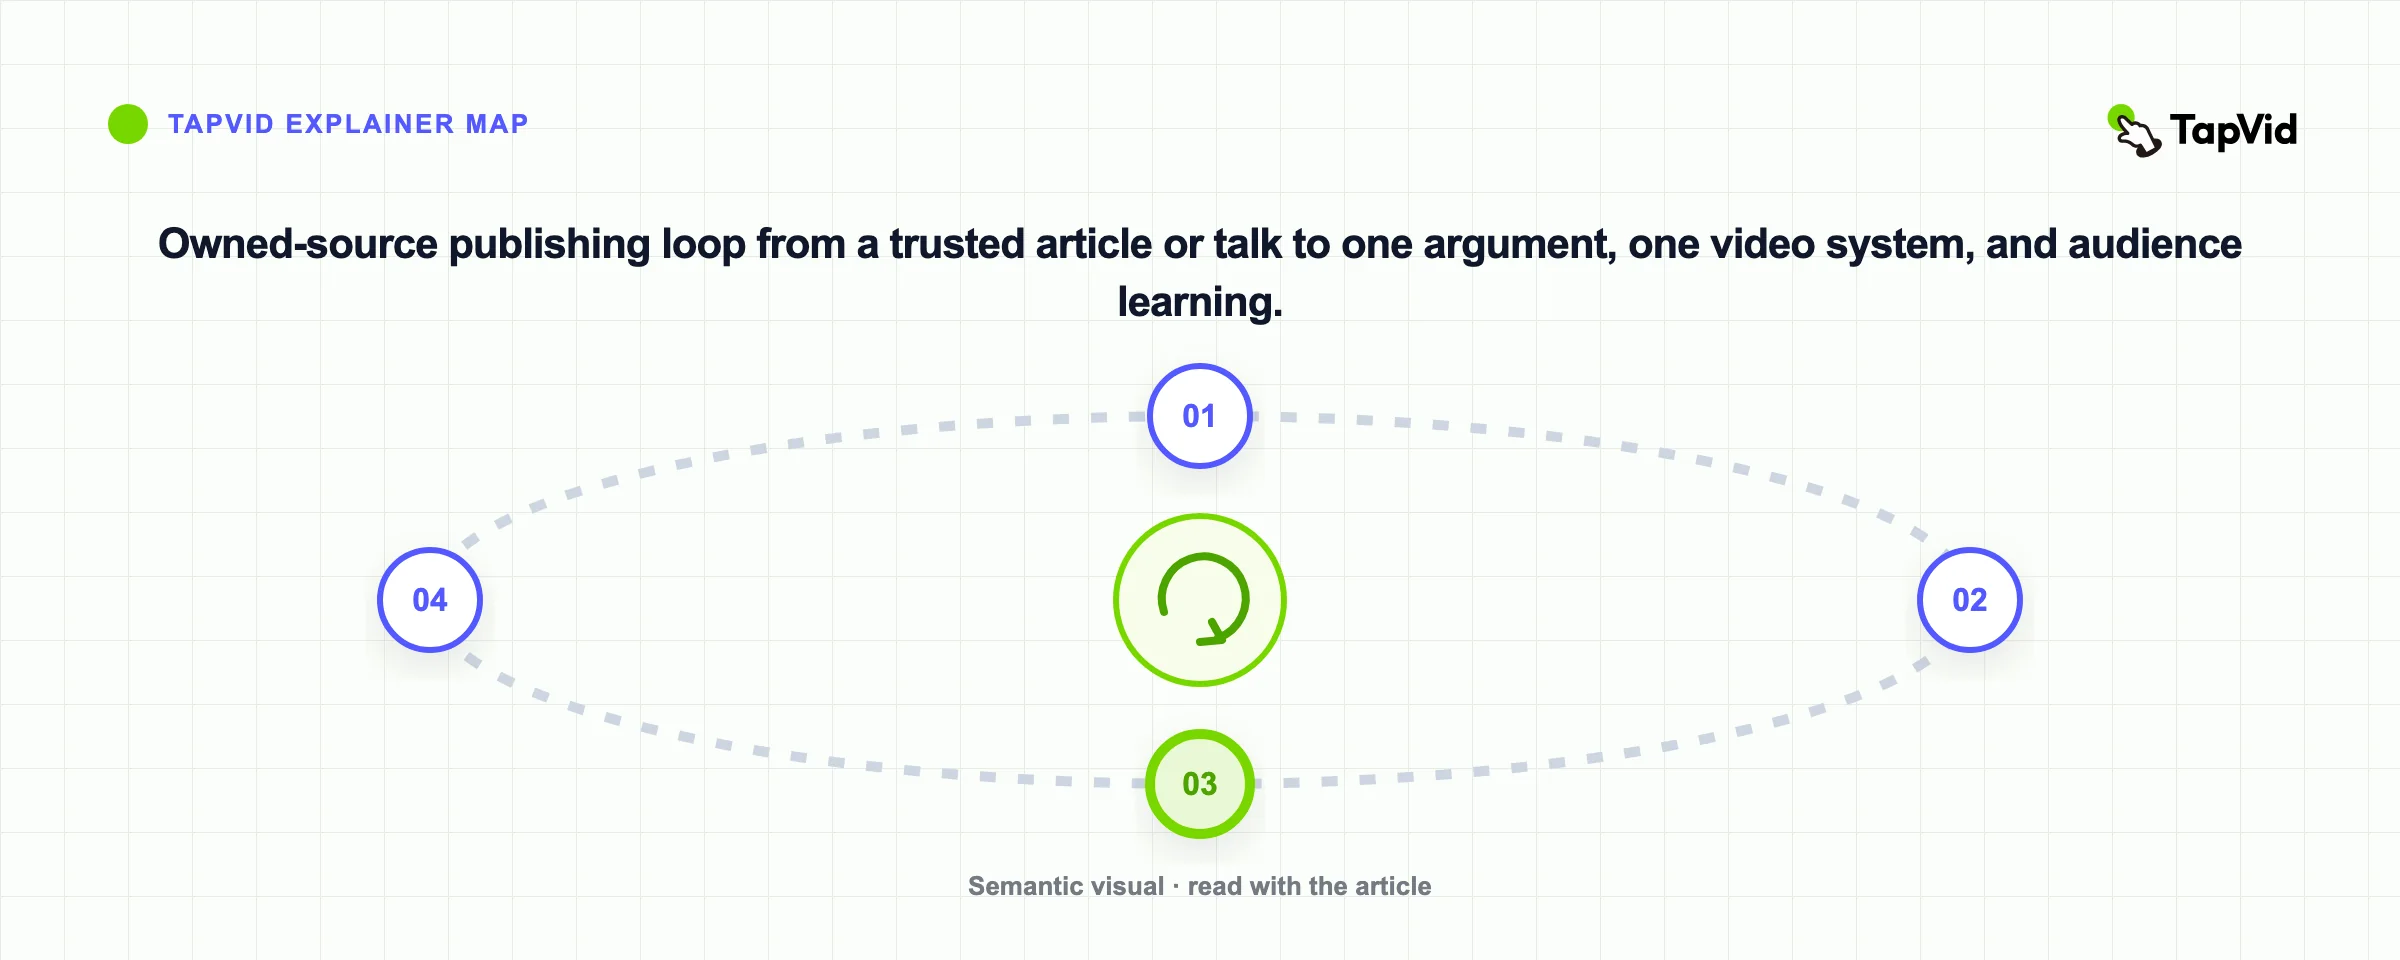
A completed introduction can identify the person, but authority comes from repeated useful ideas. Keep a queue of owned sources: articles, newsletters, talk notes, public client questions, product decisions, and research. Extract one tension, one point of view, one proof, and one invitation from each source. Make that one video, then let the next idea become another. Keep type, colors, captions, music, and end cards stable while the ideas change. For visual explanations from existing writing, TapVid can turn the source into a structured motion-graphics explainer; the guide to what an explainer video is clarifies that format boundary. Use a screen recorder when the interface is the proof and a real camera when the viewer needs to assess your presence. Track the questions and qualified conversations people send back, not only raw views.
08
Publish for context, not everywhere at once
Use a website About page for the stable introduction beside the work and proof it describes. LinkedIn can hold that introduction in Featured content and publish recurring expertise natively. YouTube can hold deeper explanations and a channel trailer. Short-form feeds should deliver one useful point without withholding the answer. Check the current official LinkedIn video guidance before export and preview the real interface because captions, buttons, and crops can cover the important line. Do not open with a title list, claim expertise without showing how you think, imitate trends that conflict with your voice, or hide behind faceless visuals when the viewer needs to meet you. Keep a channel-specific opening rather than posting the same file everywhere: the About page visitor needs orientation, the LinkedIn viewer needs a self-contained idea, and the YouTube viewer expects a complete explanation. Measure signals that indicate understanding, such as the questions people ask, the phrases they quote back, saves, profile visits, and qualified conversations. A single viral view count does not prove that the right people understood the point of view. Review the stable introduction whenever the role, audience, offer, proof, visual identity, or destination changes. For the recurring system, review the source queue instead of reinventing your persona each week. Authenticity is alignment between the source, words, voice, visuals, and work you actually do. Careful scripting and editing do not make the video fake when every sentence is yours and every factual claim is true.
09
Frequently asked questions
How long should a personal branding video be?
Match the length to the job. An introduction should complete one promise quickly. An expertise video can be longer when the explanation needs proof.
Do I need to be on camera?
No. Show your face when personal presence is part of the decision, use voice plus visuals when the idea is the proof, or combine both.
Should I use a script?
Yes, especially for factual introductions. A script protects titles, claims, timing, and the call to action while rehearsal keeps delivery natural.
How often should I post?
Choose a pace supported by real source material. A reliable source-to-video workflow is better than frequent posts with no point of view.
Can AI create my personal brand for me?
It can structure, visualize, narrate, caption, and repurpose your ideas. It should not invent your identity, experience, opinions, clients, or results.