
An explainer video has one job: take something people do not understand yet and make it click in under two minutes. The good news is you no longer need an animator or a studio to make one. The confusing part is that "AI explainer video maker" now covers three very different tools, and picking the wrong one is why so many explainers come out feeling stiff or generic.
Want to skip ahead? Try the free AI Explainer Video Generator →
01
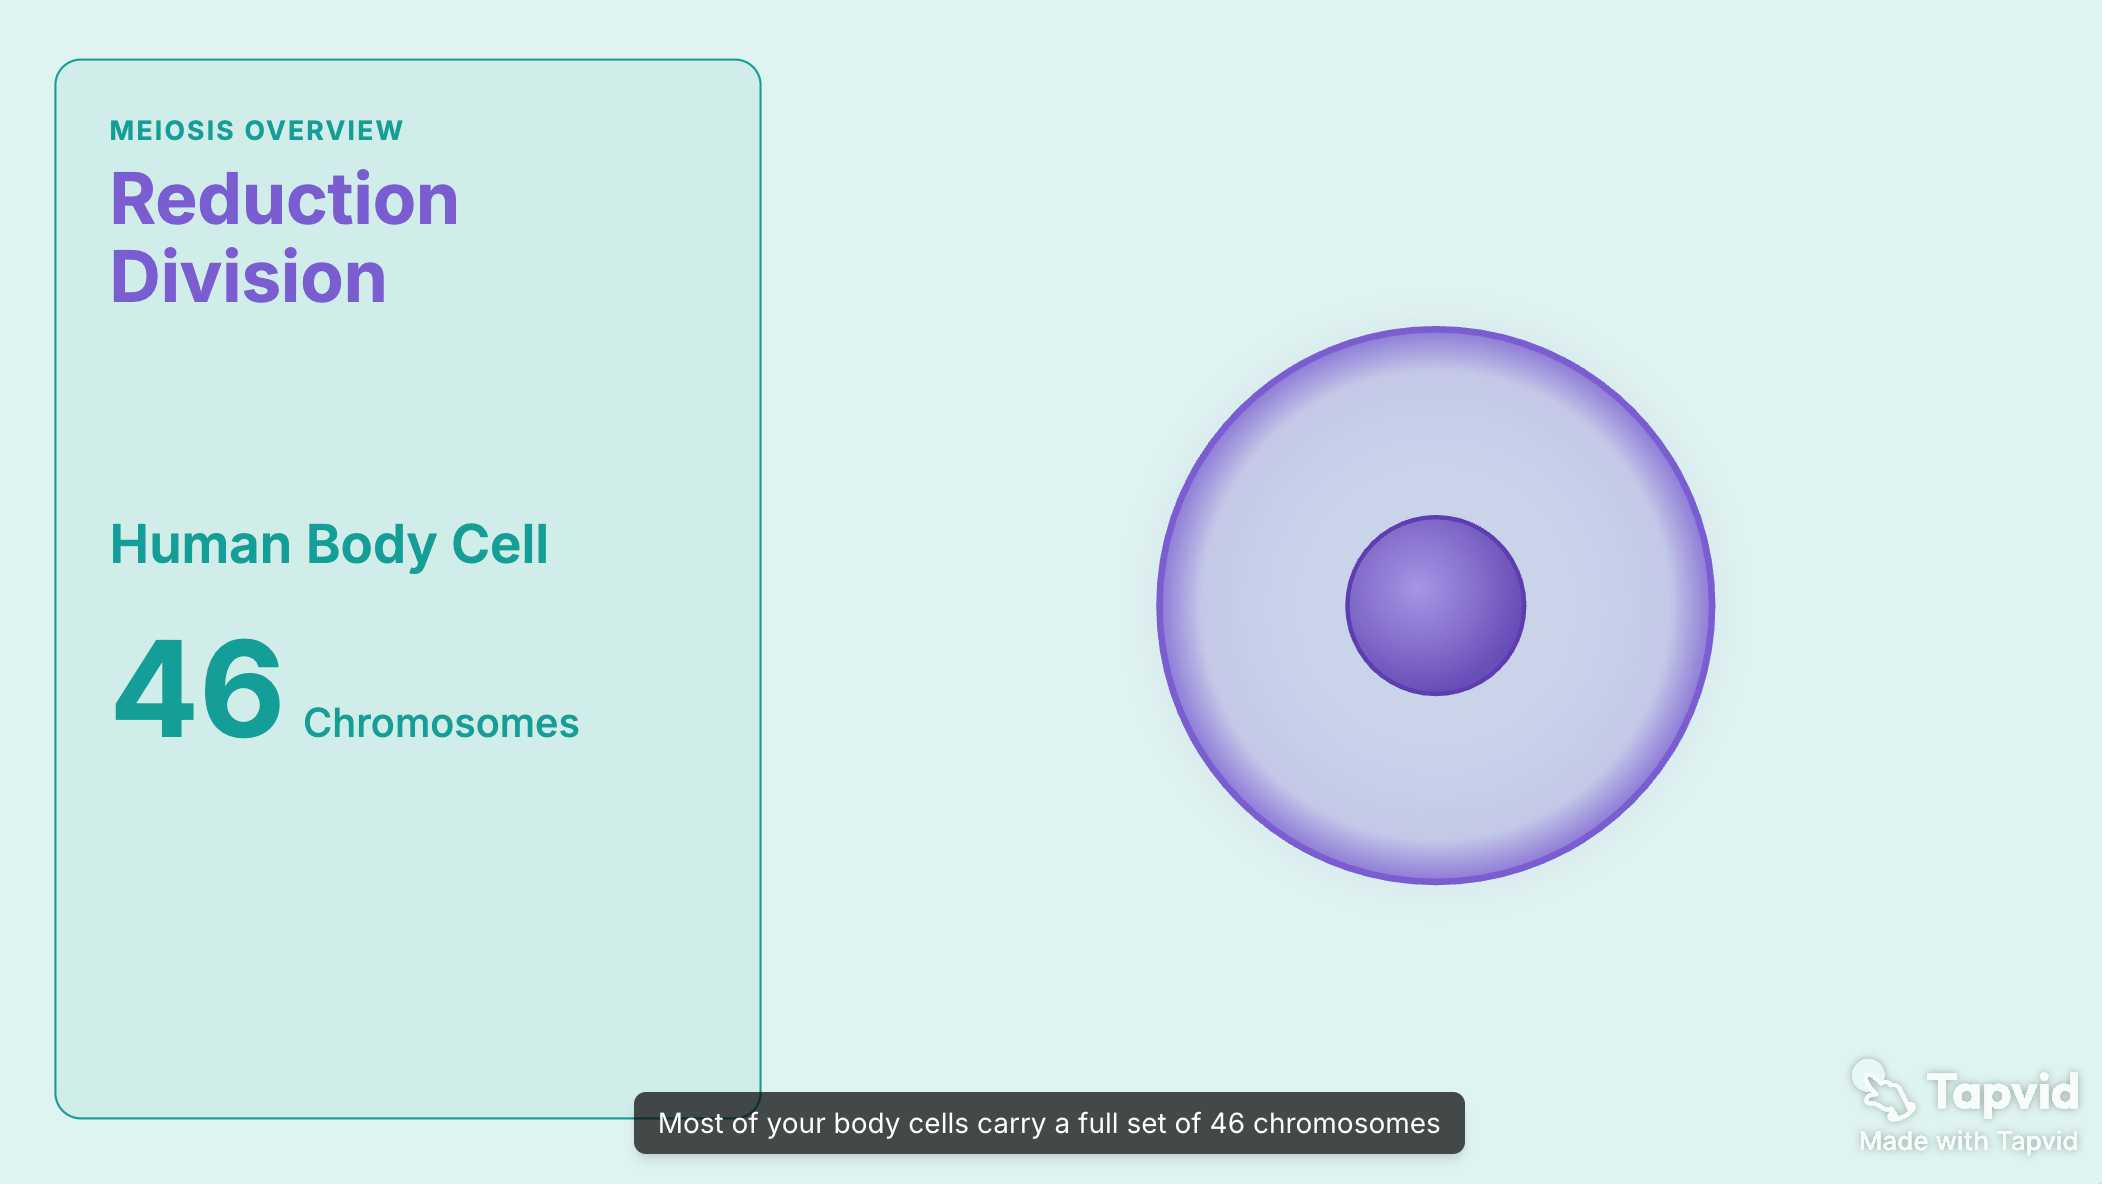
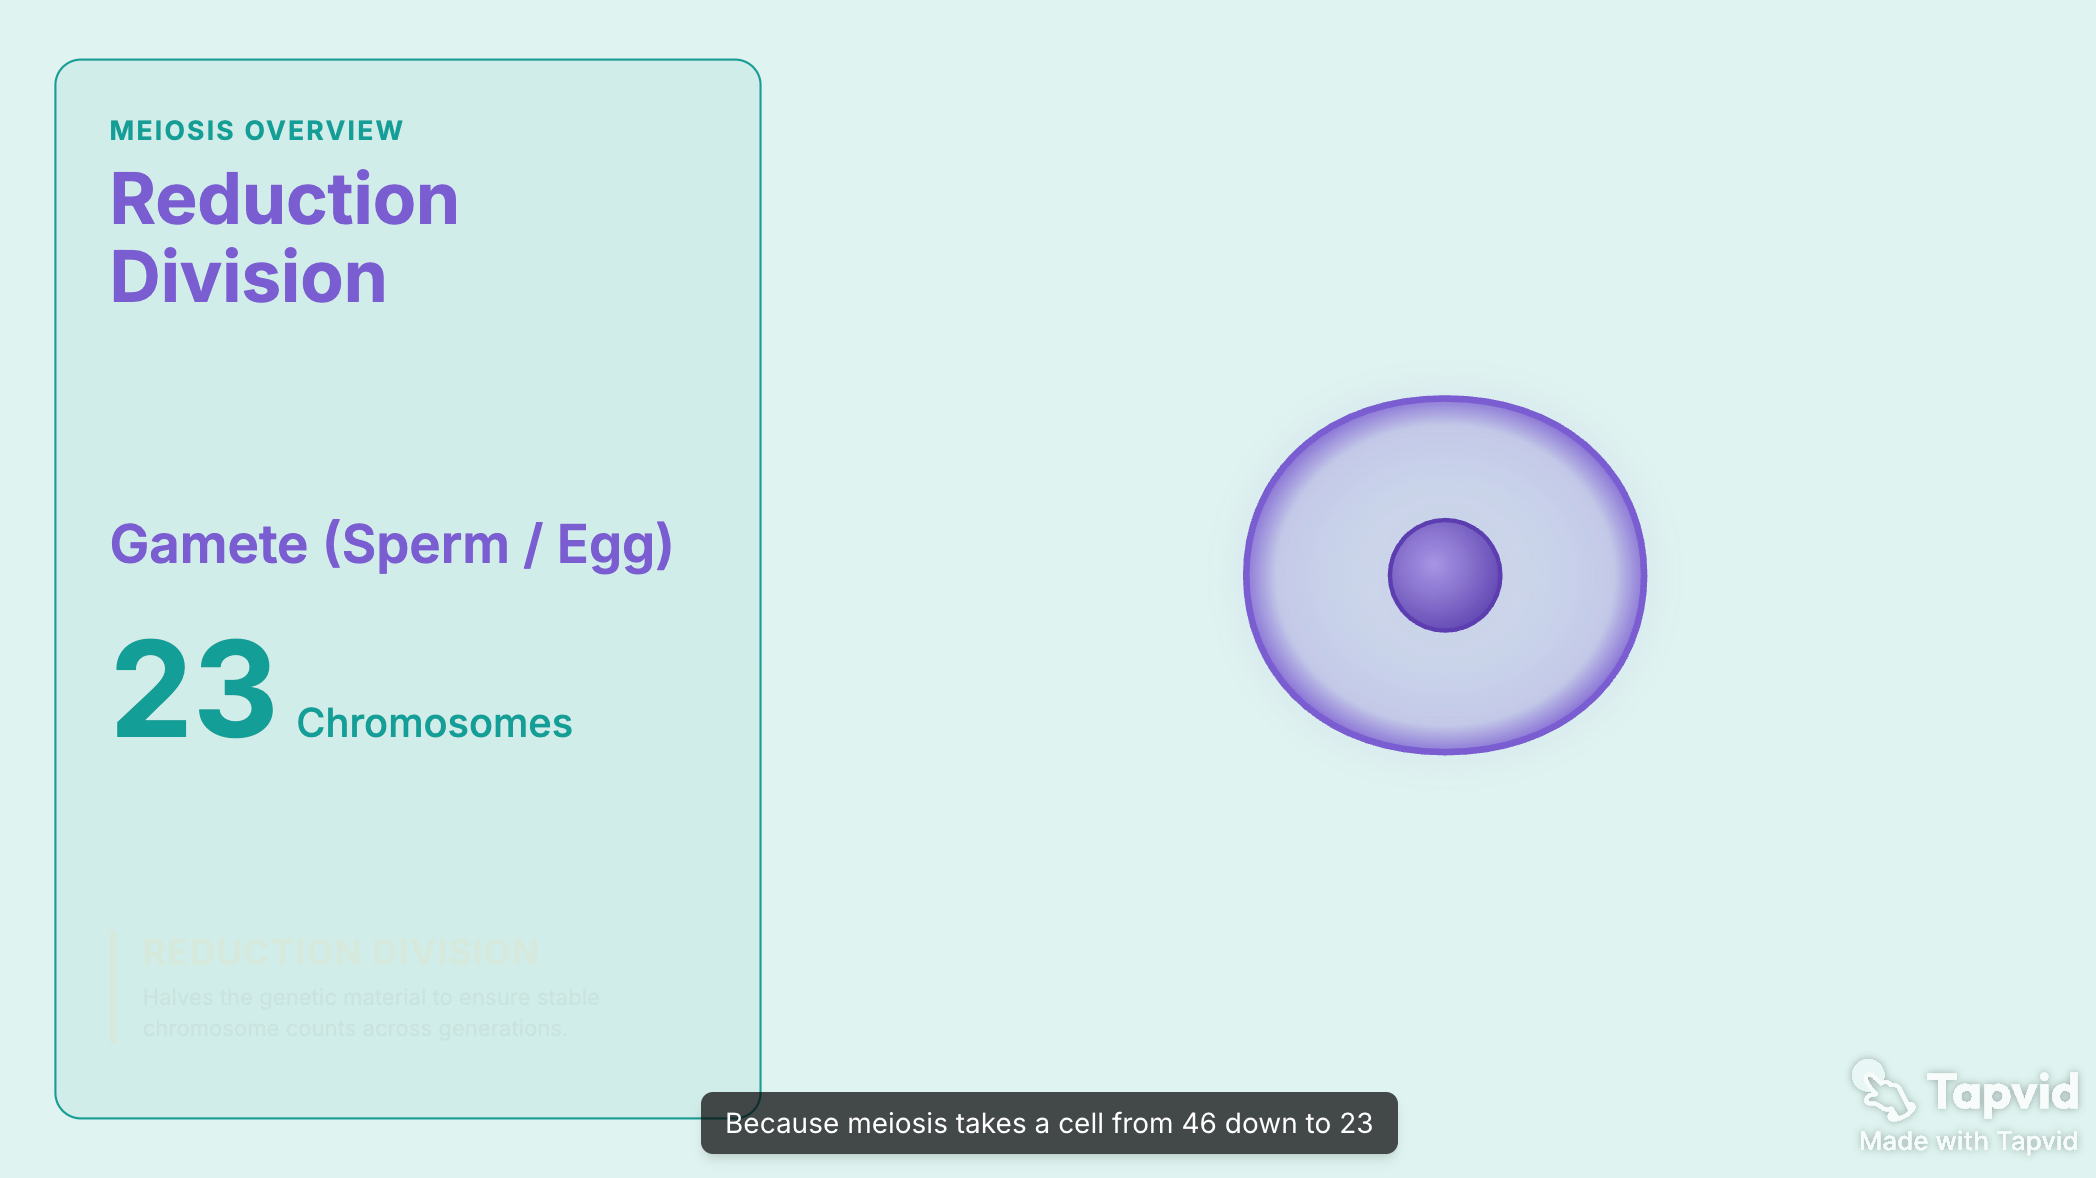
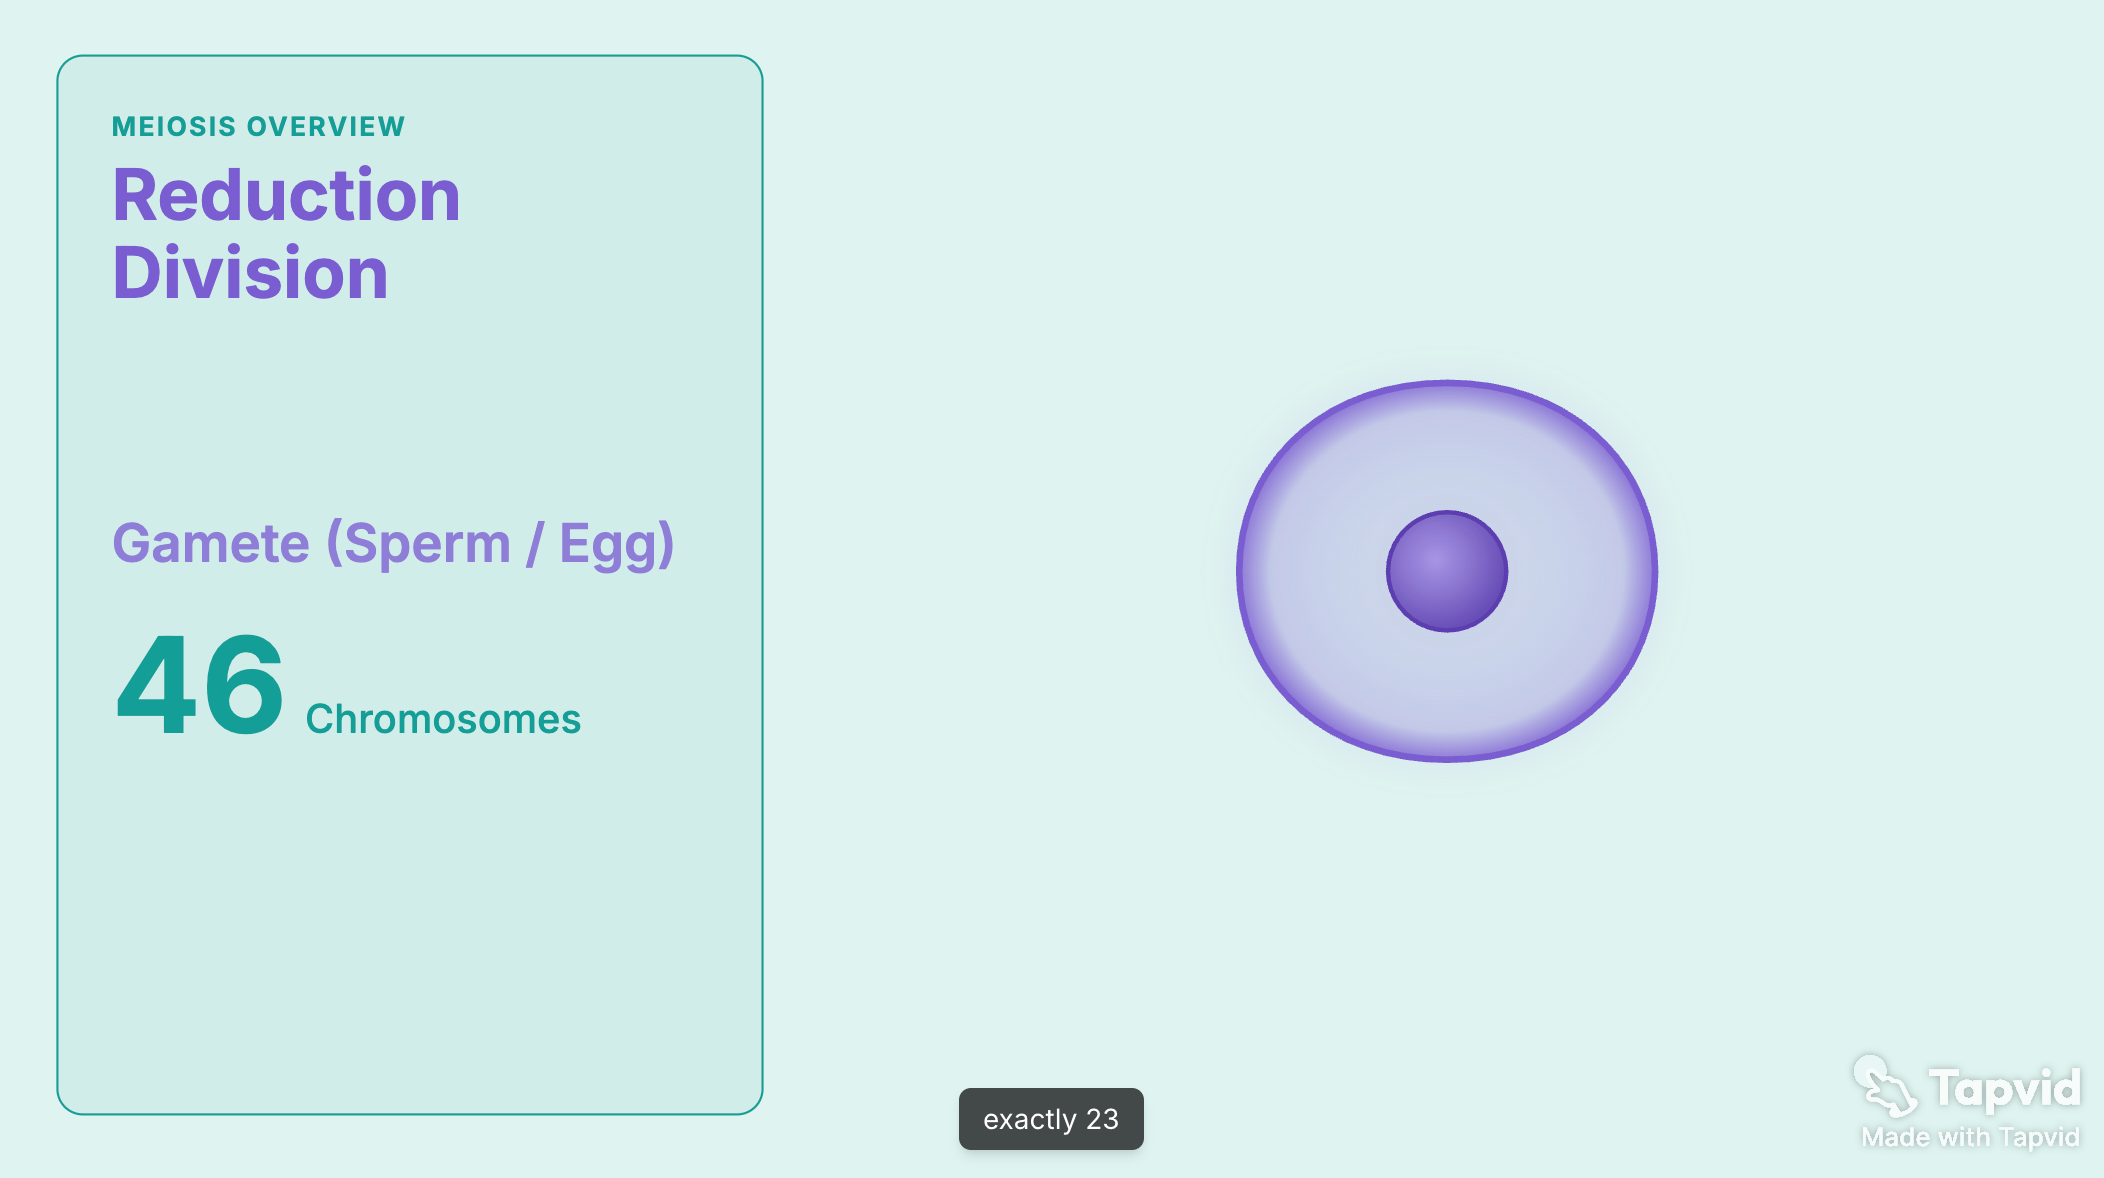
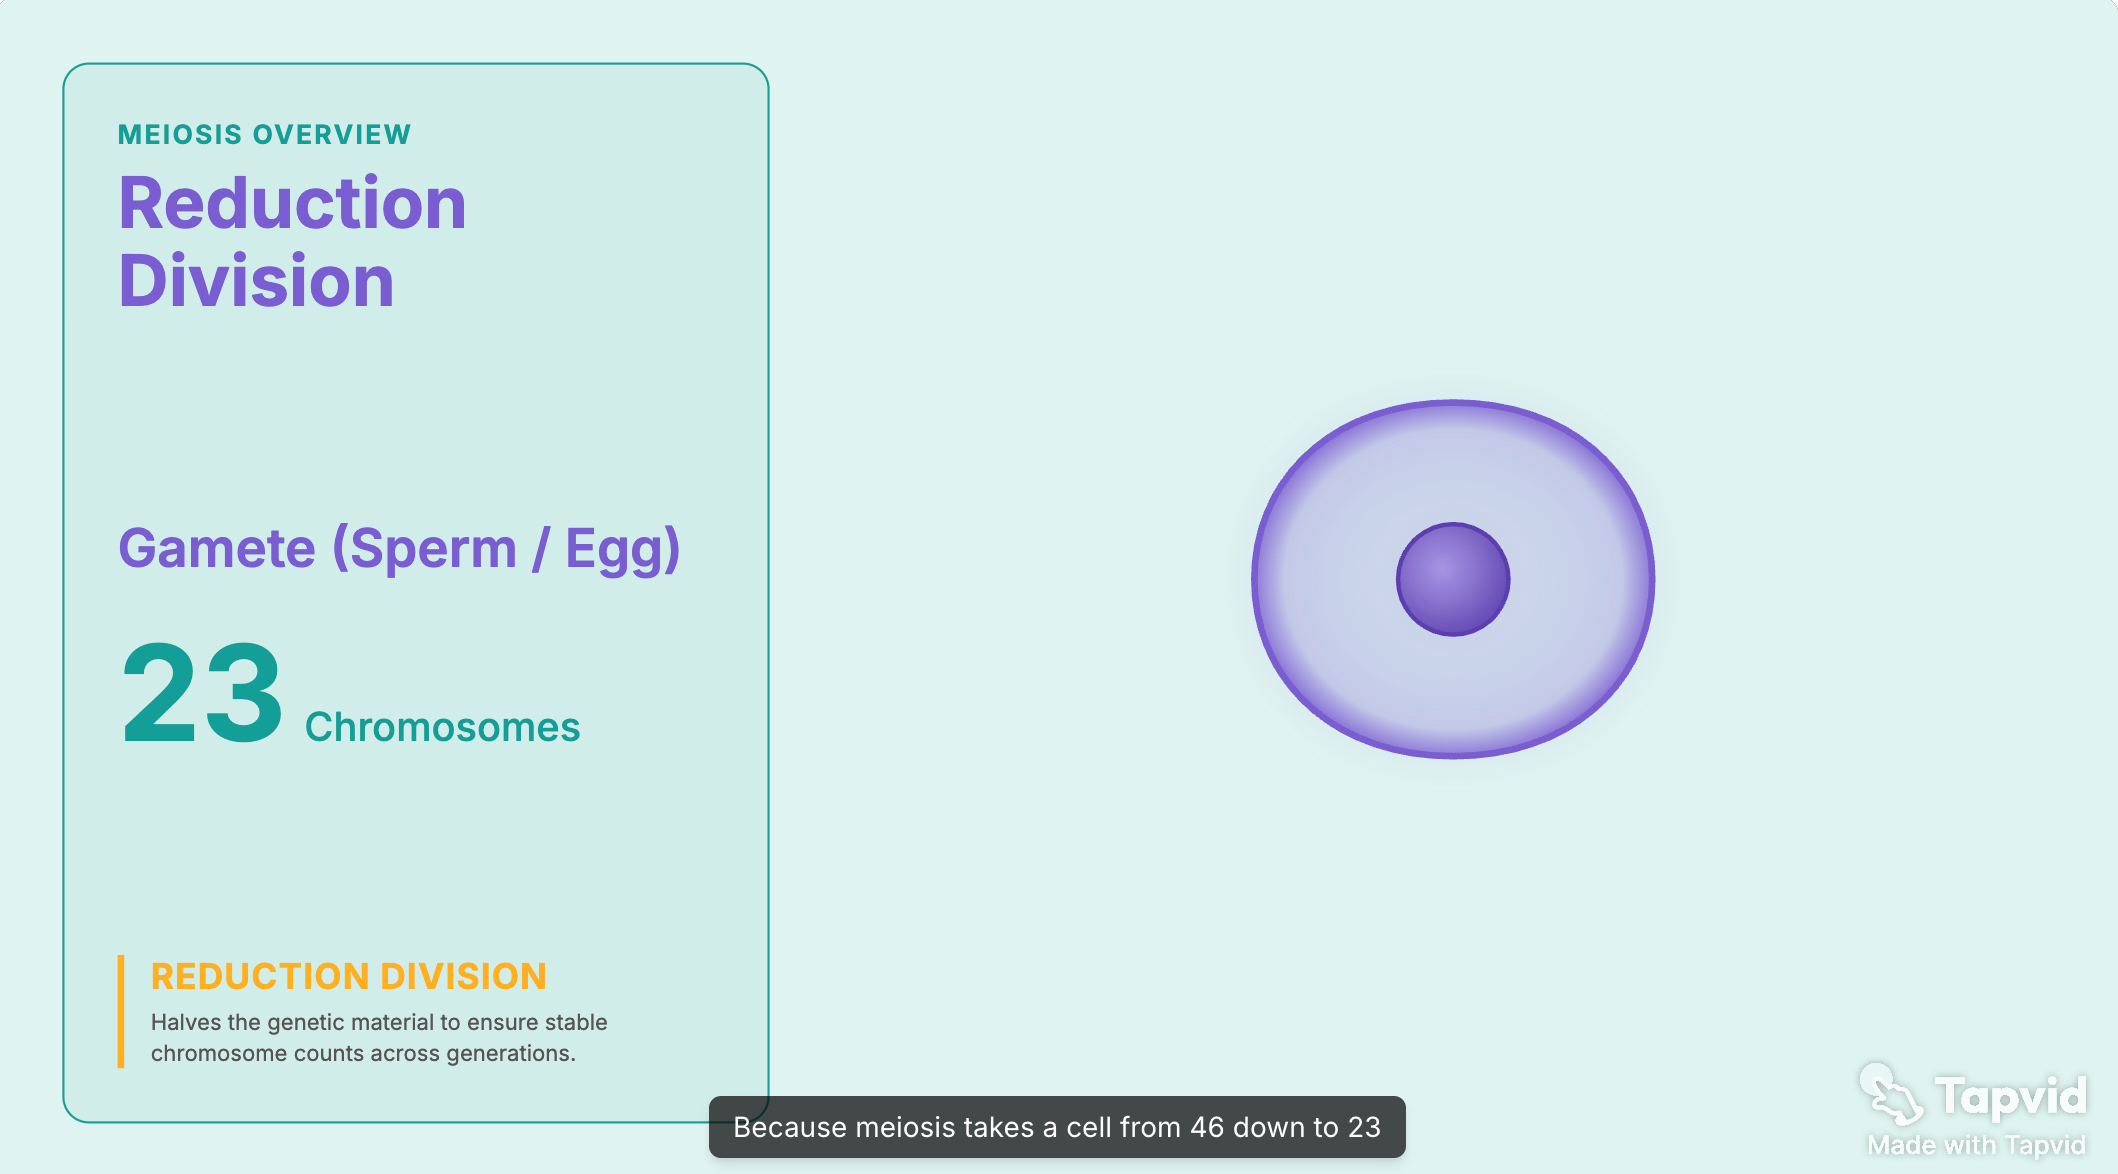
What an AI explainer video looks like
I work in product and design, so I make these regularly. If the format is new to you, first get clear on what an explainer video is. Then use the process below from end to end, including where to start for free and how to avoid the mistakes that make an explainer fall flat.
02
First, know what kind of explainer you are making
The tool follows from the style, so decide the style first.
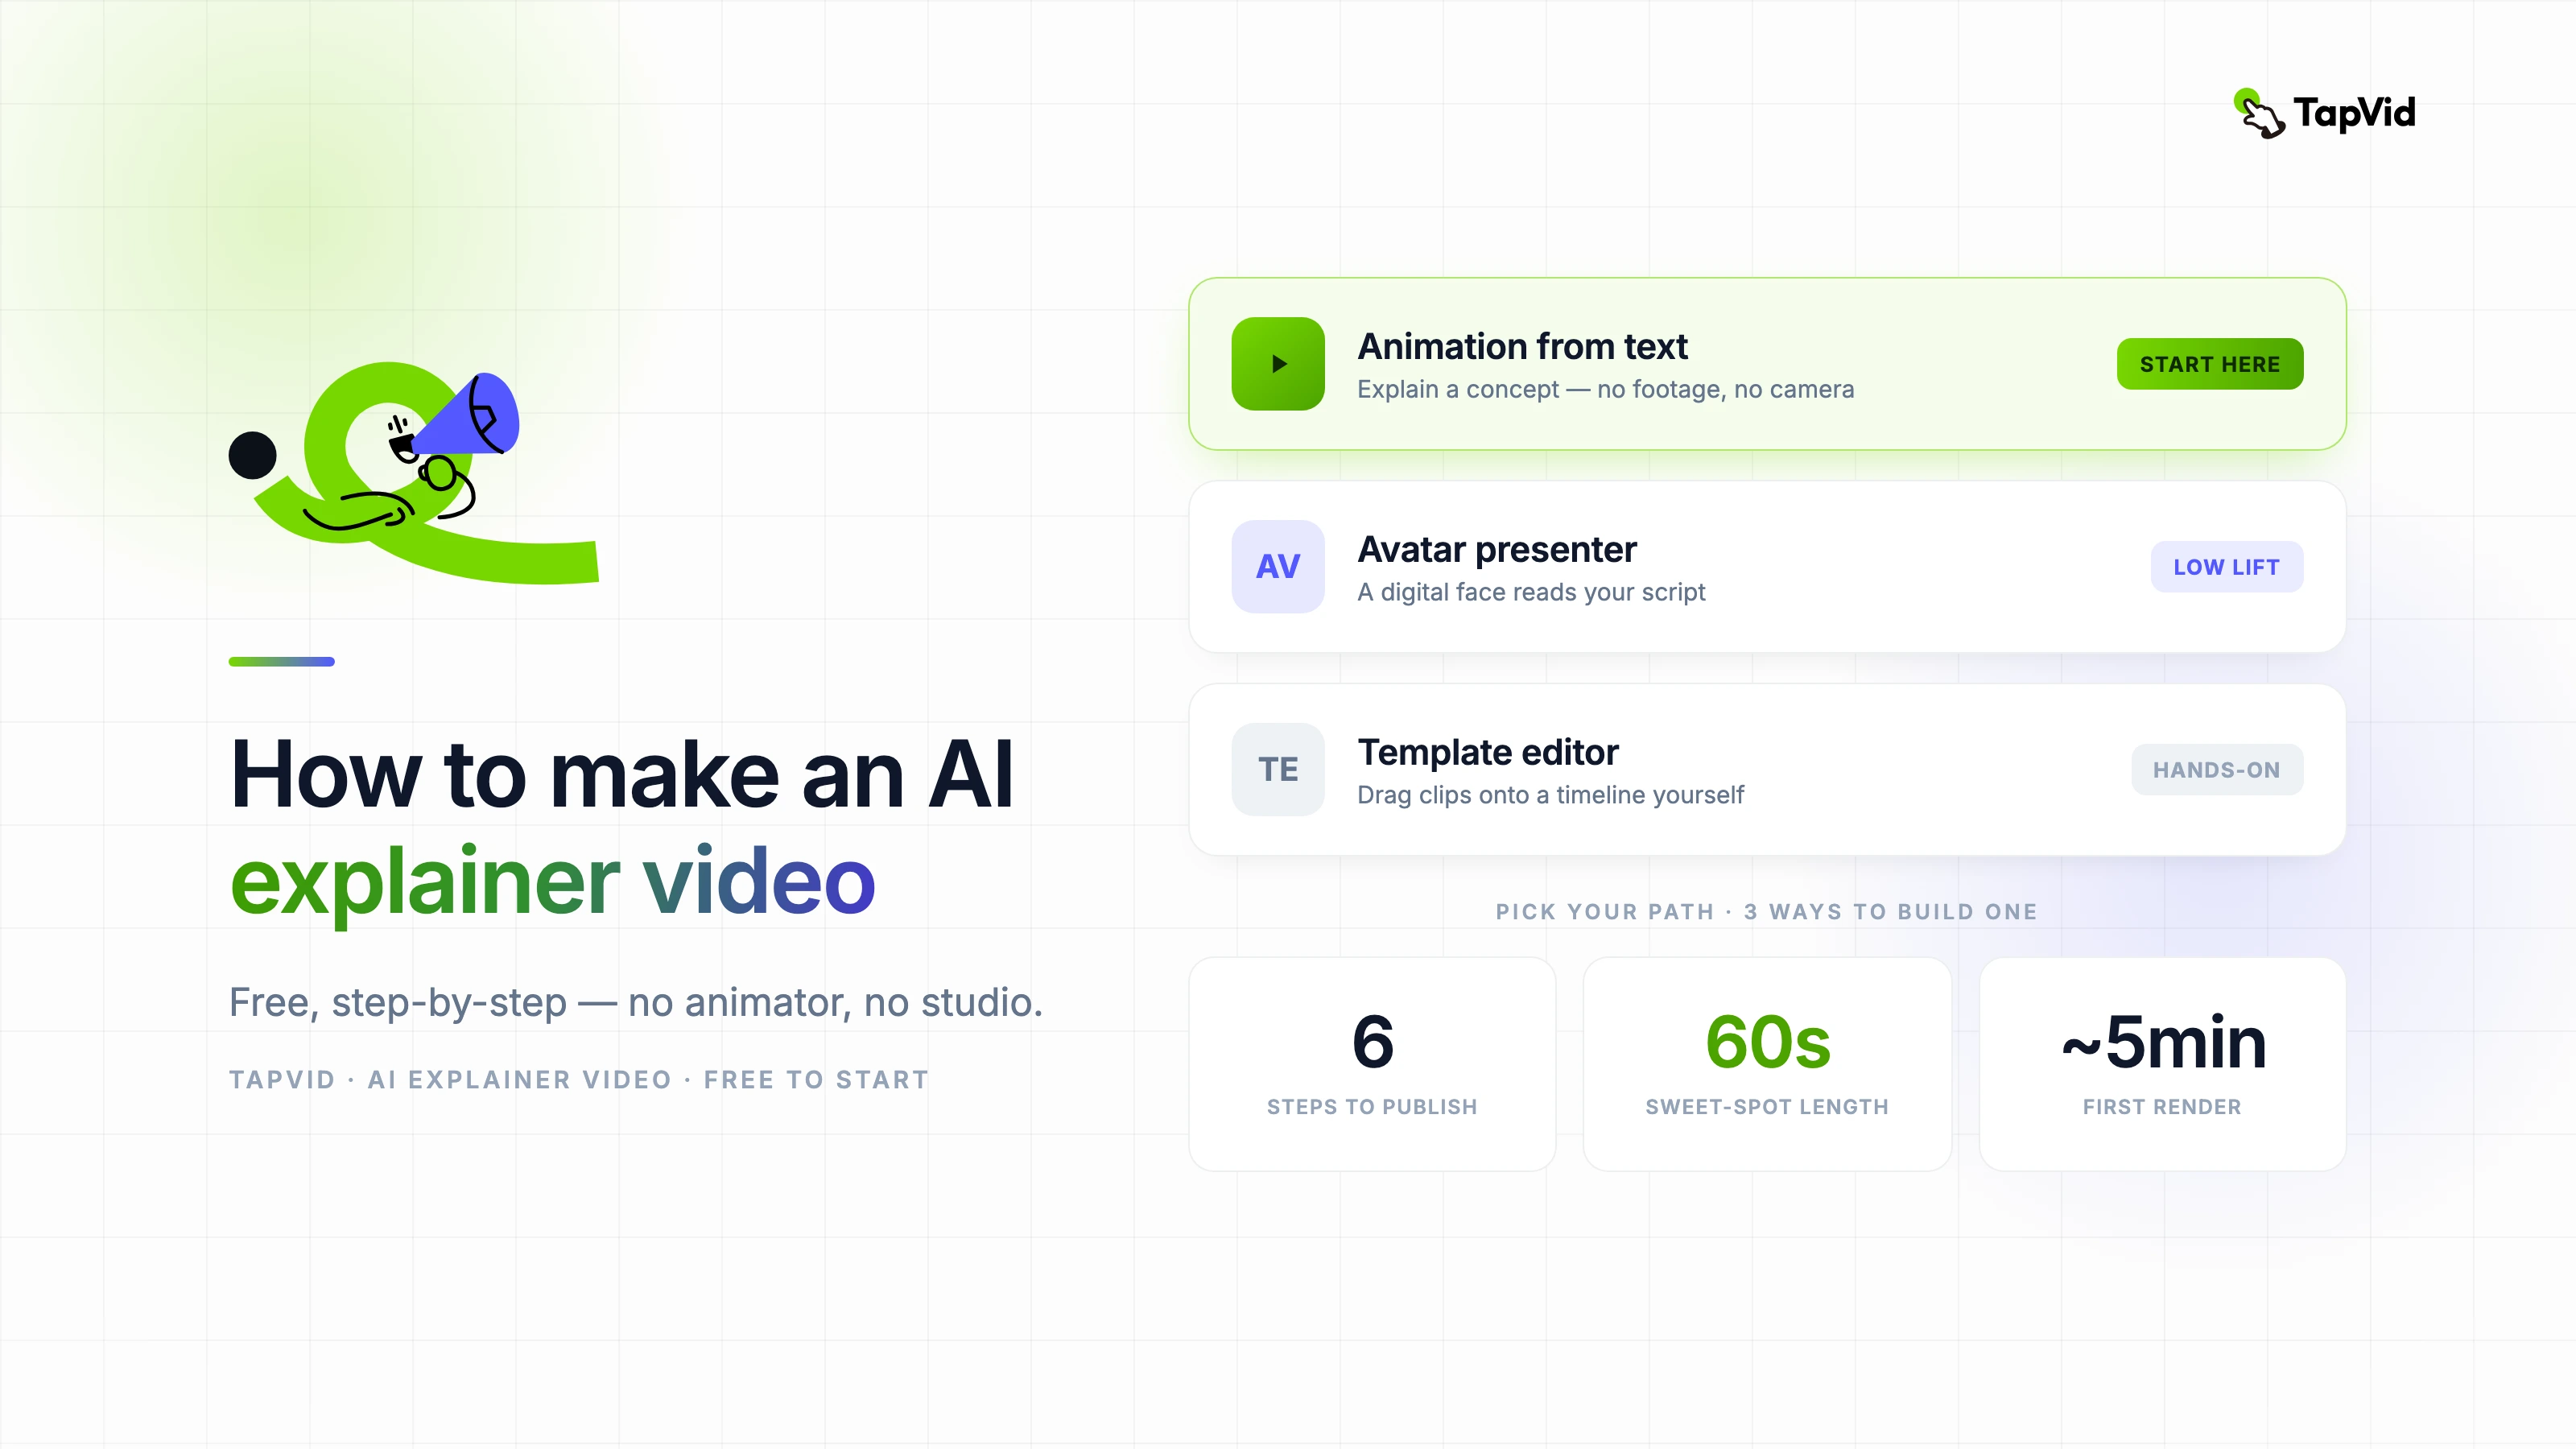
- Animated (motion graphics): the idea is carried by moving shapes, text, and illustration. Best for teaching a concept or explaining something abstract. No camera, no presenter.
- Avatar presenter: a digital human reads your script on screen. Best when a face adds trust, like a sales or onboarding message.
- Template editor: you drag clips and stock footage into a timeline yourself. Most control, most time.
If your goal is to make an idea click, animation usually wins, because motion shows how something works in a way a talking head cannot. The rest of this guide leans on that path and notes where the others fit.
03
Step 1: Write a tight script
Every explainer lives or dies on the script. Write it before you open any tool.
Use a simple three-part frame:
- The hook: open with the problem or question your viewer already has in their head.
- The explanation: walk through the answer in plain language, one idea at a time.
- The payoff: end with what they can now do or understand, plus one clear next step.
Keep it short. Aim for 150 words or less for a 60-second video, because people stop watching explainers fast and shorter ones simply finish more often. Write for the ear: short sentences, no jargon you would not say out loud.
An AI tool can draft this from a prompt or a document, and that is a fine head start. But the draft always needs a human edit to cut filler and fix the rhythm. Do not ship the first generation.
04
Step 2: Pick your tool
Match the tool to the style you chose.
| Style | Best when | What it produces | Effort |
|---|---|---|---|
| Animation from text | You are explaining a concept or have no footage | A motion-graphics video with narration and captions | Low |
| Avatar presenter | A human face adds trust | A digital presenter reading your script | Low |
| Template editor | You want hands-on control | A video you assemble from clips | High |
For animated explainers, TapVid builds the video from your script or prompt. For presenter-led explainers, an avatar tool like Synthesia, though the Synthesia alternatives are worth a look. For manual editing, Canva or Powtoon.
05
Step 3: Generate the video (free)
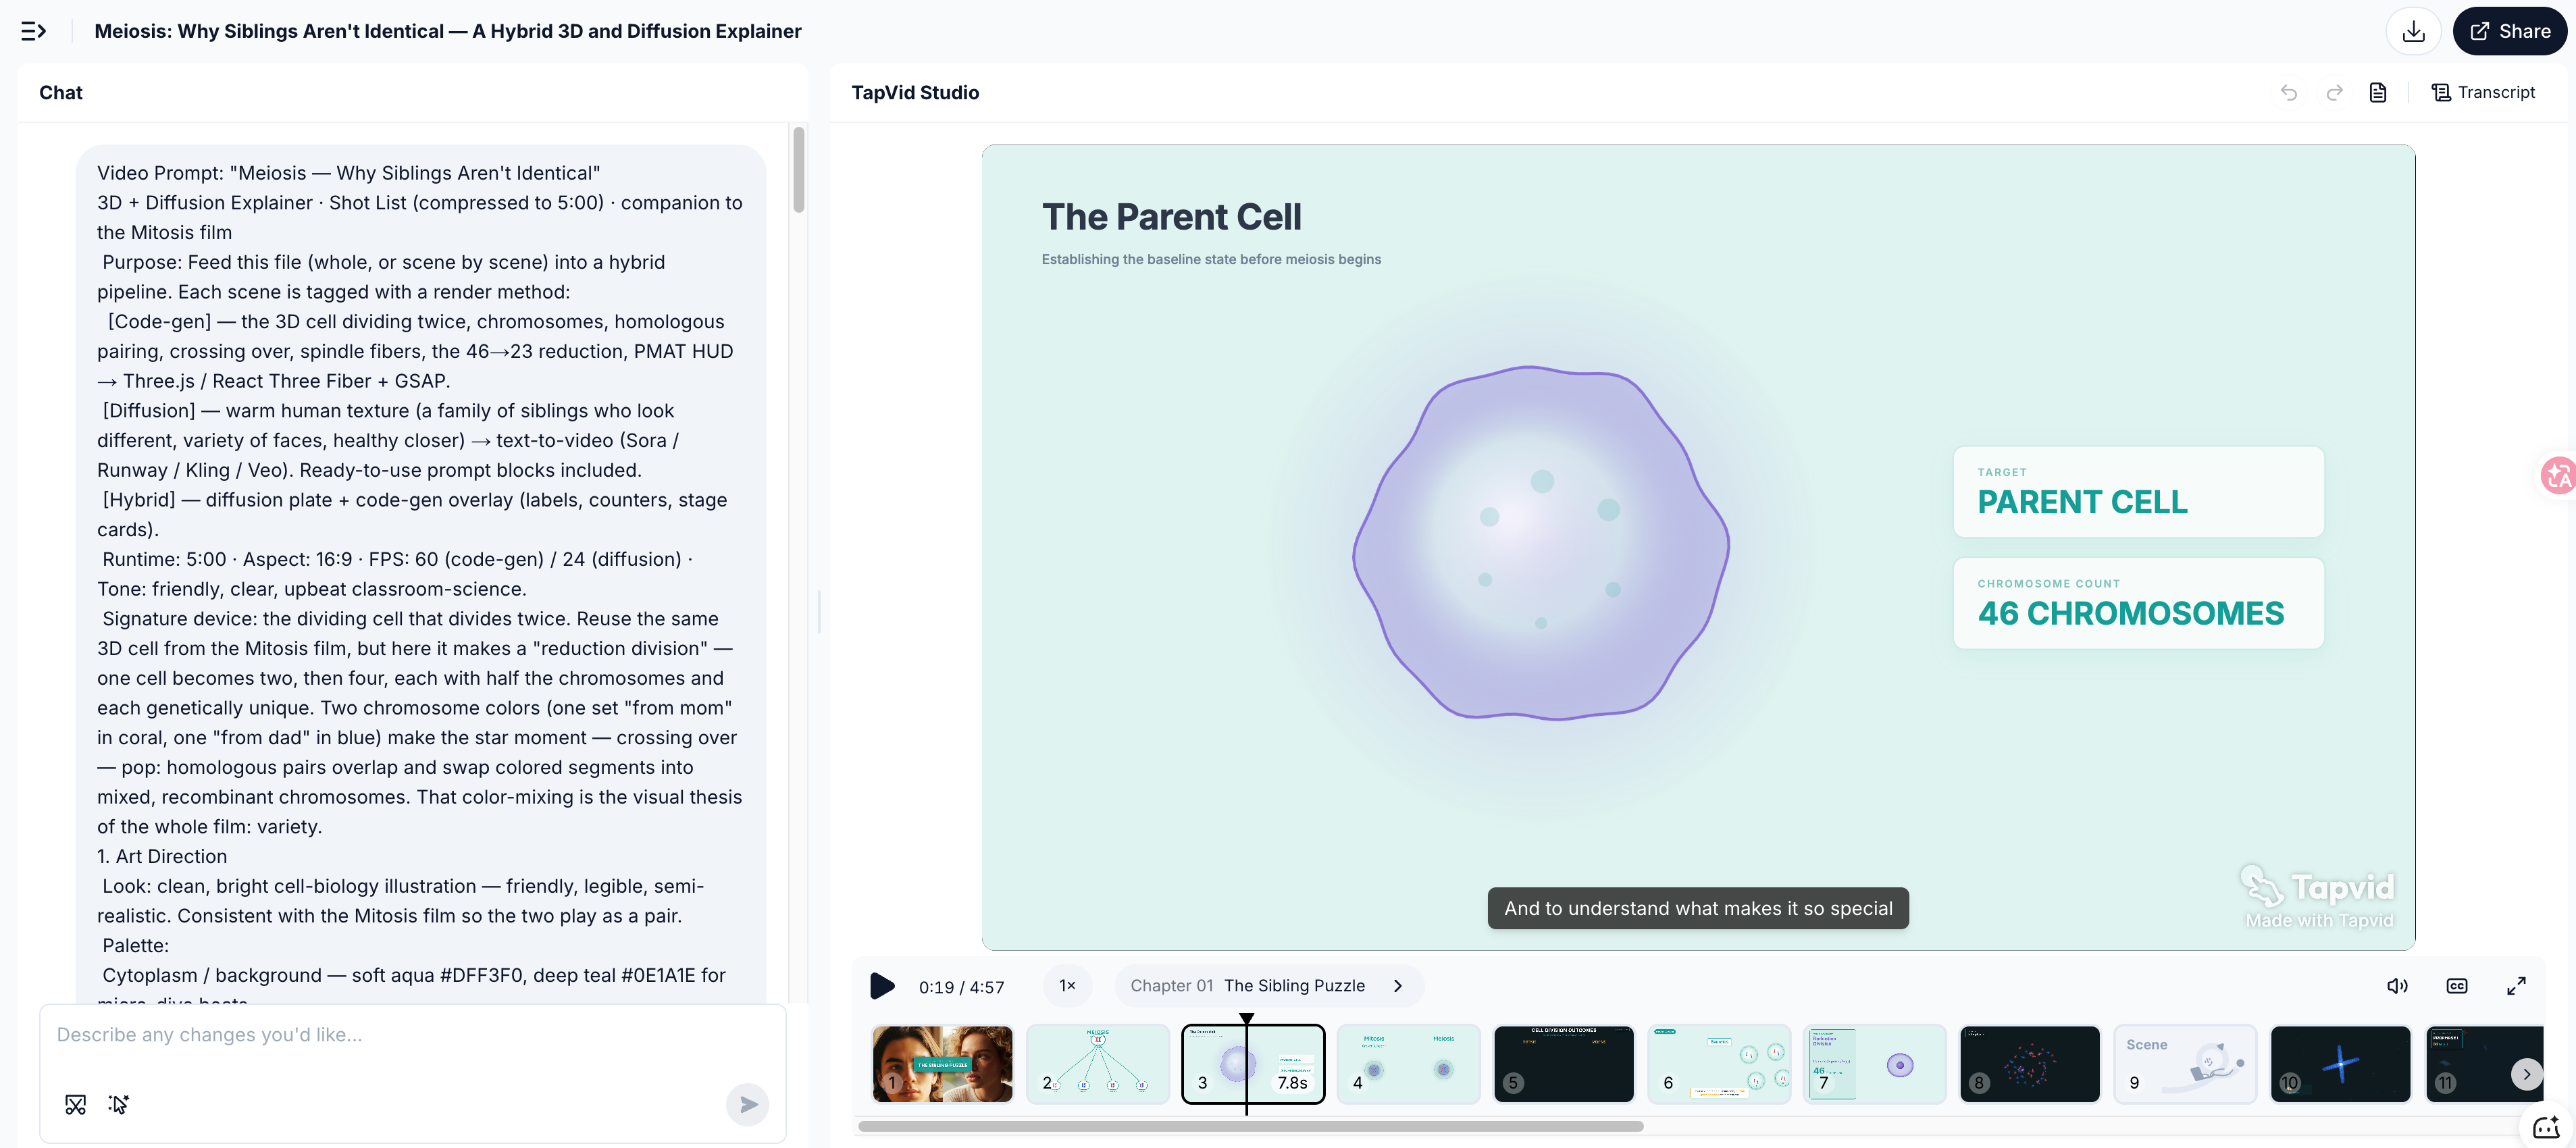
Most AI explainer tools have a free tier, so you can get to a finished draft without paying. Here is the animation path, which is the one most people should start with.
- Add your script or a prompt: paste the script from Step 1, or describe the explainer in plain language. You can also start from a document you already have.
- Generate: the tool writes the scene flow, adds an AI voiceover, and burns in captions in one pass. The first render takes a few minutes. If you are using TapVid for your initial video production, it typically takes about 5 minutes.
- Review the free export: free tiers usually add a watermark, which is fine for testing or internal use. Check the export terms before you use it publicly.
The avatar and template paths work differently: an avatar tool asks you to pick a presenter and voice, and a template editor drops you into a timeline to build the video yourself.
06
Step 4: Add voiceover and captions
Two things separate a real explainer from a rough draft.
- A clear voice: pick an AI voice that is calm and easy to follow. Delivery depends on punctuation as much as the voice model, so break the script into short lines and let the pauses breathe.
- Captions, always: most explainers get watched on mute in a feed. Burned-in captions are how the majority of viewers will actually read yours, so treat them as part of the video, not an add-on.
07
Step 5: Trim, focus, and add a CTA
A raw generation is close. The last pass makes it land.
- Cut anything that does not explain: if a scene is not moving the idea forward, remove it.
- Point the eye: zoom in or emphasize the exact moment a key idea appears, so nobody gets lost.
- End with one ask: learn more, start free, or sign up. One clear next step, on screen and in the voiceover.
08
Step 6: Publish it where it explains something
An explainer earns its keep where people are already confused or deciding.
- Homepage and product pages: a short explainer above the fold answers "what is this" before a visitor leaves.
- Onboarding: drop explainers into your setup flow to cut the questions people ask most.
- Help docs and courses: replace a wall of text with a 60-second animation. If you teach, the same approach powers an AI video generator for education.
- Social and ads: cut a punchy version for LinkedIn, X, or YouTube.
09
Common mistakes to avoid
- Explaining everything at once: one video, one idea. If you need to cover three things, make three videos.
- A weak first ten seconds: if the hook does not land, the rest does not get watched.
- Reading features instead of meaning: explain what it does for the viewer, not what it technically is.
- No next step: an explainer with no CTA informed someone and then let them wander off.
10
Frequently asked questions
How do I make an AI explainer video for free?
Most tools have a free tier, including TapVid, Invideo, and Synthesia. Write a short script, generate the video, and export. Free exports usually carry a watermark, so check the terms before public use.
Can I make an explainer video without a presenter or camera?
Yes. An animation-led tool like TapVid builds the explainer from your script with no filming and no on-screen presenter.
How long should an explainer video be?
Under 90 seconds is the sweet spot, and 60 seconds is better for social. Completion drops fast past the two-minute mark.
Do I need a script to make an AI explainer video?
Yes, or at least a prompt. The tighter your script, the better the result. AI can draft it, but edit the draft before you generate.
What is the best free AI explainer video maker?
It depends on the style. For animated explainers, TapVid. For presenter-led, Synthesia. For hands-on template editing, Canva or Powtoon.
11
The takeaway
Making an AI explainer video comes down to one decision and one discipline. The decision is the style: animate it when the goal is to make an idea click, use an avatar when a face adds trust, and edit templates when you want manual control. The discipline is the script: keep it short, lead with the hook, end with one ask.
To make an animated explainer from your own script, start with an AI explainer video maker, or browse a full AI video generator for other formats. If the thing you are explaining is your own product, a product demo video guide covers that case.