
Video tutorial software should match what the learner must see. A cursor-level walkthrough, a presenter-led lesson, and a concept explainer are three different production jobs. Choosing from a generic feature list often creates the wrong result: a polished avatar talks over a workflow the learner cannot inspect, or a raw screen recording captures the interface but never explains why the step matters.
This guide separates the three paths, reports controlled Synthesia and HeyGen tests, and uses a completed TapVid “How to Play Go” case to show where a structured visual explanation fits.
01
Quick answer: which video tutorial software do you need?
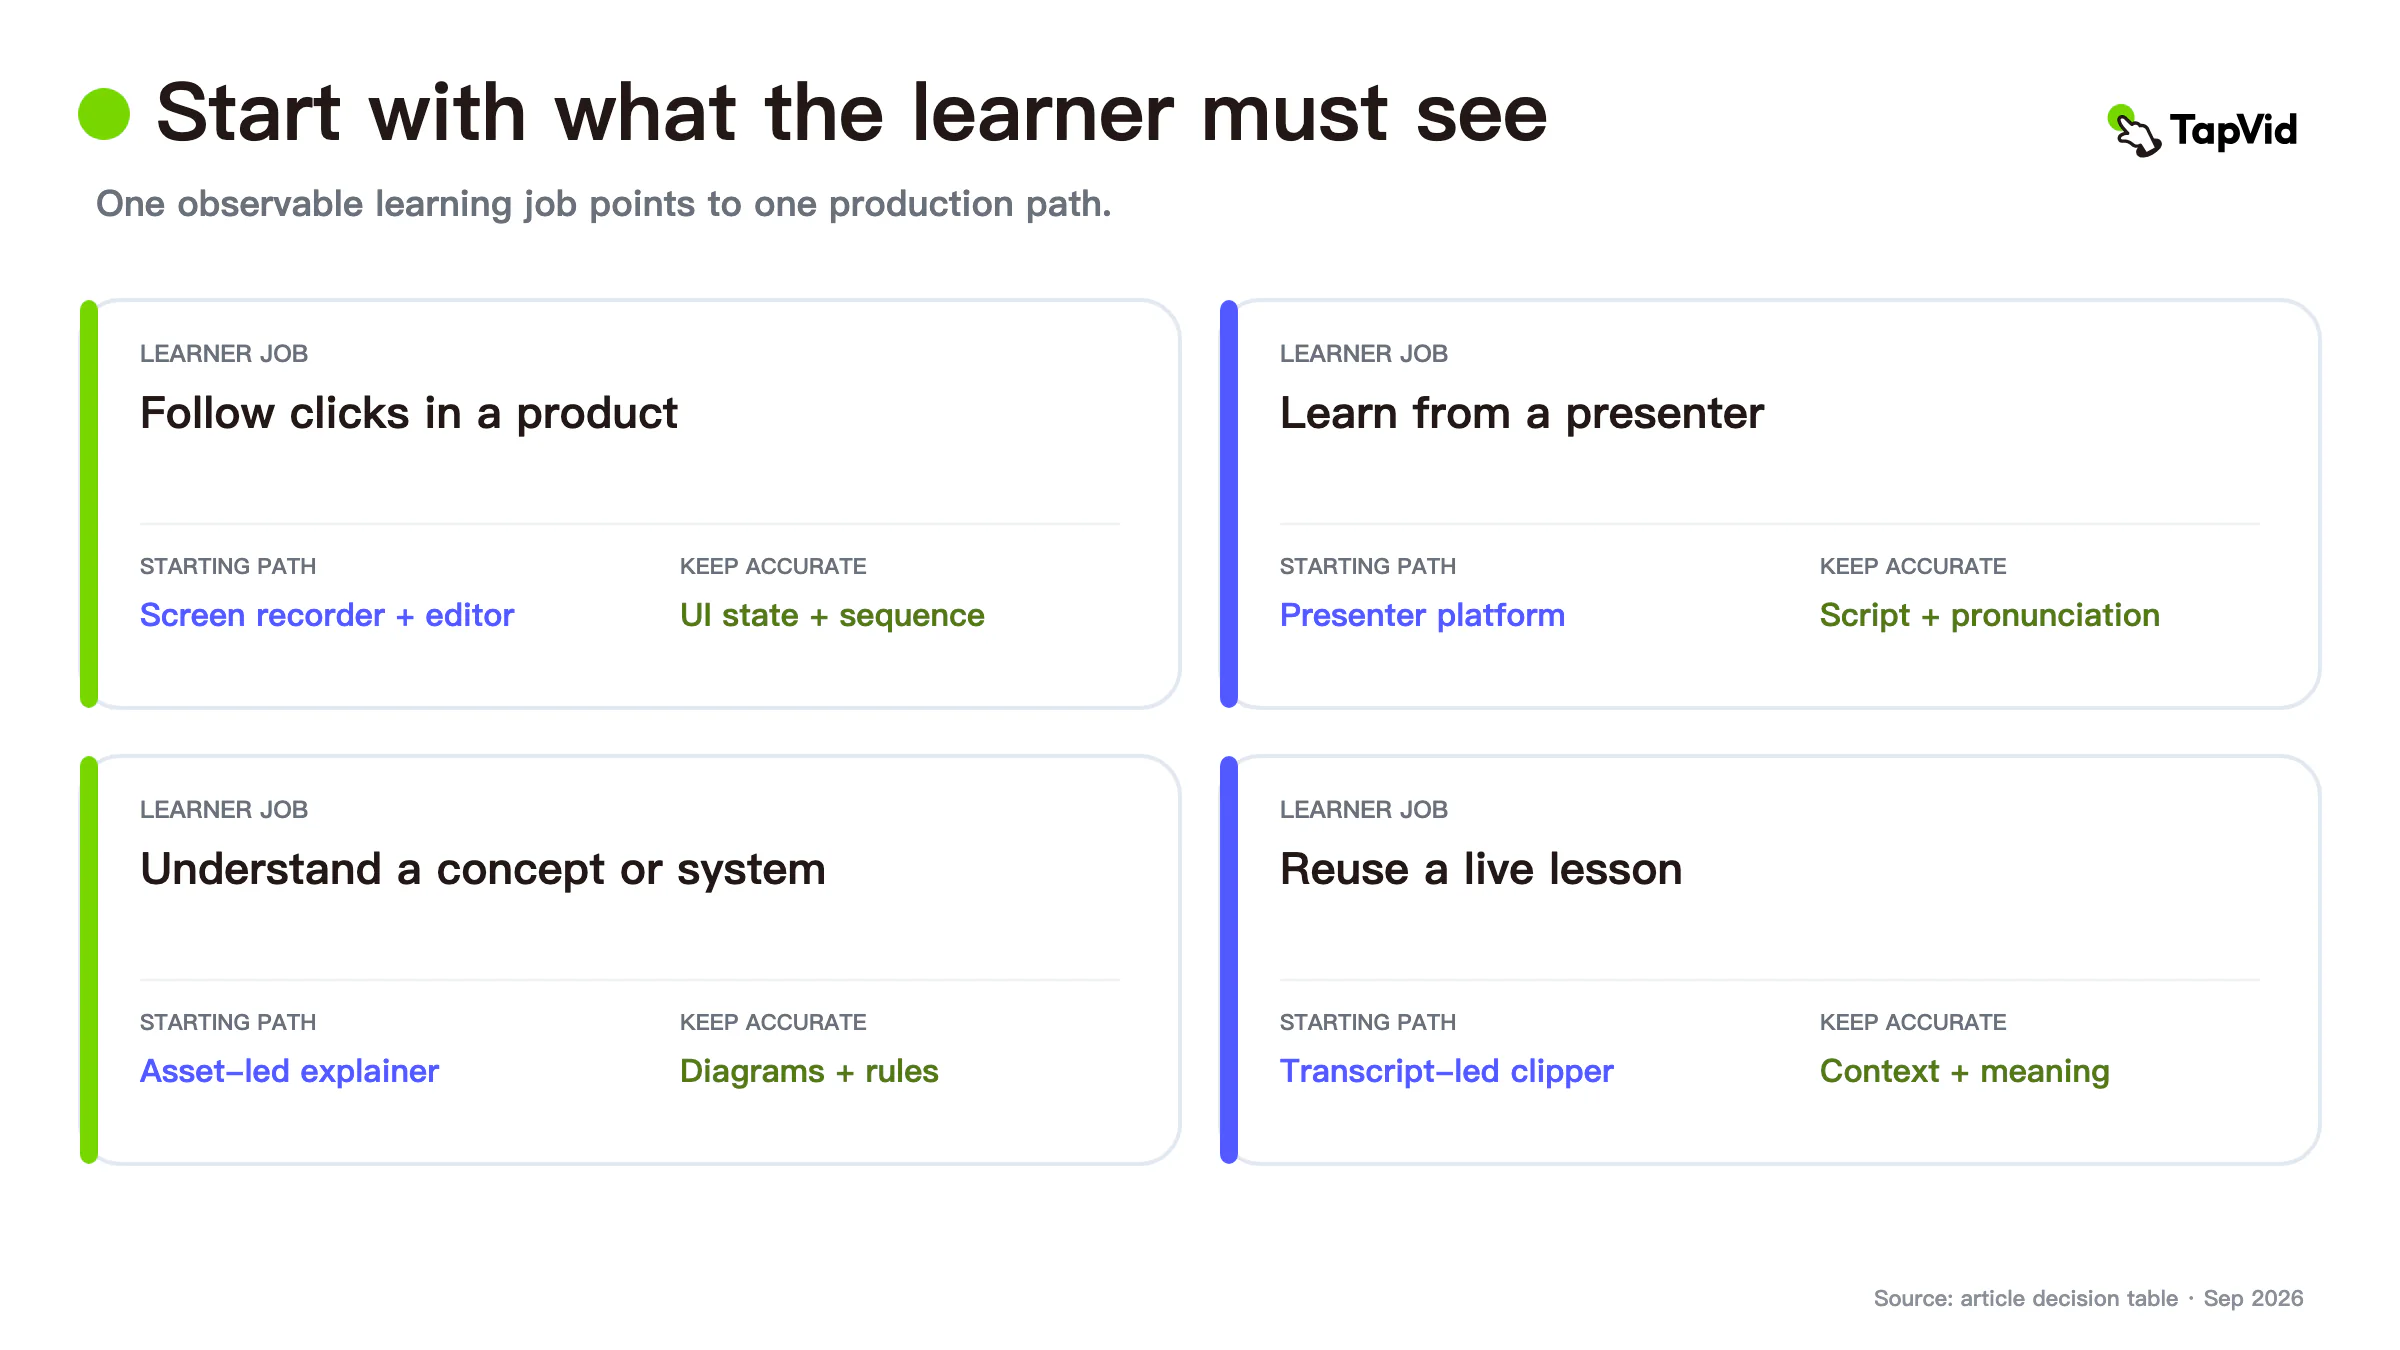
| Learner job | Best production path | What must remain accurate | Main maintenance risk |
|---|---|---|---|
| Follow clicks in a product | Screen recorder plus editor | Cursor path, labels, UI state, and sequence | The interface changes after recording |
| Learn from a presenter | Avatar or presenter platform | Script, pronunciation, identity, and pacing | Delivery distracts from the lesson |
| Understand a concept or system | Asset-led explainer workflow | Diagrams, terms, rules, examples, and correspondence | A visual implies the wrong relationship |
| Reuse a live lesson | Transcript-led clip workflow | Source context and the instructor's meaning | Short clips remove necessary context |
Start by writing the learner's observable outcome: “complete this setting,” “explain how stones are captured,” or “describe this API flow.” Then choose the production path that makes that outcome visible.
02
Define the acceptance test before opening a tool
A tutorial is successful only if a learner can do or explain something after watching. “Looks professional” is not an acceptance test.
For a screen tutorial, the test may be: a new user can locate the setting, complete the sequence, and identify the final state. For a conceptual tutorial, it may be: the learner can explain three rules and apply them to a new example. For a presenter-led lesson, it may include correct pronunciation, accessible captions, and a pace appropriate for the audience.
Lock three accuracy layers:
- Asset fidelity: Use the supplied UI, diagram, board state, code sample, or product image without silently replacing it.
- Information fidelity: Preserve commands, labels, rules, numbers, names, and required wording.
- Correspondence: Pair each instruction with the correct screen, diagram, or example at the moment it is explained.
These layers help reviewers find concrete errors. “Scene four shows the settings menu while the voiceover describes the export panel” is actionable. “The video feels off” is not.
03
TapVid for concept-led and asset-led tutorials
TapVid is an Explainer Video Engine. For tutorials, its strongest use is not a continuous mouse recording. It is a structured explanation built from supplied assets and approved text: diagrams, board states, screenshots, product images, a written lesson, and explicit scene-to-asset mapping.
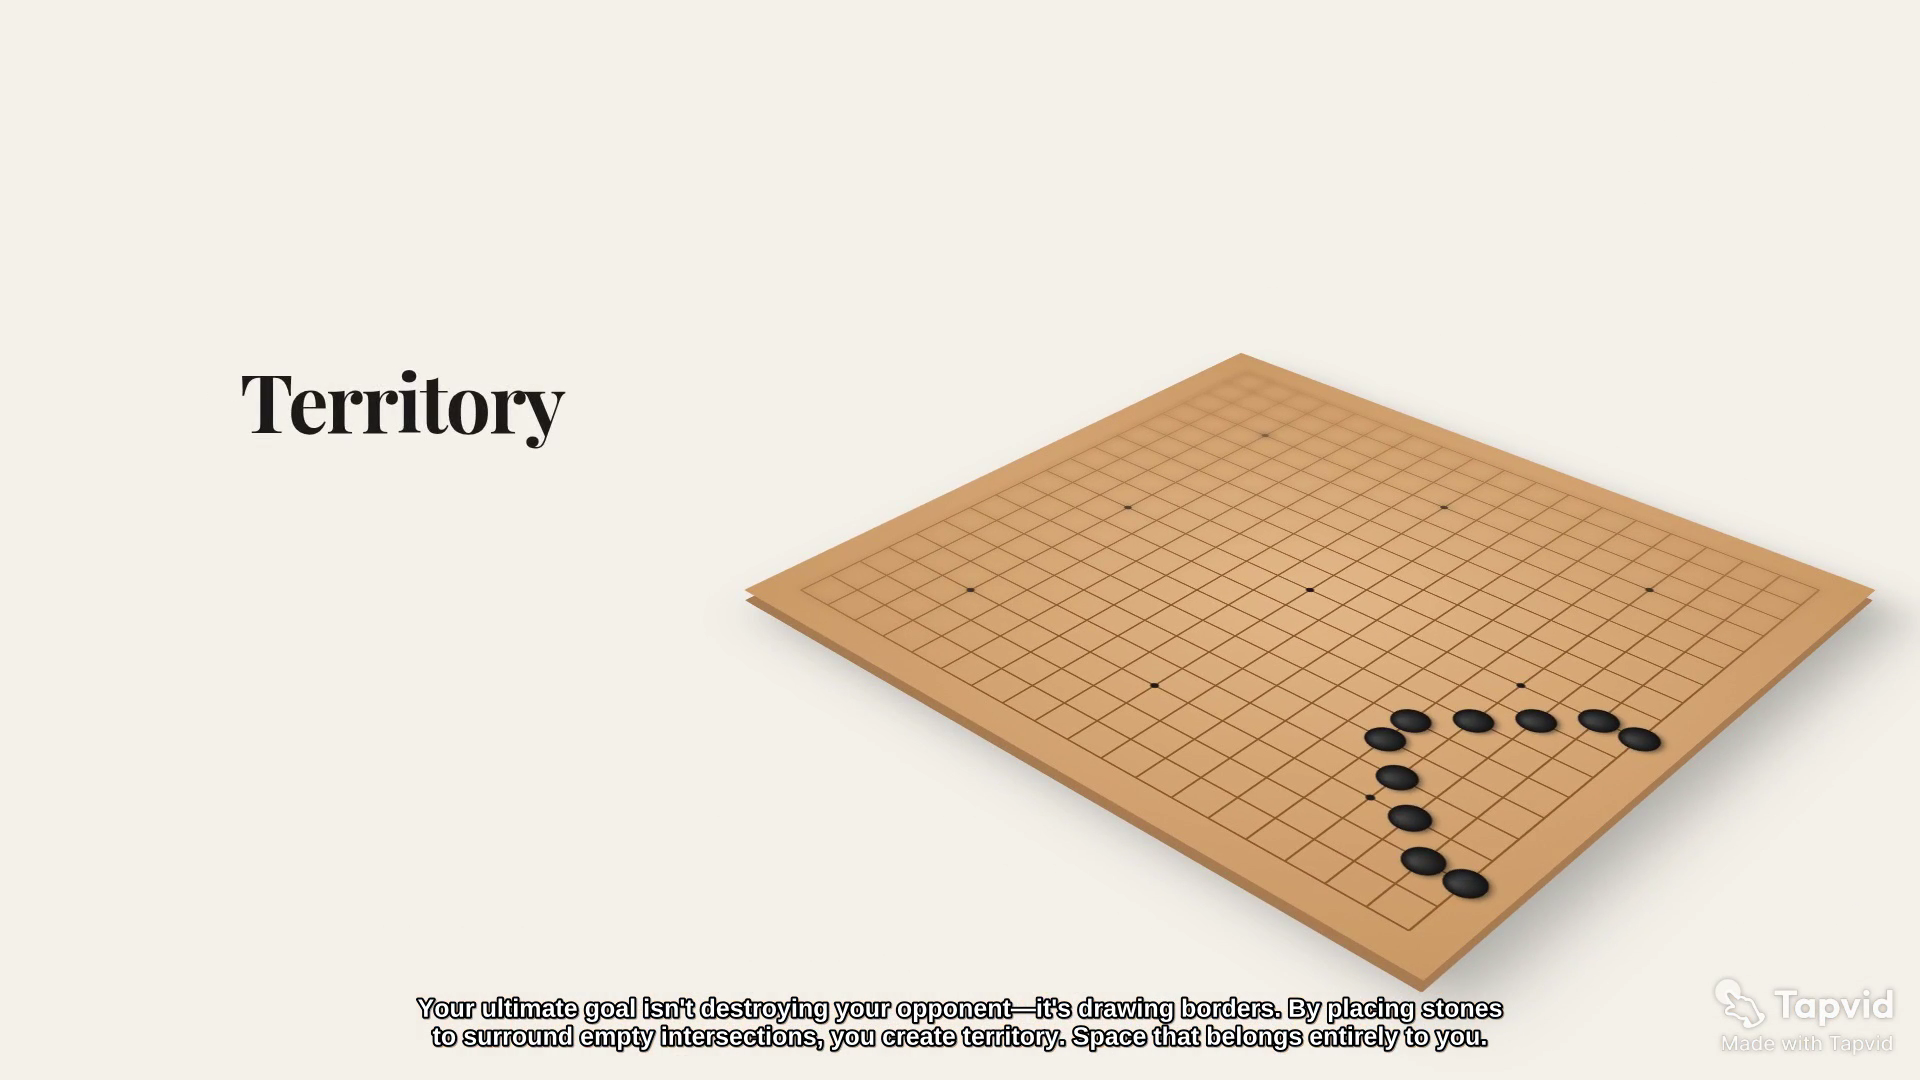
The completed “How to Play Go” case demonstrates that job. The 2-minute-26-second video uses a three-dimensional Go board and labeled stones while the narration explains the game. At four seconds, the visible board, label, and transcript refer to the same subject. That correspondence matters because a rules tutorial can look elegant while still teaching the wrong spatial relationship.
Case sources: share page and video page.
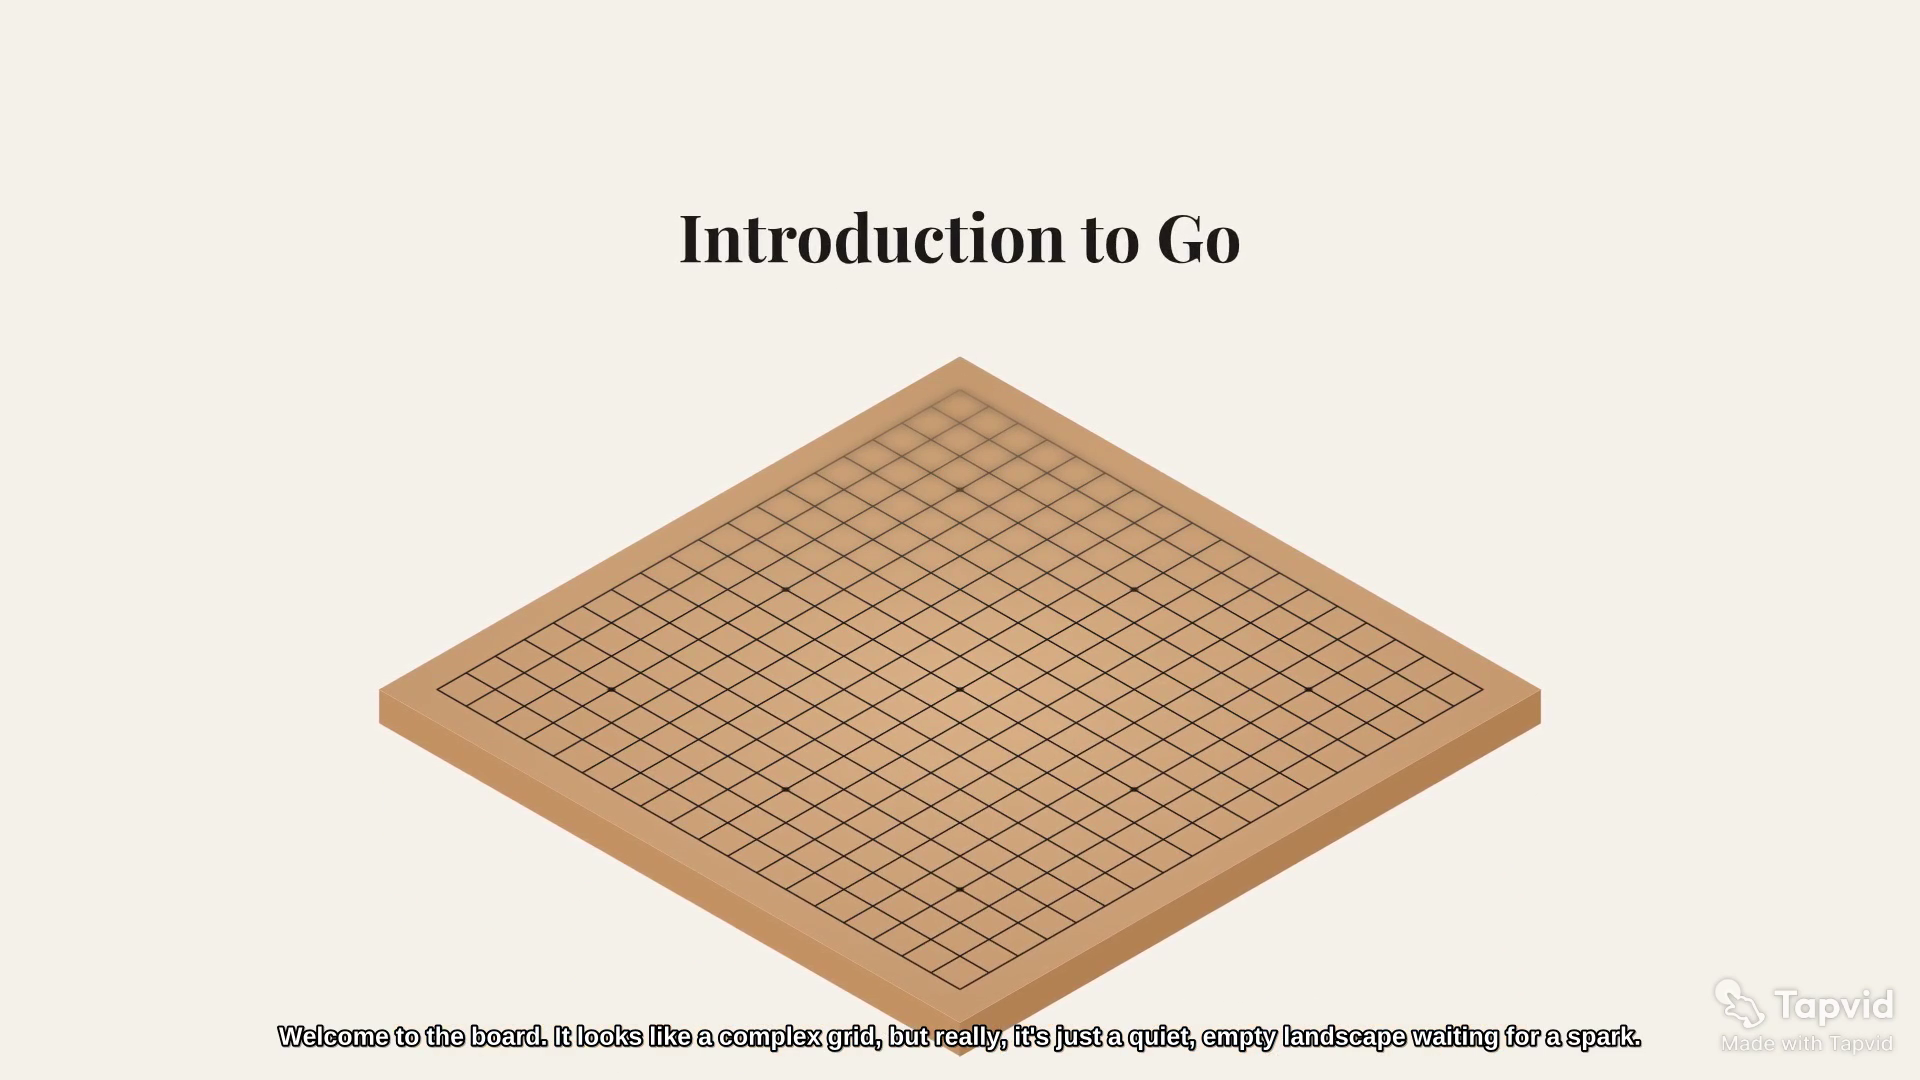
This first-party case is evidence of TapVid's own workflow, not an independent review. It shows that a supplied teaching structure can become a paced visual explanation. It does not prove that every ruleset, technical diagram, or product workflow will be error-free. A subject-matter reviewer should still inspect terms, board states, examples, and final frames.
The best fit is a tutorial where the source material is known and reviewable before rendering: a set of approved screenshots, a diagram, a product brief, a lesson outline, or a script. The weaker fit is a tutorial whose core proof is a continuous live interaction, such as showing every cursor movement through a complex configuration. Record that interaction directly, then use an explainer layer only where context or visual structure is missing.
04
Synthesia for repeatable presenter-led tutorials
Synthesia is designed for avatar-led business video. That can work well for repeatable lessons where a consistent presenter carries the explanation and the underlying visuals are supporting material rather than the only proof. Examples include policy training, standardized onboarding, multilingual enablement, and short course modules built from approved scripts.
Our controlled run used a logged-in Basic workspace and a 15-second brief that explicitly requested no avatar. The shortest selectable duration was 30 seconds. The generated draft contained three scenes across 40 seconds, inserted an avatar, and used a placeholder logo. This is a bounded observation from one guided path, not a claim about every Synthesia workflow. It tells tutorial teams to test constraints in the exact template or agent path they intend to standardize.
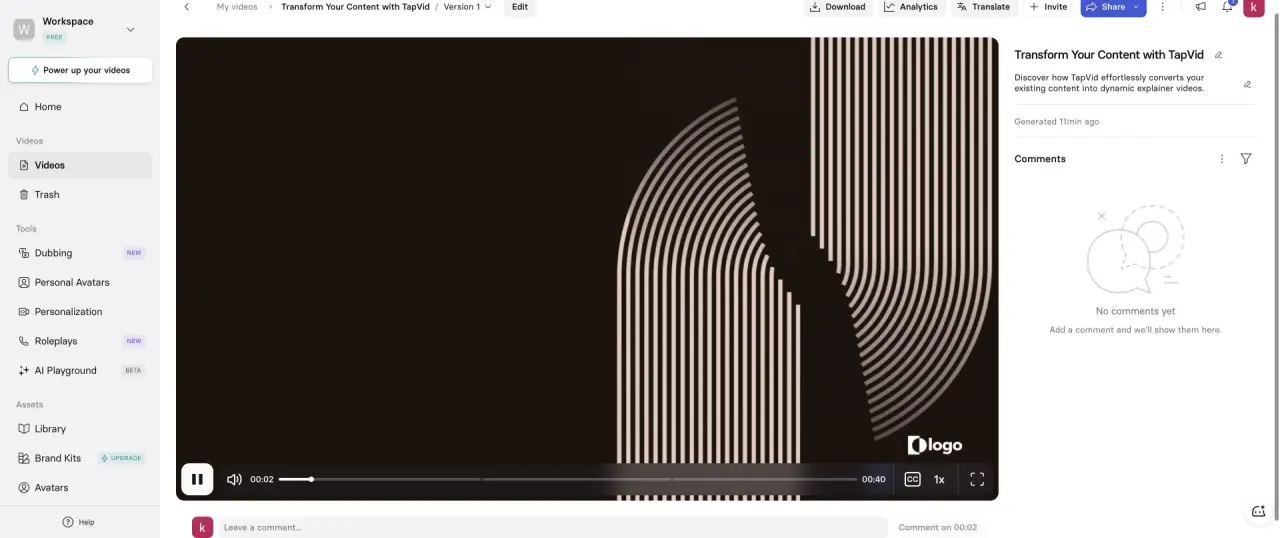
For instruction, the inserted presenter may be helpful if the learning design calls for one. It becomes a problem when the presenter obscures a screen, consumes time needed for the demonstration, or violates a no-presenter format. The placeholder logo also illustrates why brand assets need an explicit review gate.
A Product Hunt review by Valorie Jones highlighted easy video creation and frequent avatar additions, while pointing to cadence tuning and subscription or higher-tier constraints. For a tutorial buyer, those notes translate into practical tests: read a domain-specific sentence aloud, inspect pacing, confirm the features available on the intended plan, and verify how corrections propagate across localized versions.
Check current pricing, platform capabilities, integrations, and support access. Also read the current terms that apply to your content, identity, data, and intended use.
Best for: repeatable presenter-led training with approved scripts, consistent visual identity, and a formal review flow.
Avoid as the default path when: the learner must inspect an uninterrupted real UI sequence or a no-presenter constraint is essential and untested.
05
HeyGen for fast presenter and voice prototypes
HeyGen is another avatar-led platform, but our controlled result differed. Video Agent processed the same short brief for 296 seconds, generated the output in another 17 seconds, and returned a 13-second, three-scene video at 720p. In that tested free-workspace path, it respected the no-avatar instruction.
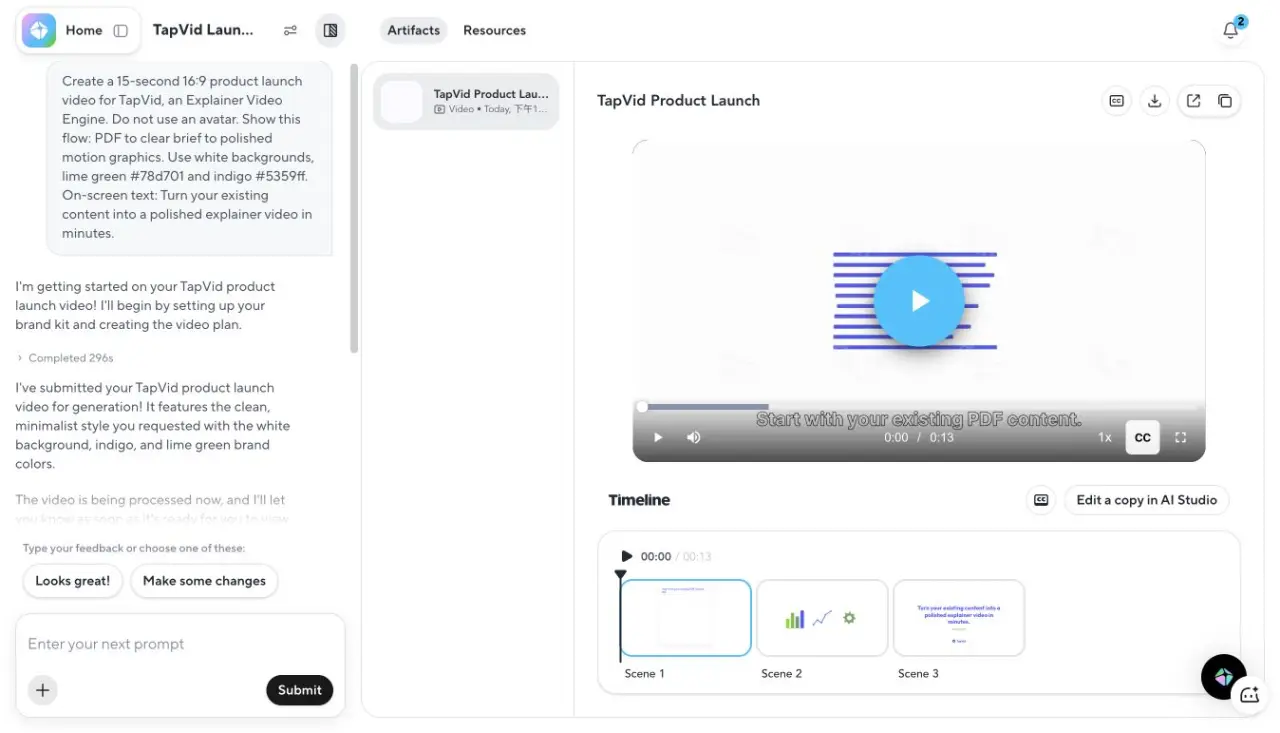
That makes HeyGen useful for quickly testing whether a tutorial benefits from a presenter, voice, or short visual sequence. A learning team could create two controlled variants—one presenter-led and one voice-led—then test comprehension with the target audience before investing in a larger course.
Do not generalize a short successful output into long-course readiness. A serious evaluation should include pronunciation of product names and technical terms, caption accuracy, scene consistency across several minutes, correction behavior, export resolution, collaboration, localization, and plan limits. The free path tested here is evidence of one workflow, not a guarantee for every account or future version.
In a Product Hunt review by Stéphane Rathgeber, the reviewer described creating videos within minutes without studying documentation and found the interface unobtrusive. The same review said a photo avatar looked worse than a video-based digital twin. For tutorial design, ease of use and presenter credibility therefore deserve separate scores.
Verify current pricing, avatar capabilities, developer options, and support access. Use the current terms and your agreement for rights or data questions.
Best for: rapid presenter, avatar, voice, and short-lesson prototypes that will receive human review.
Avoid as the default path when: the exact product interface or a technical diagram must remain the continuous visual source of truth.
06
When a screen recorder is the better answer
If the learner must click through the actual product, start with a screen recorder. Capture the real account state, cursor movement, menus, error messages, and final confirmation. Avoid replacing the critical step with decorative motion or a presenter cutaway.
Record against a prepared account with stable sample data. Remove personal information, notifications, private tokens, and irrelevant browser tabs. Write the click path before recording so that the sequence does not improvise around a missing state.
The main cost is maintenance. A navigation change can invalidate multiple steps. Reduce that risk by making short modular recordings instead of one long take. Keep an inventory with the product version, recording date, owner, and the UI elements that would trigger an update.
An editor can then add zooms, callouts, captions, and transitions. Those treatments should support the real state rather than cover it. If the recording omits an error condition or uses the wrong plan, editing cannot restore factual proof.
07
Build a tutorial source package
Give every candidate tool the same source package:
- Learner persona and prior knowledge.
- One observable learning outcome.
- Current screenshots, diagrams, files, or recording path.
- Approved terms, commands, labels, numbers, and pronunciations.
- A step sequence or concept outline.
- Required accessibility elements, including captions and readable on-screen text.
- Exclusions: private data, obsolete UI, unsupported claims, or visuals that must not be generated.
- Reviewer names and the approval boundary.
For a software walkthrough, include the start state and expected end state. For a concept tutorial, include at least one correct example and one common mistake. For a presenter-led lesson, include a pronunciation guide and a short sample sentence that exposes pacing problems.
08
A controlled evaluation for video tutorial software
Use a 30- to 60-second lesson segment. It should contain one exact phrase, one supplied visual, one sequence, and one deliberate constraint. Ask each tool to produce the same learning outcome.
Capture:
| Measurement | Why it matters |
|---|---|
| Setup time | Reveals template, asset, and account friction |
| Processing time | Helps estimate iteration speed, not final quality |
| Output duration | Shows whether the workflow follows the brief |
| Correct steps or concepts | Measures instructional accuracy |
| Exact terms preserved | Catches rewritten commands, labels, or rules |
| Visual correspondence | Confirms the right asset appears with the right line |
| Caption and pronunciation errors | Exposes accessibility and comprehension risks |
| Single-change revision effort | Predicts maintenance cost |
| Export properties | Confirms the real account meets delivery needs |
Have a subject-matter expert review accuracy and a new learner test comprehension. The expert may miss a step because it feels obvious. The learner may follow a convincing but incorrect explanation. You need both perspectives.
09
Common tutorial production mistakes
Choosing a presenter before defining the learning outcome. The presenter is a delivery device, not the lesson architecture.
Replacing exact UI proof with illustrative screens. A generated interface may look plausible but teach the wrong menu, label, or state.
Putting the whole lesson in one file. Modular scenes or recordings make updates safer when one rule or product screen changes.
Reviewing the script but not the correspondence. A correct sentence can still appear over the wrong diagram.
Treating captions as an export setting. Check the words, timing, line breaks, and technical terminology in the actual output.
Scaling localization before proving the source lesson. Fix structure and factual errors in one approved source version before multiplying them across languages.
10
Final recommendation
Pick video tutorial software from the learner's required proof. Use screen recording when the real click path is the lesson. Use Synthesia when a consistent presenter-led module is the job and your controlled test confirms the chosen path. Use HeyGen for fast presenter or voice prototypes that will receive careful review. Use an asset-led explainer workflow such as TapVid when diagrams, screenshots, rules, and approved wording need to become a structured visual explanation.
For organization-wide learning use cases, compare the broader stack in the training video software guide. To study teaching formats before buying software, use the instructional video examples gallery.
Whichever path you choose, keep the source package, review notes, and final export linked. A tutorial is maintainable when the team can identify what changed, which scene it affects, and who verified the correction.
11
Frequently asked questions
What is the best video tutorial software for screen recordings?
Choose a recorder that captures the real interface cleanly and lets you edit short modular segments. Test cursor visibility, resolution, audio, captions, and how quickly a single stale step can be replaced.
What is the best video tutorial software for conceptual lessons?
Use a workflow that accepts your approved diagrams, examples, terms, and script and keeps their scene correspondence visible. A subject-matter expert should review the resulting relationships, not only the narration.
Can AI create a tutorial without human review?
It can accelerate drafting and production, but a responsible workflow still needs factual, instructional, and accessibility review. Do not promise error-free output.
How long should a tutorial video be?
Use the shortest length that completes one observable learning outcome. Split unrelated jobs into separate modules so viewers can find and maintain them independently.