
TL;DR
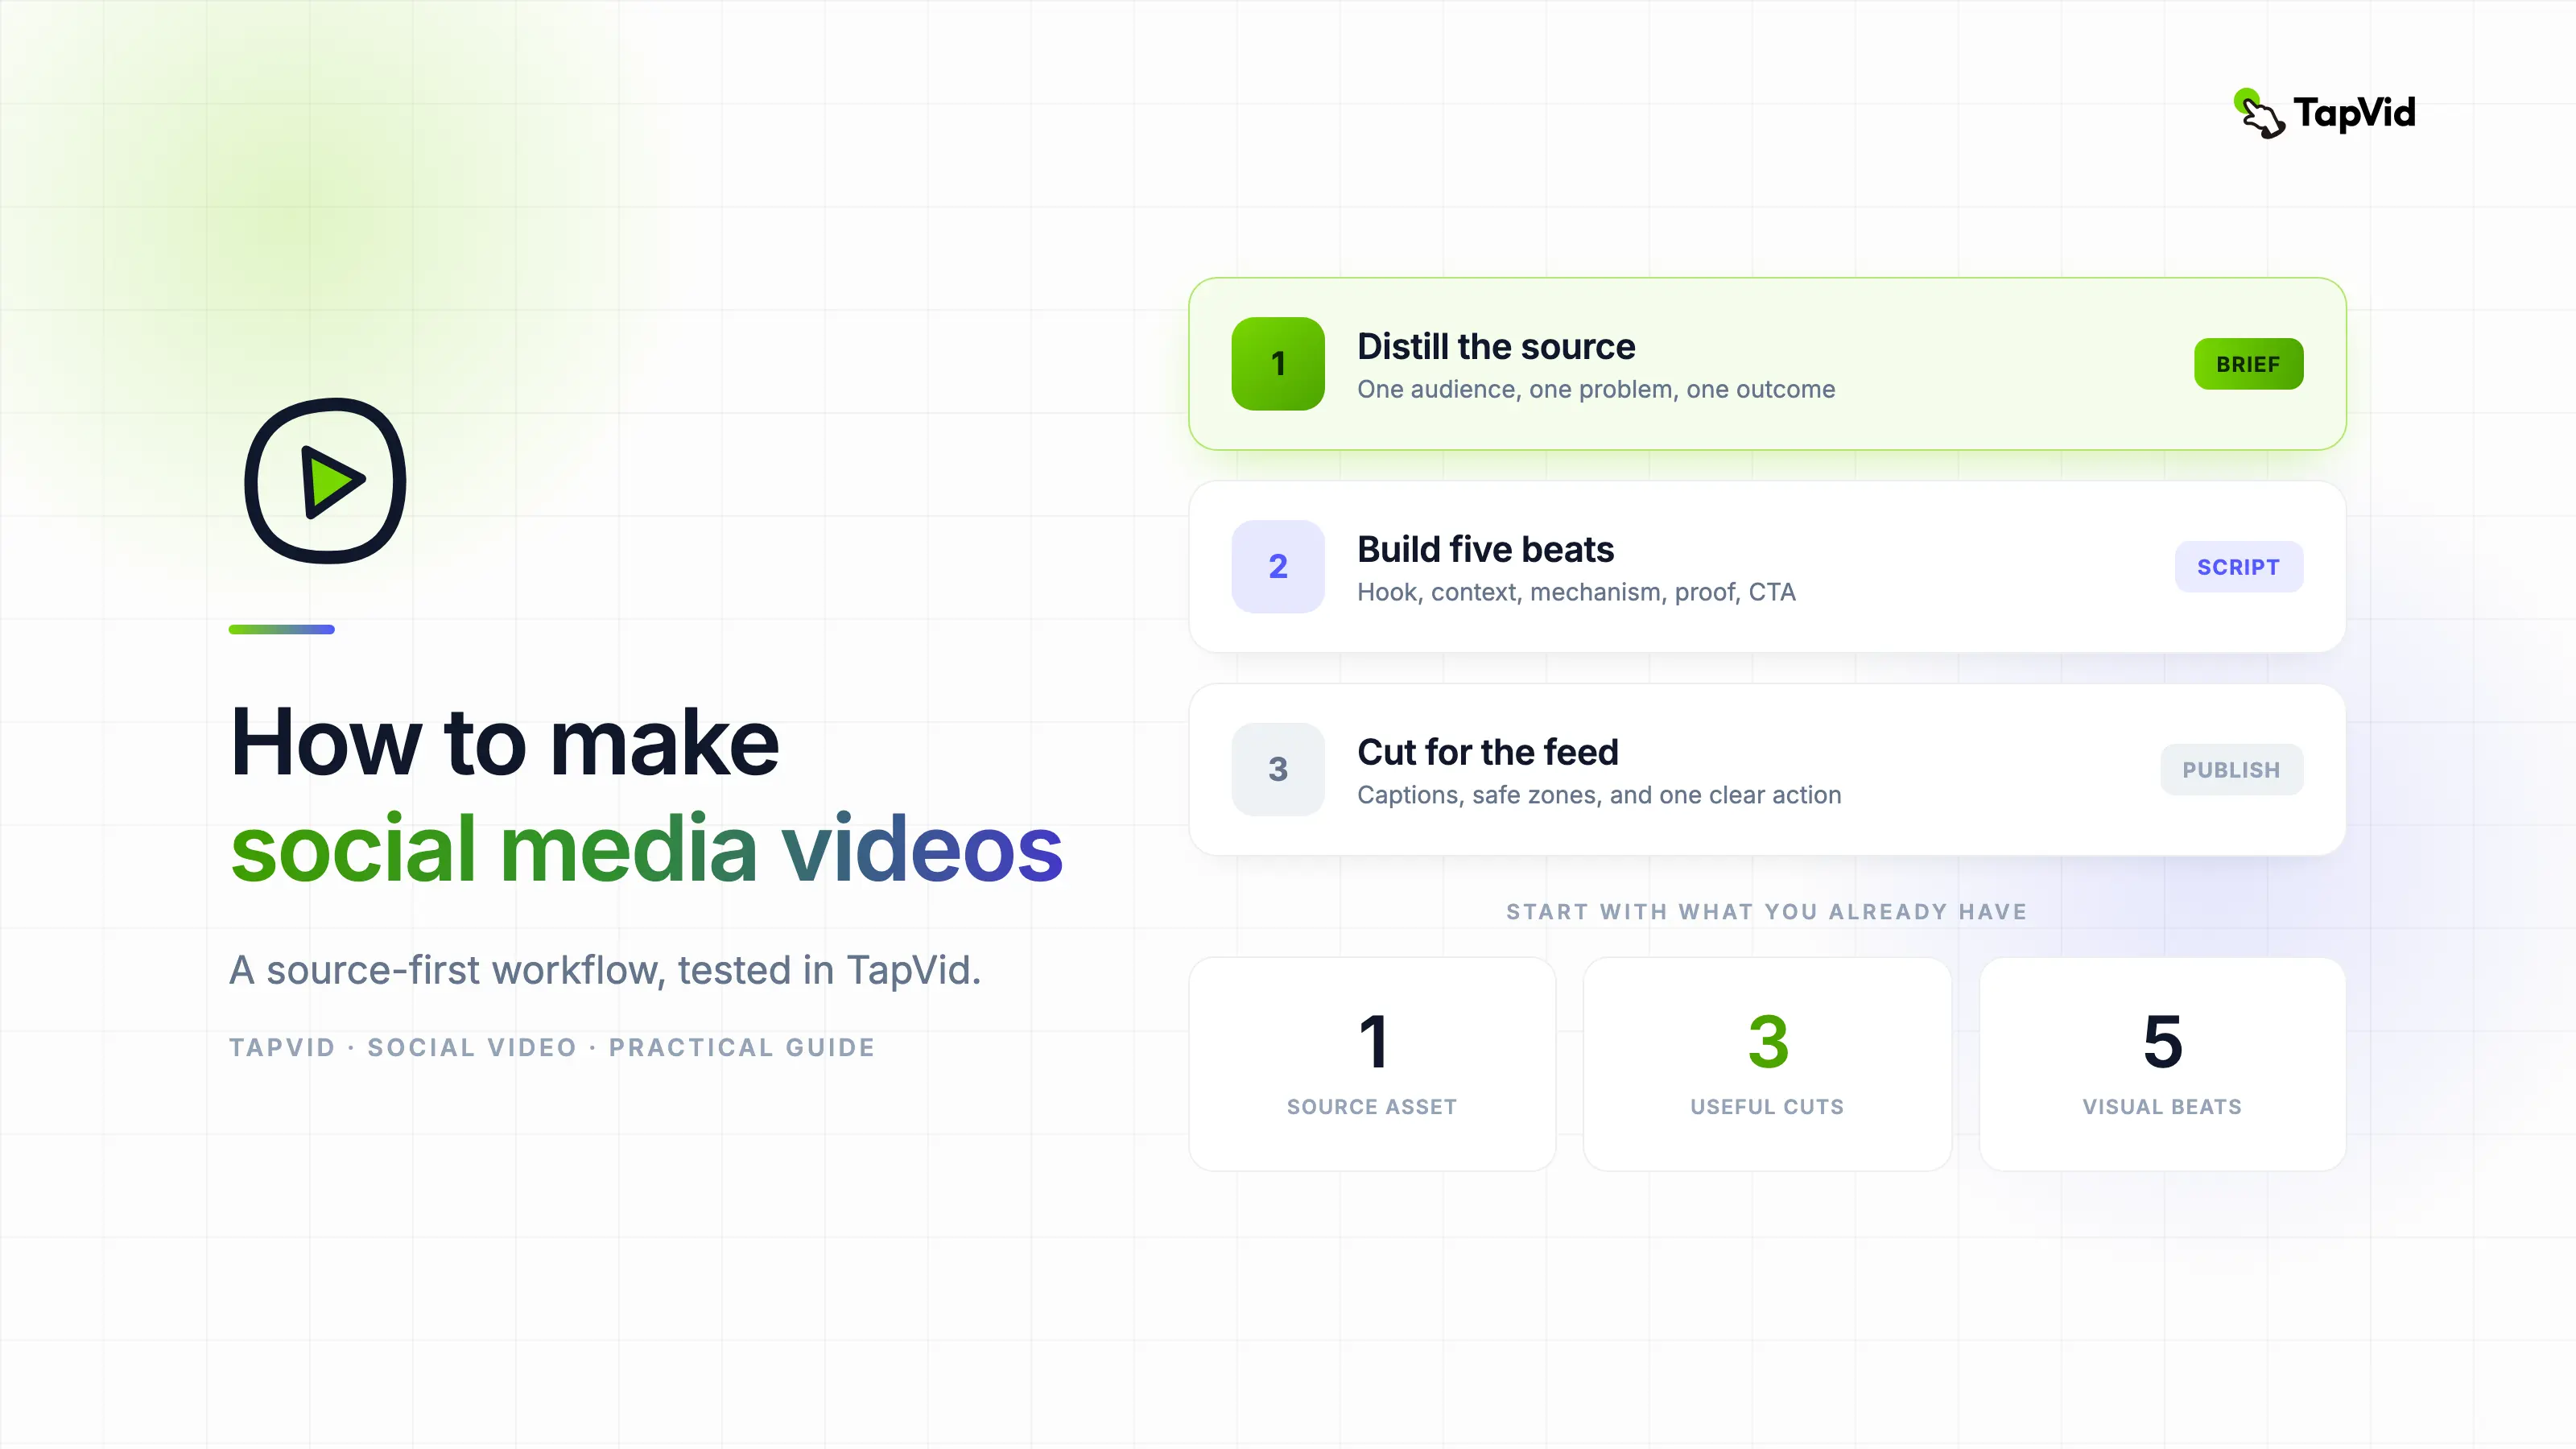
Start with one trusted source, extract one promise, write five visual beats, generate the explainer, then make separate 15, 30, and 60 second cuts. Use captions and safe zones, and verify each platform specification before export.
If you want to know how to make social media videos without filming from scratch, start with material you already trust. An article, PDF, script, or product page contains the facts and point of view. Your job is to reduce that source to one promise, turn it into five visual beats, and edit each cut for one feed. I recorded a new fixed-brief setup in TapVid and paired it with a clearly labeled output screenshot from an earlier related hands-on test.
Use TapVid to make an animated social media video from your content
01
The fastest path starts with content you already own
Most social video guides assume you already have footage. That is useful if you filmed a product, event, or presenter. It is the wrong starting point when your strongest asset is an article, a PDF, a script, or a product page. In that case, recording more material adds work before it adds clarity.
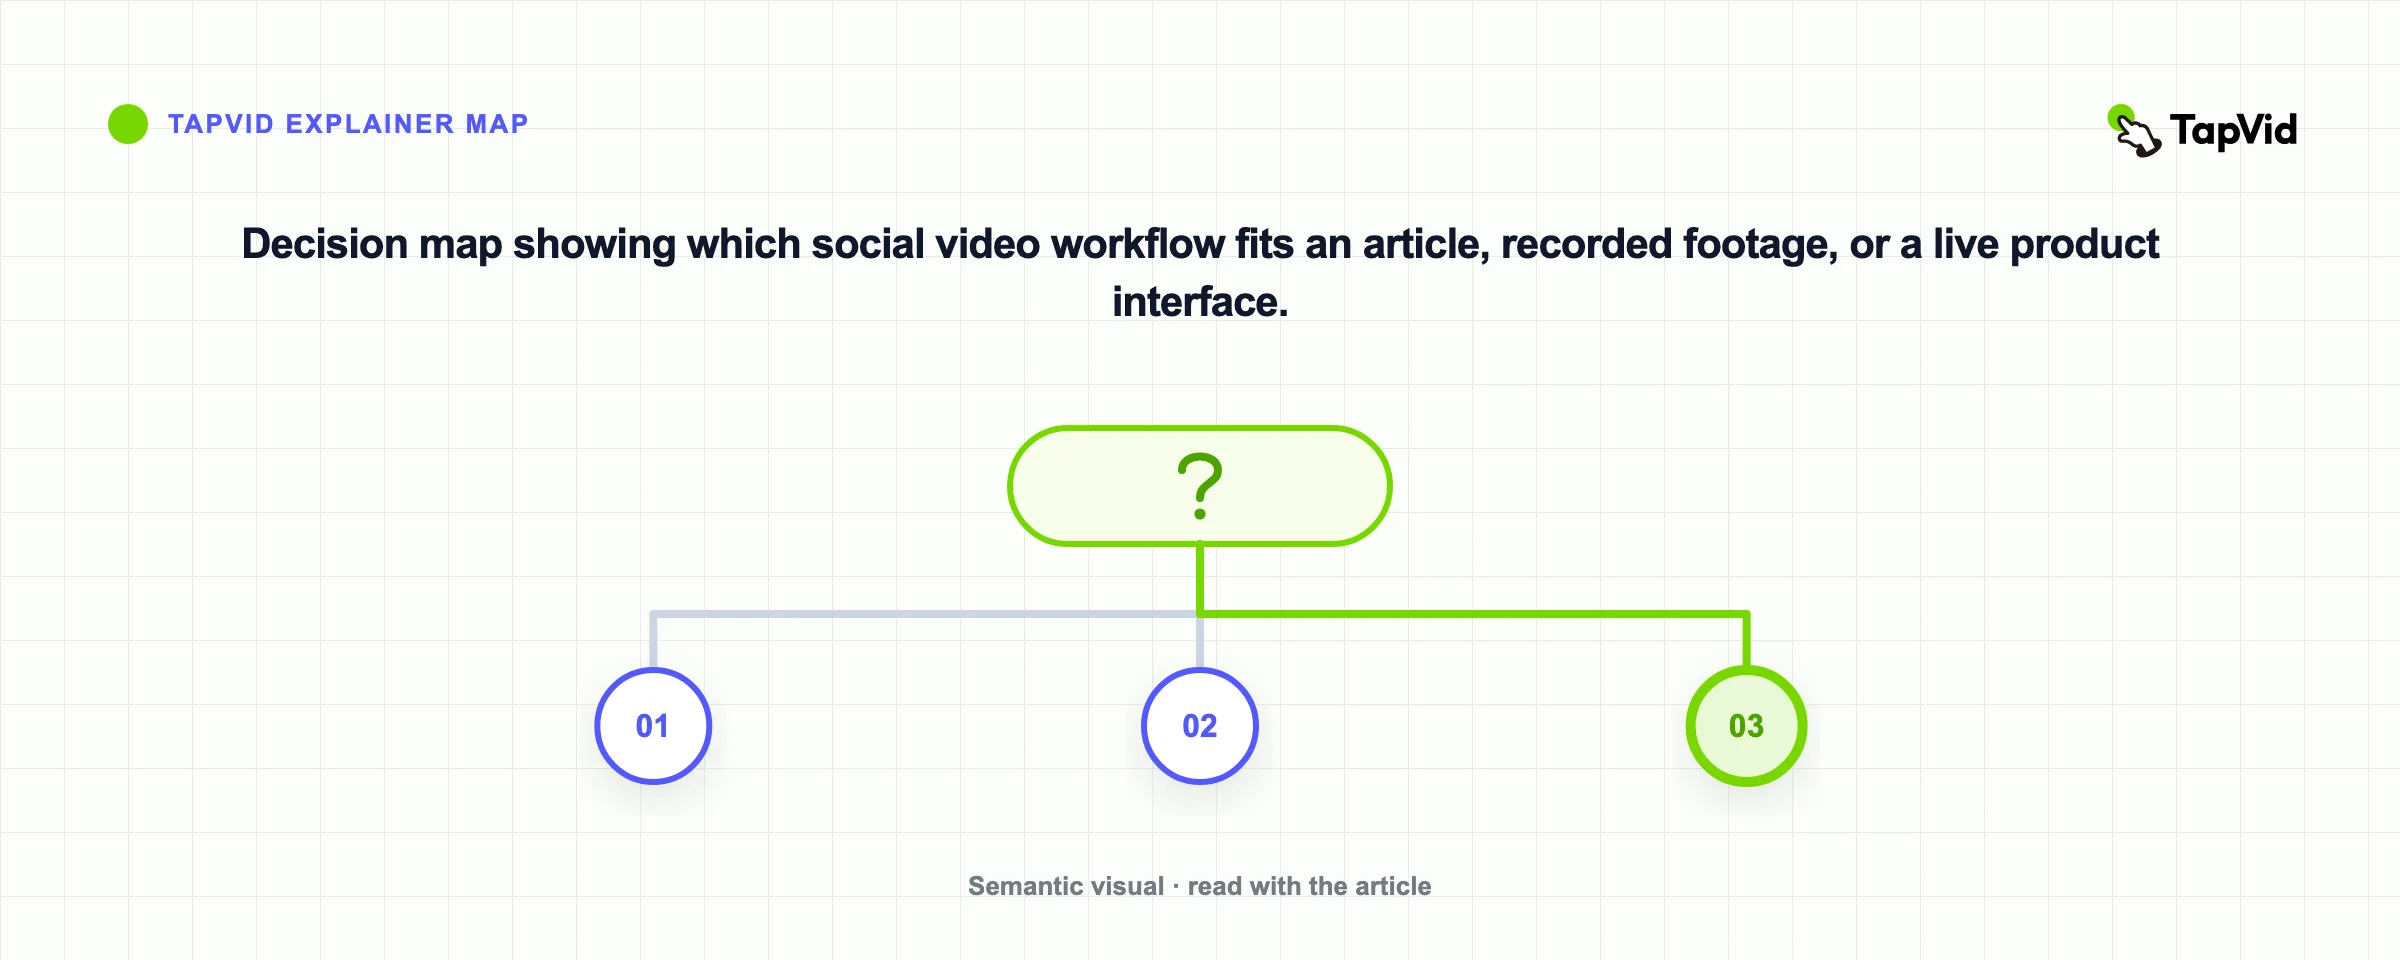
Choose the production path from the source. Existing knowledge fits an explainer workflow. Existing footage fits a video editor. A live interface fits a screen recorder. These paths can meet later, but forcing every project into a timeline editor is how a simple idea turns into a day of stock-footage searches.
This article follows the first path. TapVid is an explainer video engine, so it is designed to turn existing content into a structured motion-graphics story with narration and captions. If you need to trim camera footage, use an editor. If you need to show real clicks, record the screen. Making that decision first saves more time than any editing shortcut.
02
The fixed brief I used for the TapVid test
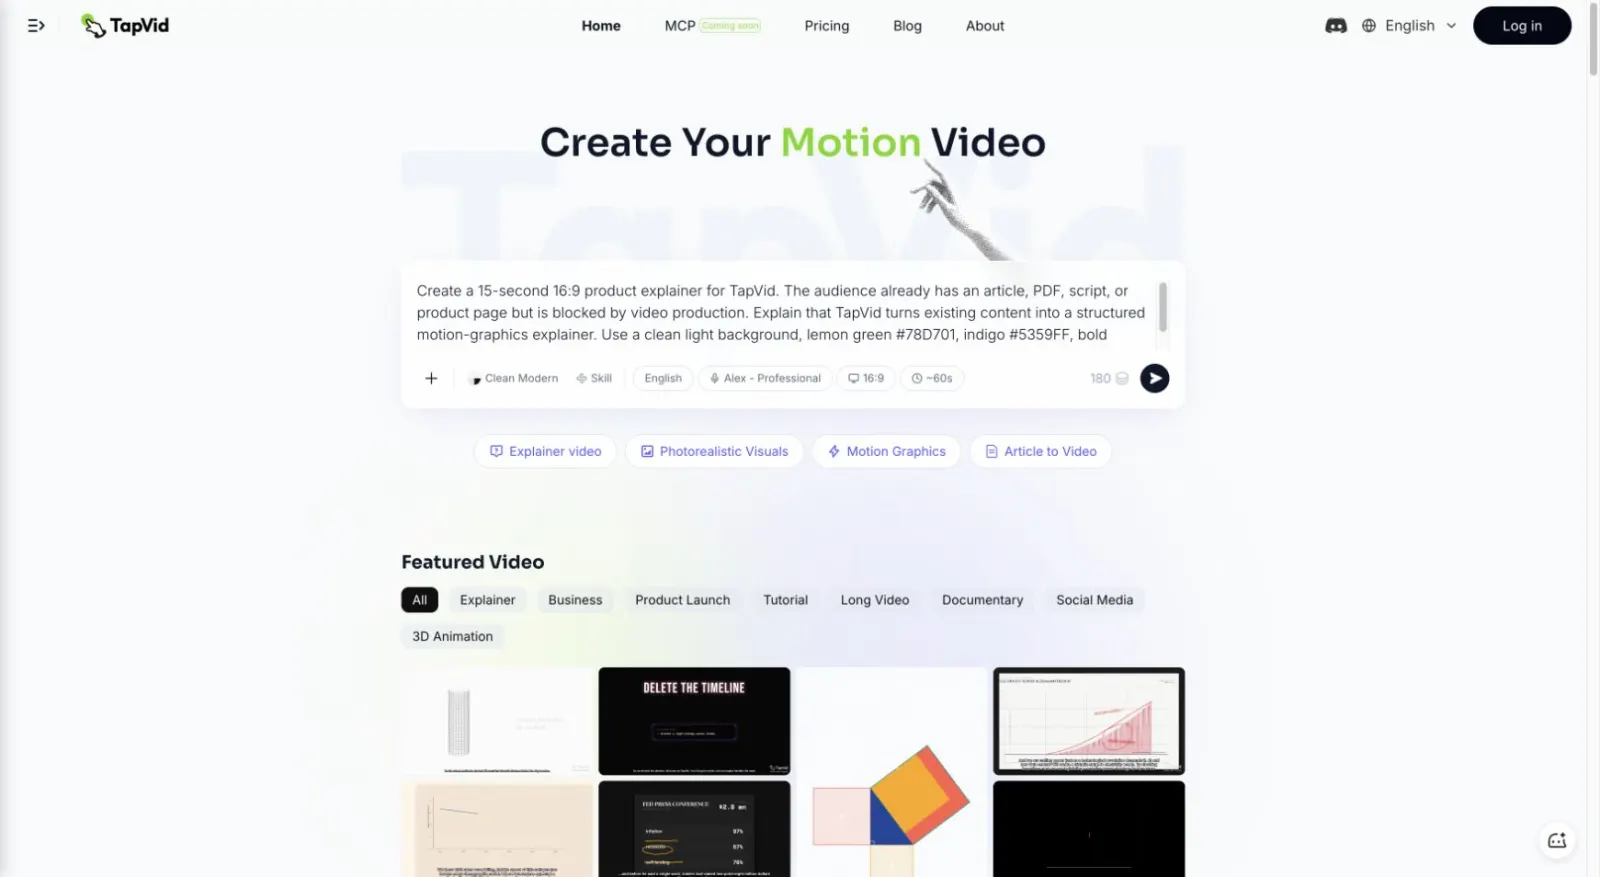
I tested one deliberately specific brief so the result could be judged against a known target. The brief asked for a short product explainer for people who already have an article, PDF, script, or product page but are blocked by video production. It specified a clean light background, TapVid green and indigo, bold kinetic type, no avatar, and one exact closing line.
The complete prompt was: "Create a 15-second 16:9 product explainer for TapVid. The audience already has an article, PDF, script, or product page but is blocked by video production. Explain that TapVid turns existing content into a structured motion-graphics explainer. Use a clean light background, lemon green #78D701, indigo #5359FF, bold kinetic type, no avatar, and end with: Turn your content into an explainer video."
The screenshot matters because it records the real starting state, not a reconstructed marketing example. It also caught a practical mismatch before generation: the prompt asked for 15 seconds while the visible control was set to about 60 seconds. Always inspect the actual controls after pasting a detailed prompt. A duration written inside the prompt does not necessarily override the product setting.
03
Step 1: Reduce the source to one promise
Do not summarize the whole source. That creates a video-shaped table of contents. Find the one change the viewer should understand after watching. A good promise connects a specific audience, a present friction, and a concrete next state.
For this test, the audience was a creator who already had useful written material. The friction was not a lack of ideas. It was the production gap between a finished source and a publishable video. The outcome was a structured explainer that could be revised without filming or hiring an animation team.
Write the promise as one sentence before you write scenes. If the sentence needs "and" twice, it probably contains two videos. Save the second idea for another cut instead of making every scene carry extra context.
- Audience: name the person by their current situation, not a broad demographic.
- Problem: describe the production bottleneck they feel now.
- Outcome: state what becomes possible after the video exists.
04
Step 2: Write five visual beats before generating
Five beats are enough for most short explainers: hook, context, mechanism, proof, and call to action. The order matters because a feed viewer has not agreed to hear the backstory. Lead with the stuck moment, then earn the right to explain.
Write each beat as a visual instruction plus one spoken line. "Show a PDF turning into five scene cards" is more useful than "talk about efficiency." The first gives the generator or animator something observable to build. The second is only a theme.
| Beat | Job | Test brief example | Suggested time |
|---|---|---|---|
| Hook | Name the stuck moment | Your article is finished. The video is not. | 0 to 3 sec |
| Context | Show why the old path stalls | Filming, editing, and motion design become a second project. | 3 to 7 sec |
| Mechanism | Show how the outcome happens | TapVid structures the source into scenes, narration, and captions. | 7 to 15 sec |
| Proof | Make the mechanism concrete | Show the source entering and a visual outline emerging. | 15 to 24 sec |
| CTA | Give one next action | Turn your content into an explainer video. | Final 3 sec |
05
Step 3: Turn the script into a social media explainer
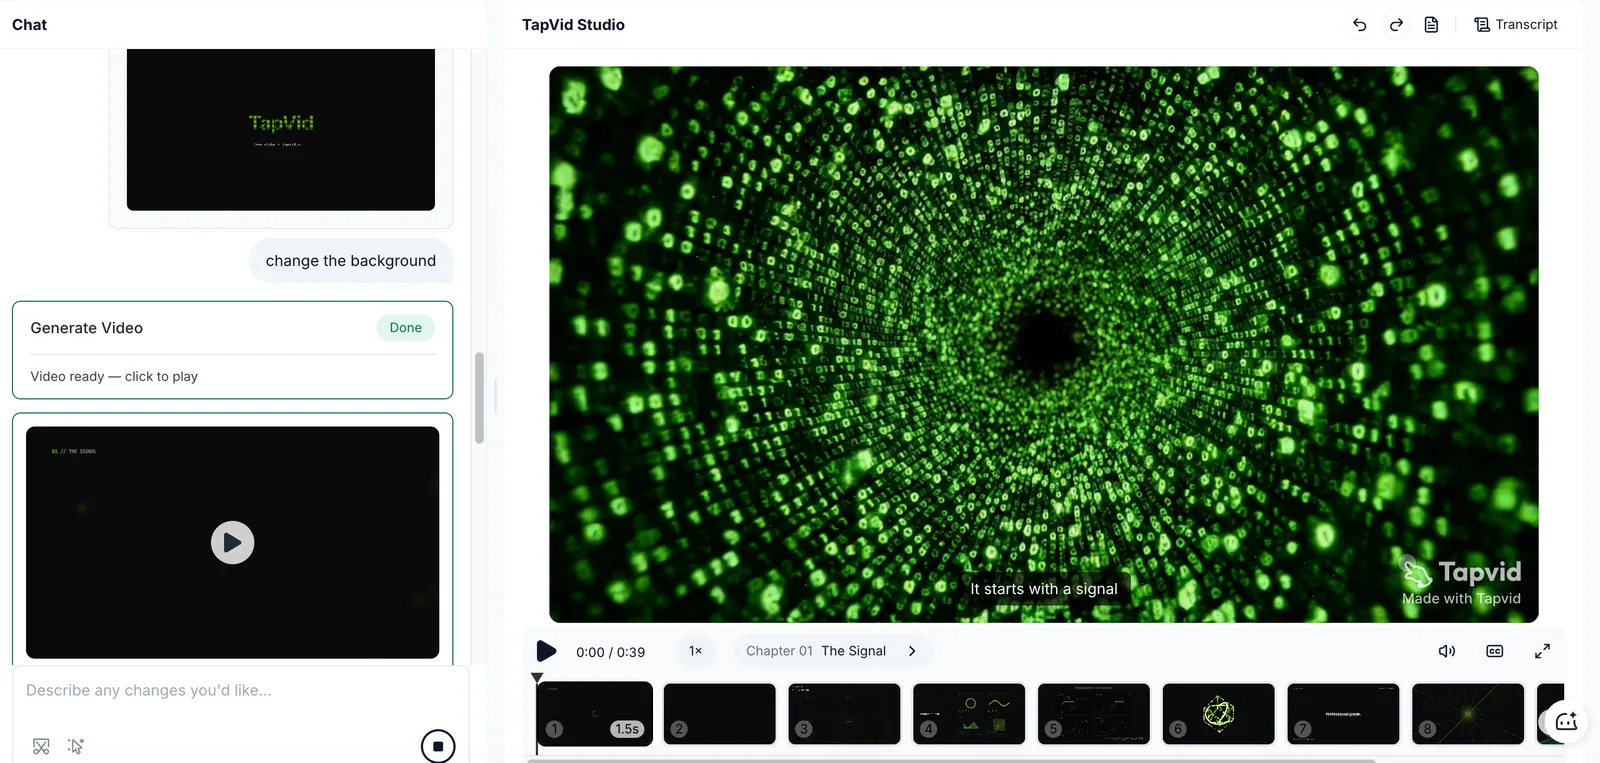
For the output stage, I used a related TapVid product-demo test already preserved in our article archive. I chose the archived image because it shows the real Studio after generation, including the completed status, a 39-second project, captions, scene thumbnails, and the edit prompt.
The practical value visible in that earlier run was not a magical one-click final. It was getting from a written proposition to an editable visual draft without recording a presenter or hunting for unrelated stock footage. That is the expensive blank-page step in this kind of social post.
I checked the archived output for evidence that the workflow was real: a playable result, multiple generated scenes, a visible timeline, subtitles, and a natural-language revision area. Those details are more useful than a polished still frame because they show what remains editable.
The input screenshot above and the archived Studio screenshot below are two separate TapVid runs. They are not presented as a before-and-after pair. I am labeling that distinction because a real screenshot is only useful evidence when its provenance is clear.
06
Step 4: Edit for a feed, not a presentation
A feed is not a slide deck with music. Viewers see the first frame before they hear the first sentence, and platform controls cover parts of the canvas. Make the opening readable as a still image, then use motion to reveal the mechanism.
For every scene, pause on the busiest frame and ask one question: can I tell where to look? If the answer is no, remove a moving element before adding another. A useful social edit feels faster because the information arrives cleanly, not because every object moves.
- Make the first frame understandable without audio. A logo animation alone is not a hook.
- Use captions as designed text. Break lines at complete phrases and keep them away from interface overlays.
- Keep one focal point per scene. Motion should direct attention, not create a second story.
- Show the mechanism, not only the claim. One visual step can make a promise believable.
- End with one action and one destination. Do not stack follow, subscribe, visit, and book a call.
07
Platform export settings that matter in 2026
Platform specifications change, so I checked official help pages instead of copying a third-party size chart. Instagram accepts Reels from 1.91:1 to 9:16 with at least 720p and 30 fps. YouTube classifies eligible square or vertical uploads up to three minutes as Shorts.
TikTok publishes clear ad specifications, including at least 720 by 1280 for vertical creative and a 5 to 60 second range. That is ad guidance, not a universal organic-post rule. LinkedIn allows a broad organic aspect range and videos up to 15 minutes, while its own guidance warns that interface elements can cover the edges.
| Platform | Useful starting ratio | Current official constraint to check | Editorial note |
|---|---|---|---|
| Instagram Reels | 9:16 | 1.91:1 to 9:16, minimum 720p and 30 fps | Keep essential text inside the central safe area. |
| TikTok | 9:16 | For ads, TikTok recommends at least 720 by 1280 and supports 5 to 60 seconds | Treat 21 to 30 seconds as an ad recommendation, not an organic rule. |
| YouTube Shorts | 9:16 or square | Square or vertical videos can qualify as Shorts up to 3 minutes | Check music rights on Shorts longer than one minute. |
| 4:5 or 16:9 | Organic video supports 1:2.4 to 2.4:1 and up to 15 minutes | Keep the edges clear because LinkedIn overlays interface controls. |
Use this table as an export starting point, then verify the linked official page on publishing day. More importantly, preview the exact file inside the mobile composer. A technically valid video can still put the caption under a button or crop the CTA on a profile grid.
08
Repurpose one source into three social cuts
Repurposing works when each cut has a separate job. It fails when one 60-second edit is merely sped up and cropped into three files. Keep the same source claim and visual system, then change the amount of proof and the destination.
Start with the 30-second mechanism cut because it forces the full logic to fit. Derive the 15-second claim cut by removing context and proof, not by accelerating the voice. Build the 60-second proof cut by adding one real example and one honest limitation. This creates a small testing system instead of three near-duplicates.
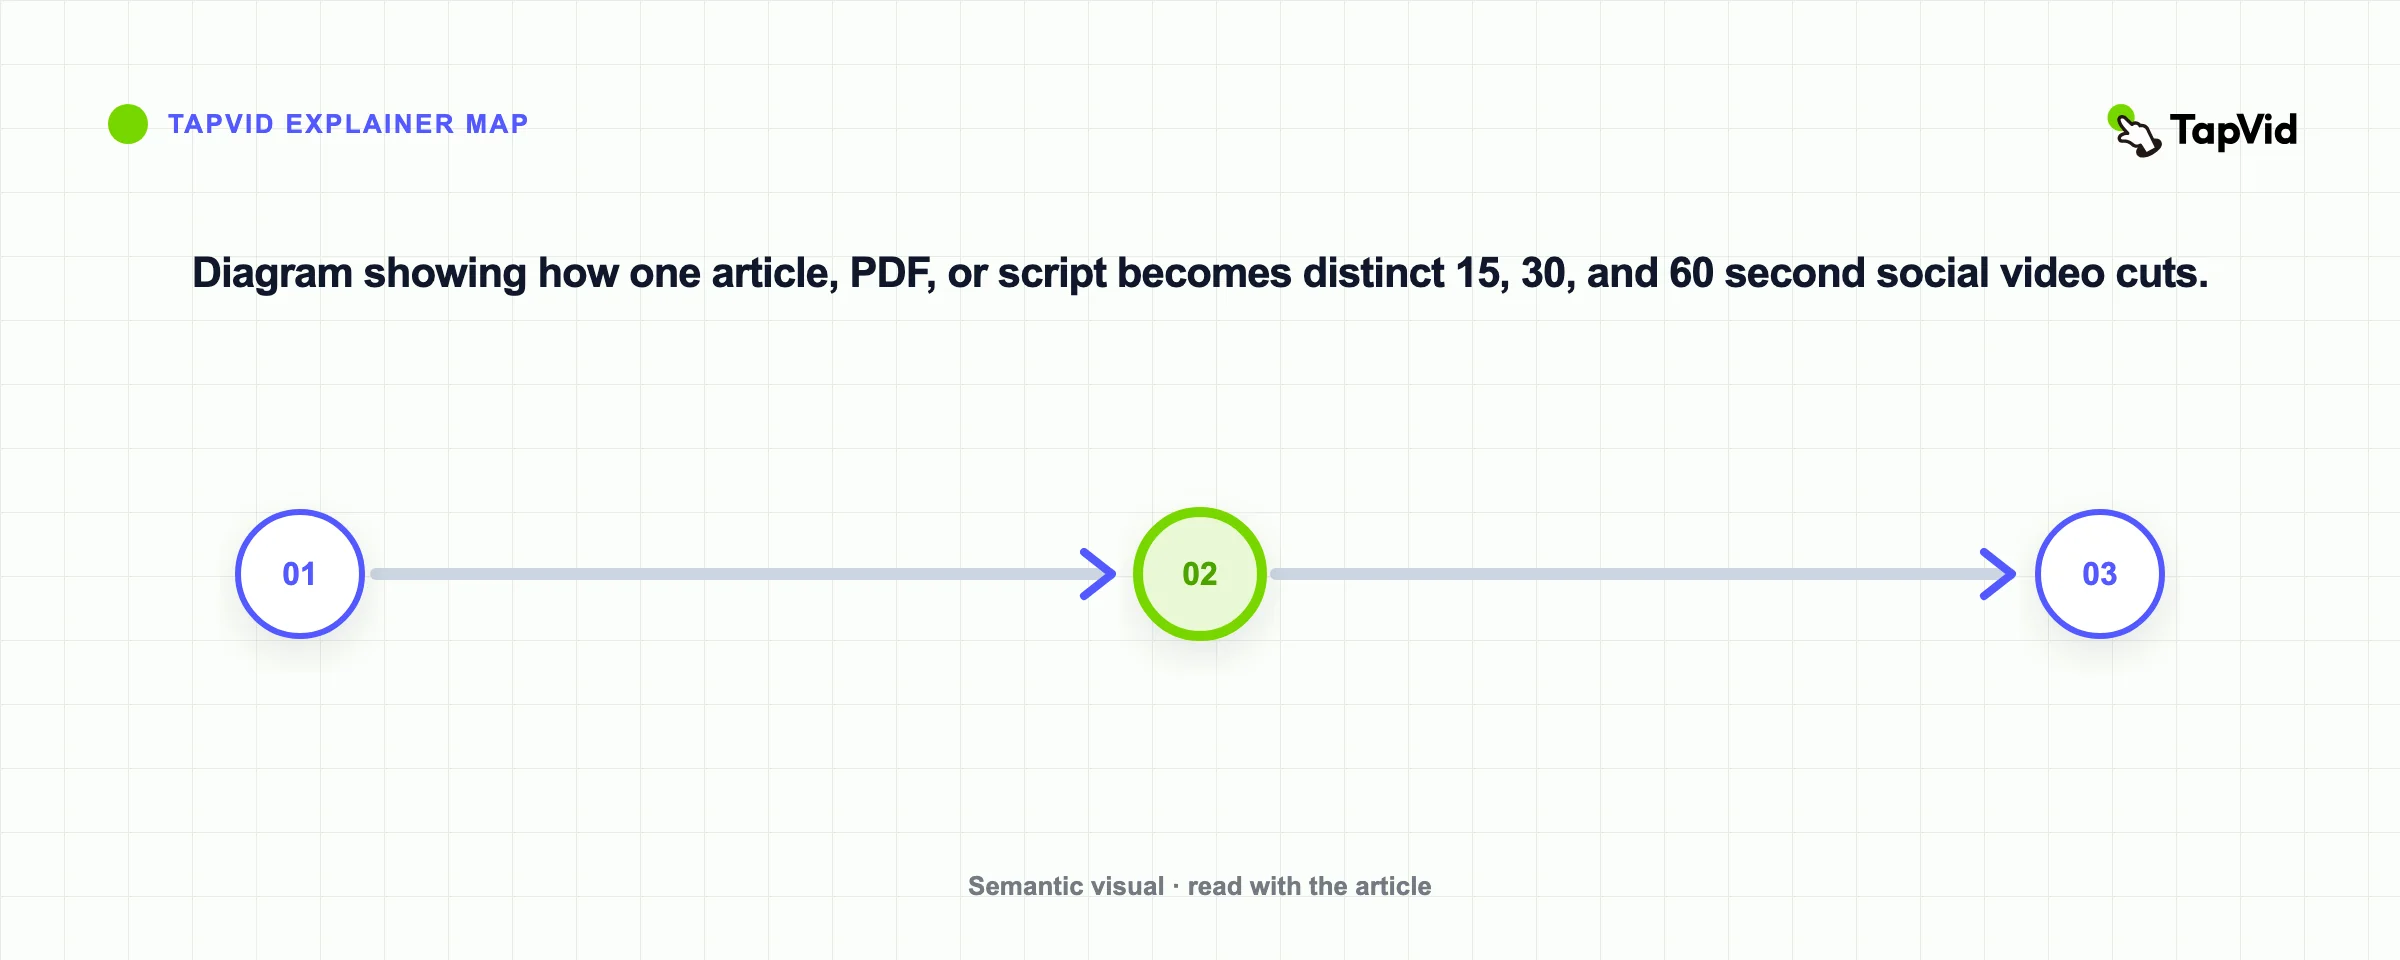
- 15-second claim cut: one pain, one promise, one call to action. Use it to test the opening.
- 30-second mechanism cut: problem, process, and outcome. Use it when the viewer needs to understand how the claim works.
- 60-second proof cut: add context, a concrete example, a limitation, and the call to action. Use it for warmer audiences.
09
What the hands-on test exposed
The test reinforced that source quality sets the ceiling. A precise brief gave the system a usable audience, mechanism, visual direction, and closing line. A vague request such as "make this viral" would provide none of those decisions.
It also exposed a control problem that generic tutorials rarely mention. Natural-language instructions and product settings are two separate layers. When the prompt said 15 seconds but the duration control showed about 60 seconds, the interface setting was the item to verify before spending generation time.
Finally, AI did not remove editorial responsibility. It made the first structured draft cheaper. I still had to judge emphasis, factual support, safe zones, and whether the CTA matched the audience. That division of labor is a more useful expectation than calling the process fully automatic.
- Prompt text and product controls can disagree. Check duration, aspect ratio, voice, and style separately.
- A generated structure still needs fact checking against the source. Smooth narration can hide an unsupported claim.
- Platform formatting is an editorial decision, not just an export preset. The hook and CTA often need rewriting.
- An explainer engine is not a footage editor. Use the right tool when the source is camera video or a live interface.
10
Final pre-publish checklist
Run this checklist on the exported file, not only inside the editor. The goal is to catch message, platform, and trust failures before the post is public.
- One audience, one problem, one outcome are clear in the first draft.
- The first two seconds communicate a useful idea without relying on sound.
- Captions are accurate, readable, and clear of buttons and description overlays.
- Every factual claim matches the source material.
- The chosen ratio and duration match the latest platform guidance.
- The closing frame has one action, and the linked page continues the same promise.
- Exported text remains legible on a real phone, not only on a desktop preview.
11
Frequently asked questions
How long should a social media video be?
Use the shortest length that completes one job. A 15-second cut can test a claim, 30 seconds can explain a mechanism, and 60 seconds can add proof. Platform maximums are limits, not targets.
Can I make social media videos without filming?
Yes. If your source is an article, PDF, script, or product page, an explainer workflow can turn its ideas into motion graphics, narration, and captions. Use filmed footage only when the real scene or person is part of the proof.
Should I make one video for every platform?
Keep one source and visual system, but make separate cuts. Reframe the aspect ratio, rewrite the first line for the feed, move text inside the safe area, and match the call to action to the destination.
Do captions improve social videos?
Captions make the message available when audio is off and help viewers follow fast narration. They work best when edited as visual text, with short phrase breaks, high contrast, and enough space from platform controls.
What should I check before publishing an AI-generated social video?
Check every claim against the source, inspect names and numbers, verify the selected voice and duration, watch once without sound, and preview the exported file on a phone. Treat the first generation as a draft.
12
The practical takeaway
Learning how to make social media videos becomes much simpler when you stop treating every post as a new shoot. Start with a trusted source, isolate one promise, and make the visual structure before you worry about transitions.
If the source is written knowledge, try the animated social media video maker or the broader AI explainer video generator. If the source is footage or a live interface, use an editor or screen recorder first and bring the result into your distribution workflow afterward.
The repeatable system is small: one source, five beats, one generation, three purposeful cuts, and a real phone preview. That is enough to publish, learn from the response, and improve the next cut without rebuilding the whole production process.