I've been teaching motion design for twelve years, and the question students ask most often isn't about software — it's about character design. How do you create a cartoon character that reads clearly, moves naturally, and works across different scenes without looking like a different character every time? The principles haven't changed. The tools have.
The design principles that make cartoon characters work
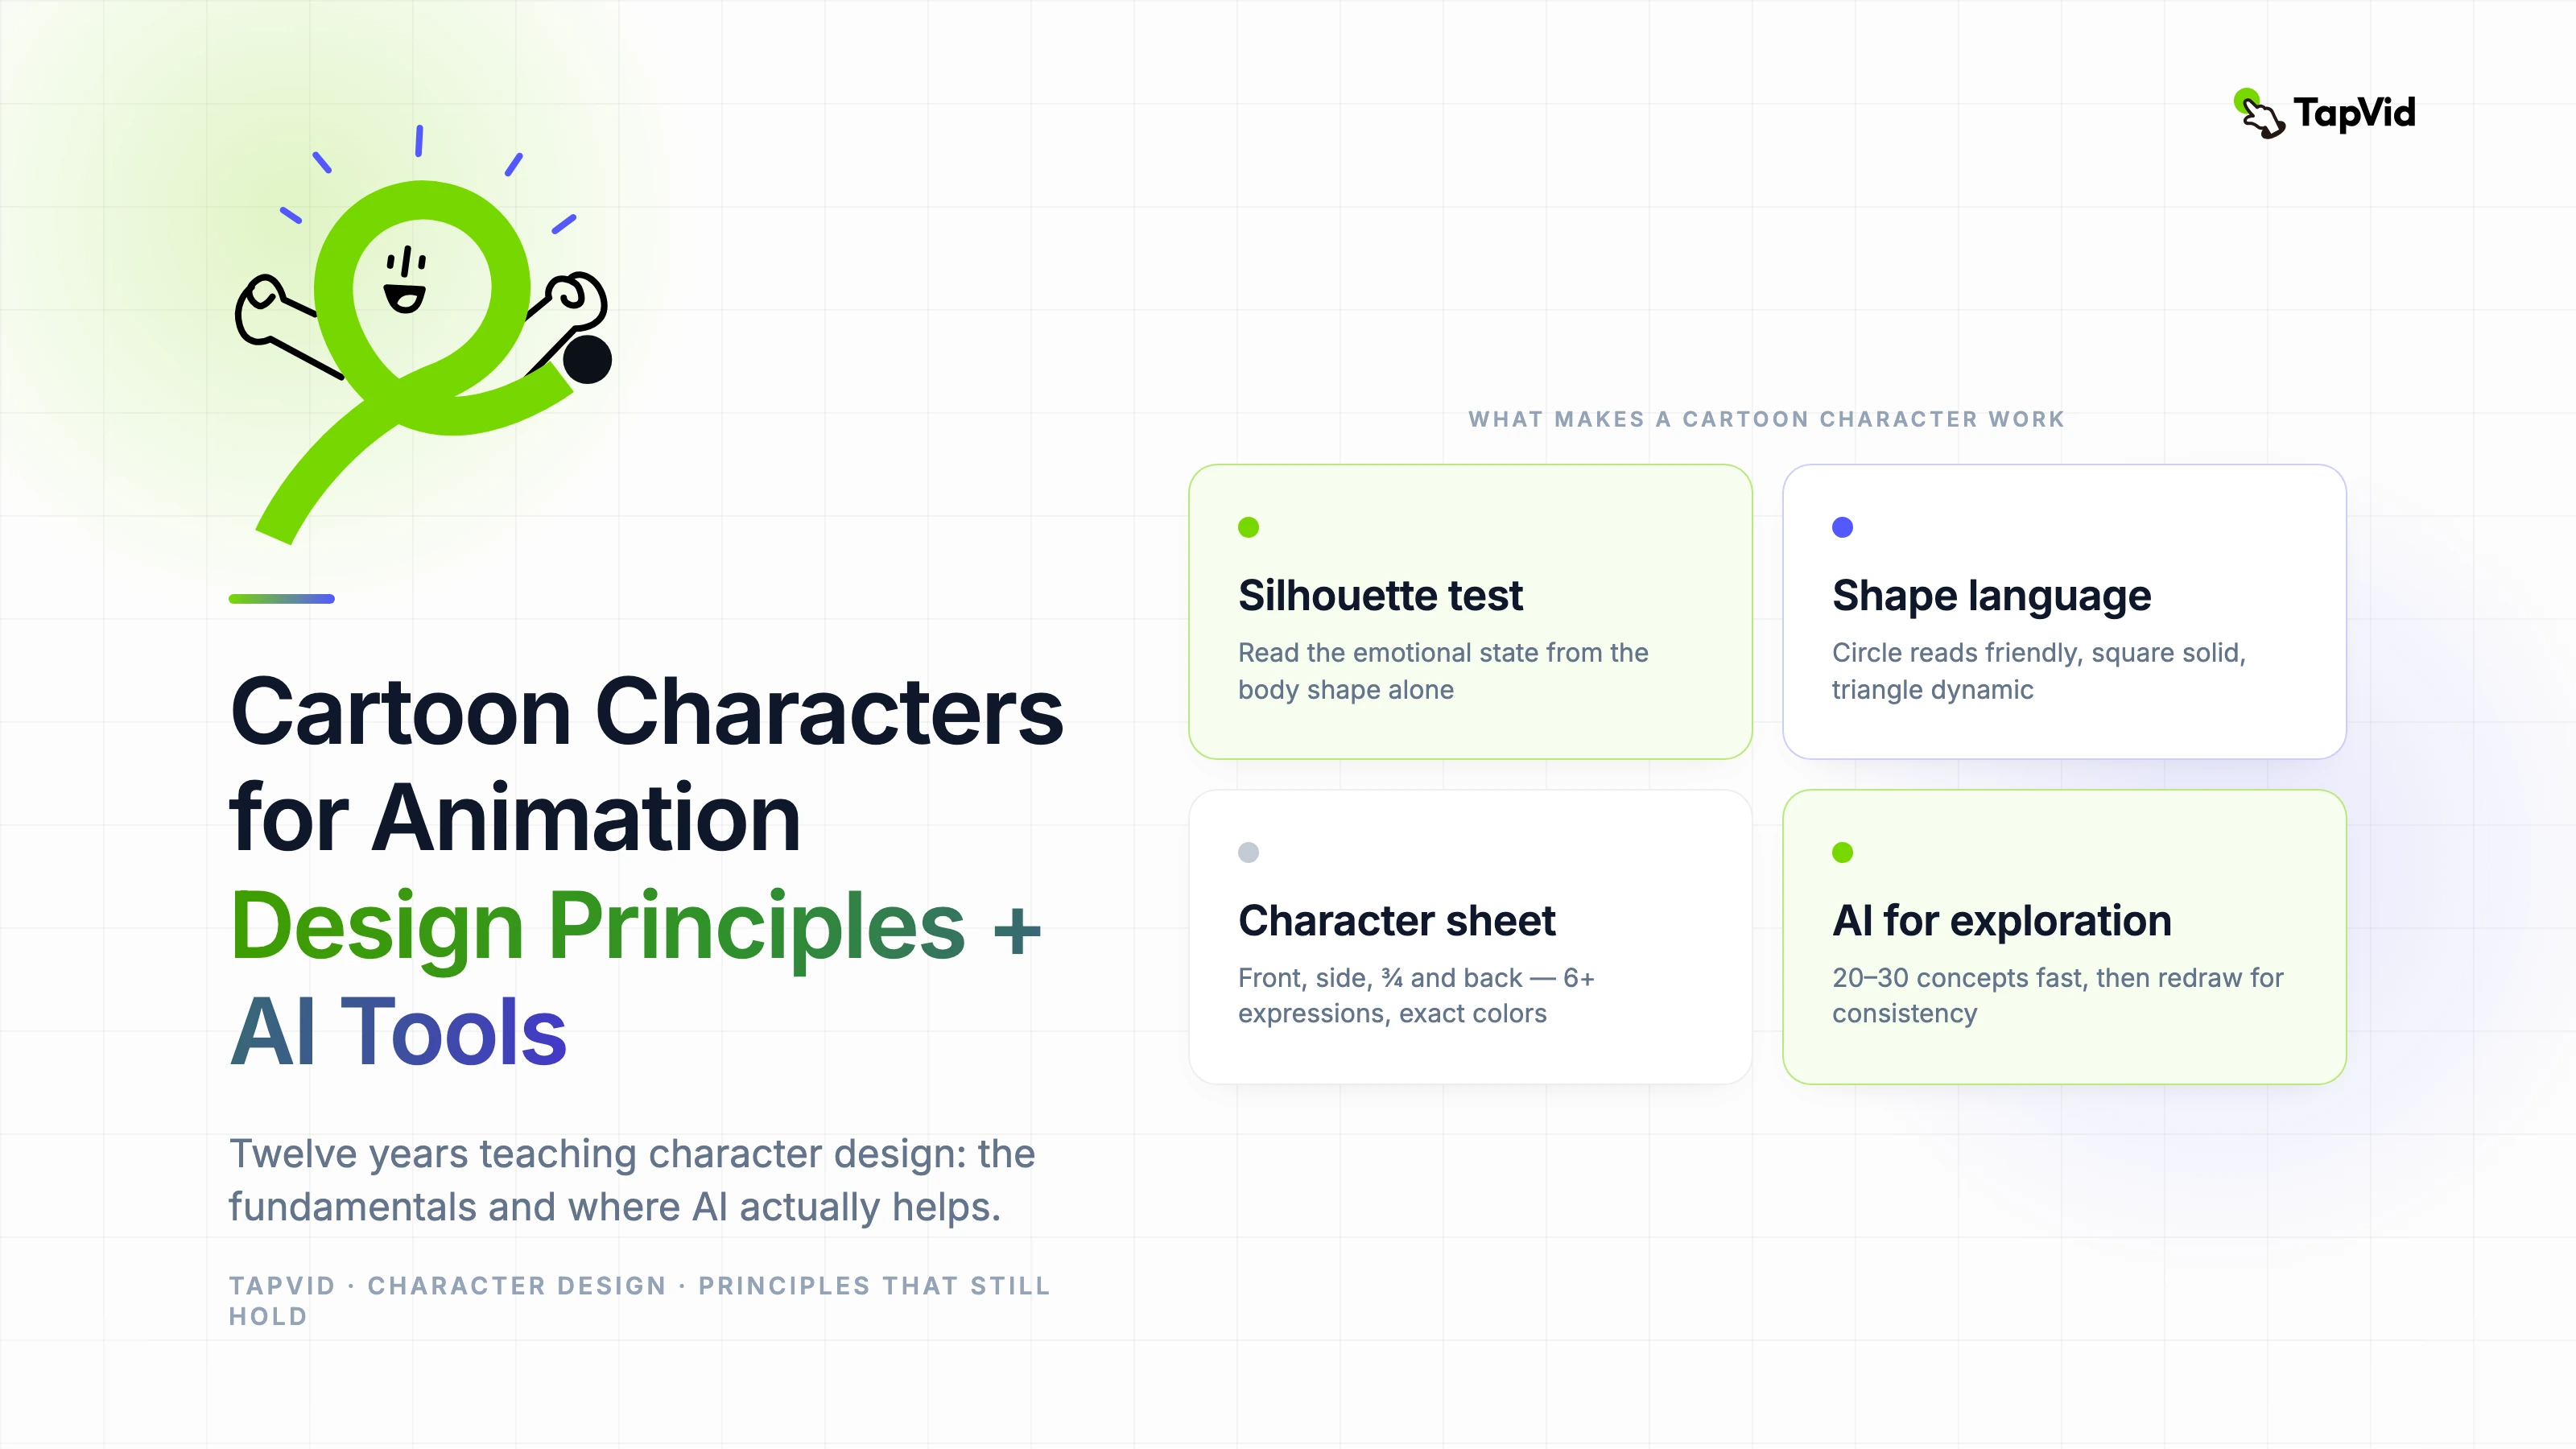
A cartoon character works when you can read its emotional state from a silhouette. That's the foundation. If you cover the character's face and still know immediately whether it's confident, scared, excited, or defeated from the body shape alone, you have a strong character design. If you can't read that — if the silhouette is ambiguous — no amount of facial expression detail will save it.
Shape language is the primary tool. Circles read as friendly and approachable. Squares read as reliable and solid, sometimes rigid. Triangles read as dynamic, aggressive, or dangerous depending on orientation. Most successful cartoon characters are built on a dominant shape language with the other shapes used as contrast. A circular hero with triangular villain elements. A square-shouldered mentor with round facial features.
The second principle that students get wrong most often: keep the design readable at small scale. Animation appears at many sizes — from mobile screens to large presentations. A character that looks great at full resolution but loses its clarity at thumbnail size has a fundamental design problem. Test your character designs at 100x100 pixels before committing to production.
Building a character sheet before production
A character sheet is non-negotiable for any character that will appear in more than one scene. It shows the character from multiple angles (front, side, three-quarter, and back at minimum), at multiple scales, in a range of expressions, and in key action poses. This sheet is your consistency reference throughout production.
The expressions section of the character sheet is where designers most often cut corners and pay for it later. You need enough expressions to cover the emotional range your character will need in the specific story — not a generic set of emotions. If your character is a stoic scientist, you need many variations of subtle expression. If it's a comedic sidekick, you need broad, exaggerated expression range.
- Front, side, three-quarter, and back views — same proportions in all four
- At least 6 distinct expression states: neutral, happy, concerned, surprised, frustrated, determined
- Two to three signature action poses that define the character's personality
- Scale reference: show the character next to a human figure or known object
- Color palette swatch: exact colors, not approximate — critical for consistency across scenes
AI image generators are genuinely useful in the early exploration phase of character design. Generating 20 to 30 character concept variations from a text description is faster than sketching them, and the variation across outputs often surfaces design directions you wouldn't have thought to explore manually.
Midjourney and Stable Diffusion with character-focused models are the most common tools my students use for this exploration phase. The important discipline: treat AI outputs as inspiration references and starting points, not as finished character designs. An AI-generated character concept needs to be redrawn with consistent proportions and a proper character sheet before it's ready for animation.
Where AI tools don't help — and where students sometimes misuse them — is in generating consistent character appearances across multiple scenes. Current AI image models don't have a reliable concept of 'the same character' from one generation to the next. Every scene of an AI-generated character requires careful prompting and often manual correction to maintain visual consistency.
Rigging for animation: what to plan at the design stage
If you're going to animate your character in After Effects with a tool like Duik or Rubberhose, the design stage is where you make decisions that either simplify or complicate the rigging process. Design your character with clear limb separation. Avoid overlapping elements that would need to be on the same layer. Design joints — shoulders, elbows, knees, hips — with enough overlap to hide the connection between limbs when they move.
The most common rigging problem I see is characters with complex hair or clothing designs that weren't designed with deformation in mind. Hair and cloth that looks beautiful in a static illustration becomes a nightmare to animate if it wasn't designed with the animator in mind. If you're not the animator, show your designs to the person who will rig them before you finalize them.