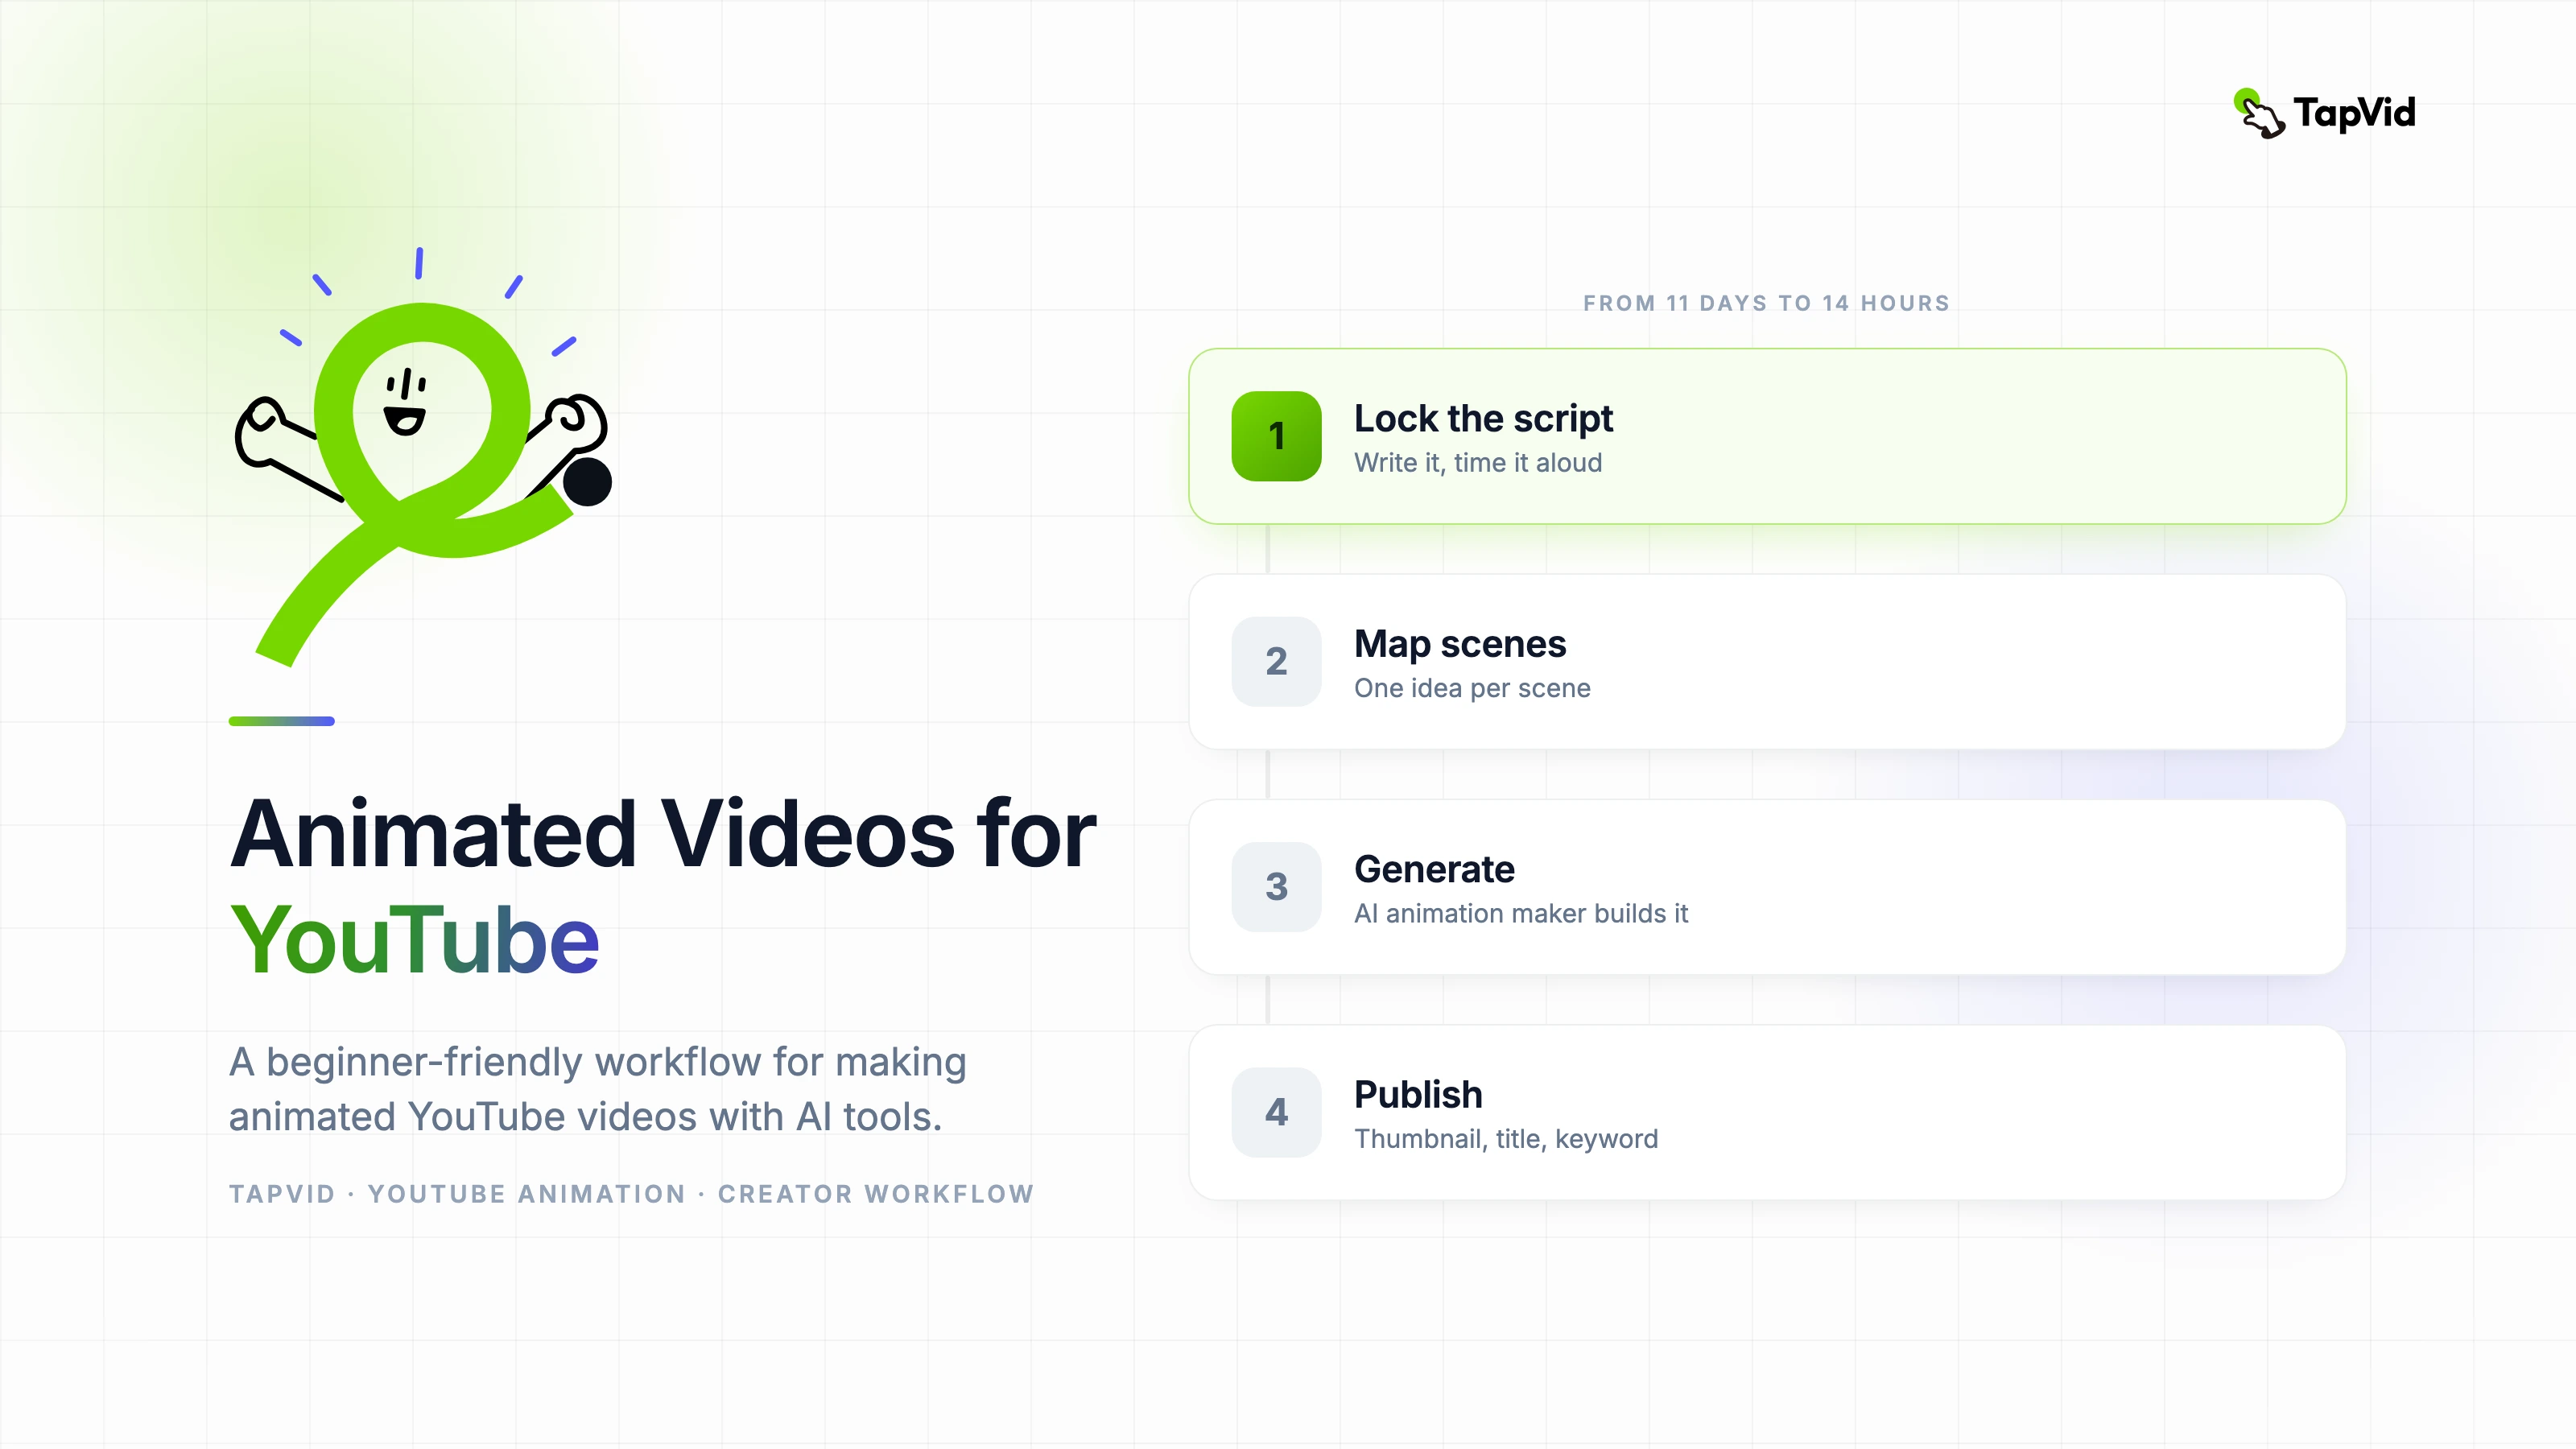
My first animated YouTube video took me eleven days to make. My most recent one took fourteen hours. The difference wasn't equipment, it wasn't budget, and honestly it wasn't even skill — it was having a repeatable workflow instead of reinventing everything from scratch each time. I want to walk you through the exact process I use now, because I really wish someone had shown it to me when I started.
Why animated videos work so well on YouTube
Animated videos outperform talking-head content in two specific scenarios on YouTube: educational topics where visuals help explain the concept, and niche topics where the creator is not yet comfortable on camera. Both are extremely common for new and growing channels.
The other advantage nobody talks about enough: animated videos age better. A talking-head video from three years ago looks dated. A well-produced animated video with clean design and a strong voiceover can rank and convert for years without looking outdated.
If you are starting a channel and wondering whether to go live-action or animated, the question is simpler than it seems: does your content benefit from visual explanation? If yes, start animated. You can always add live-action later.
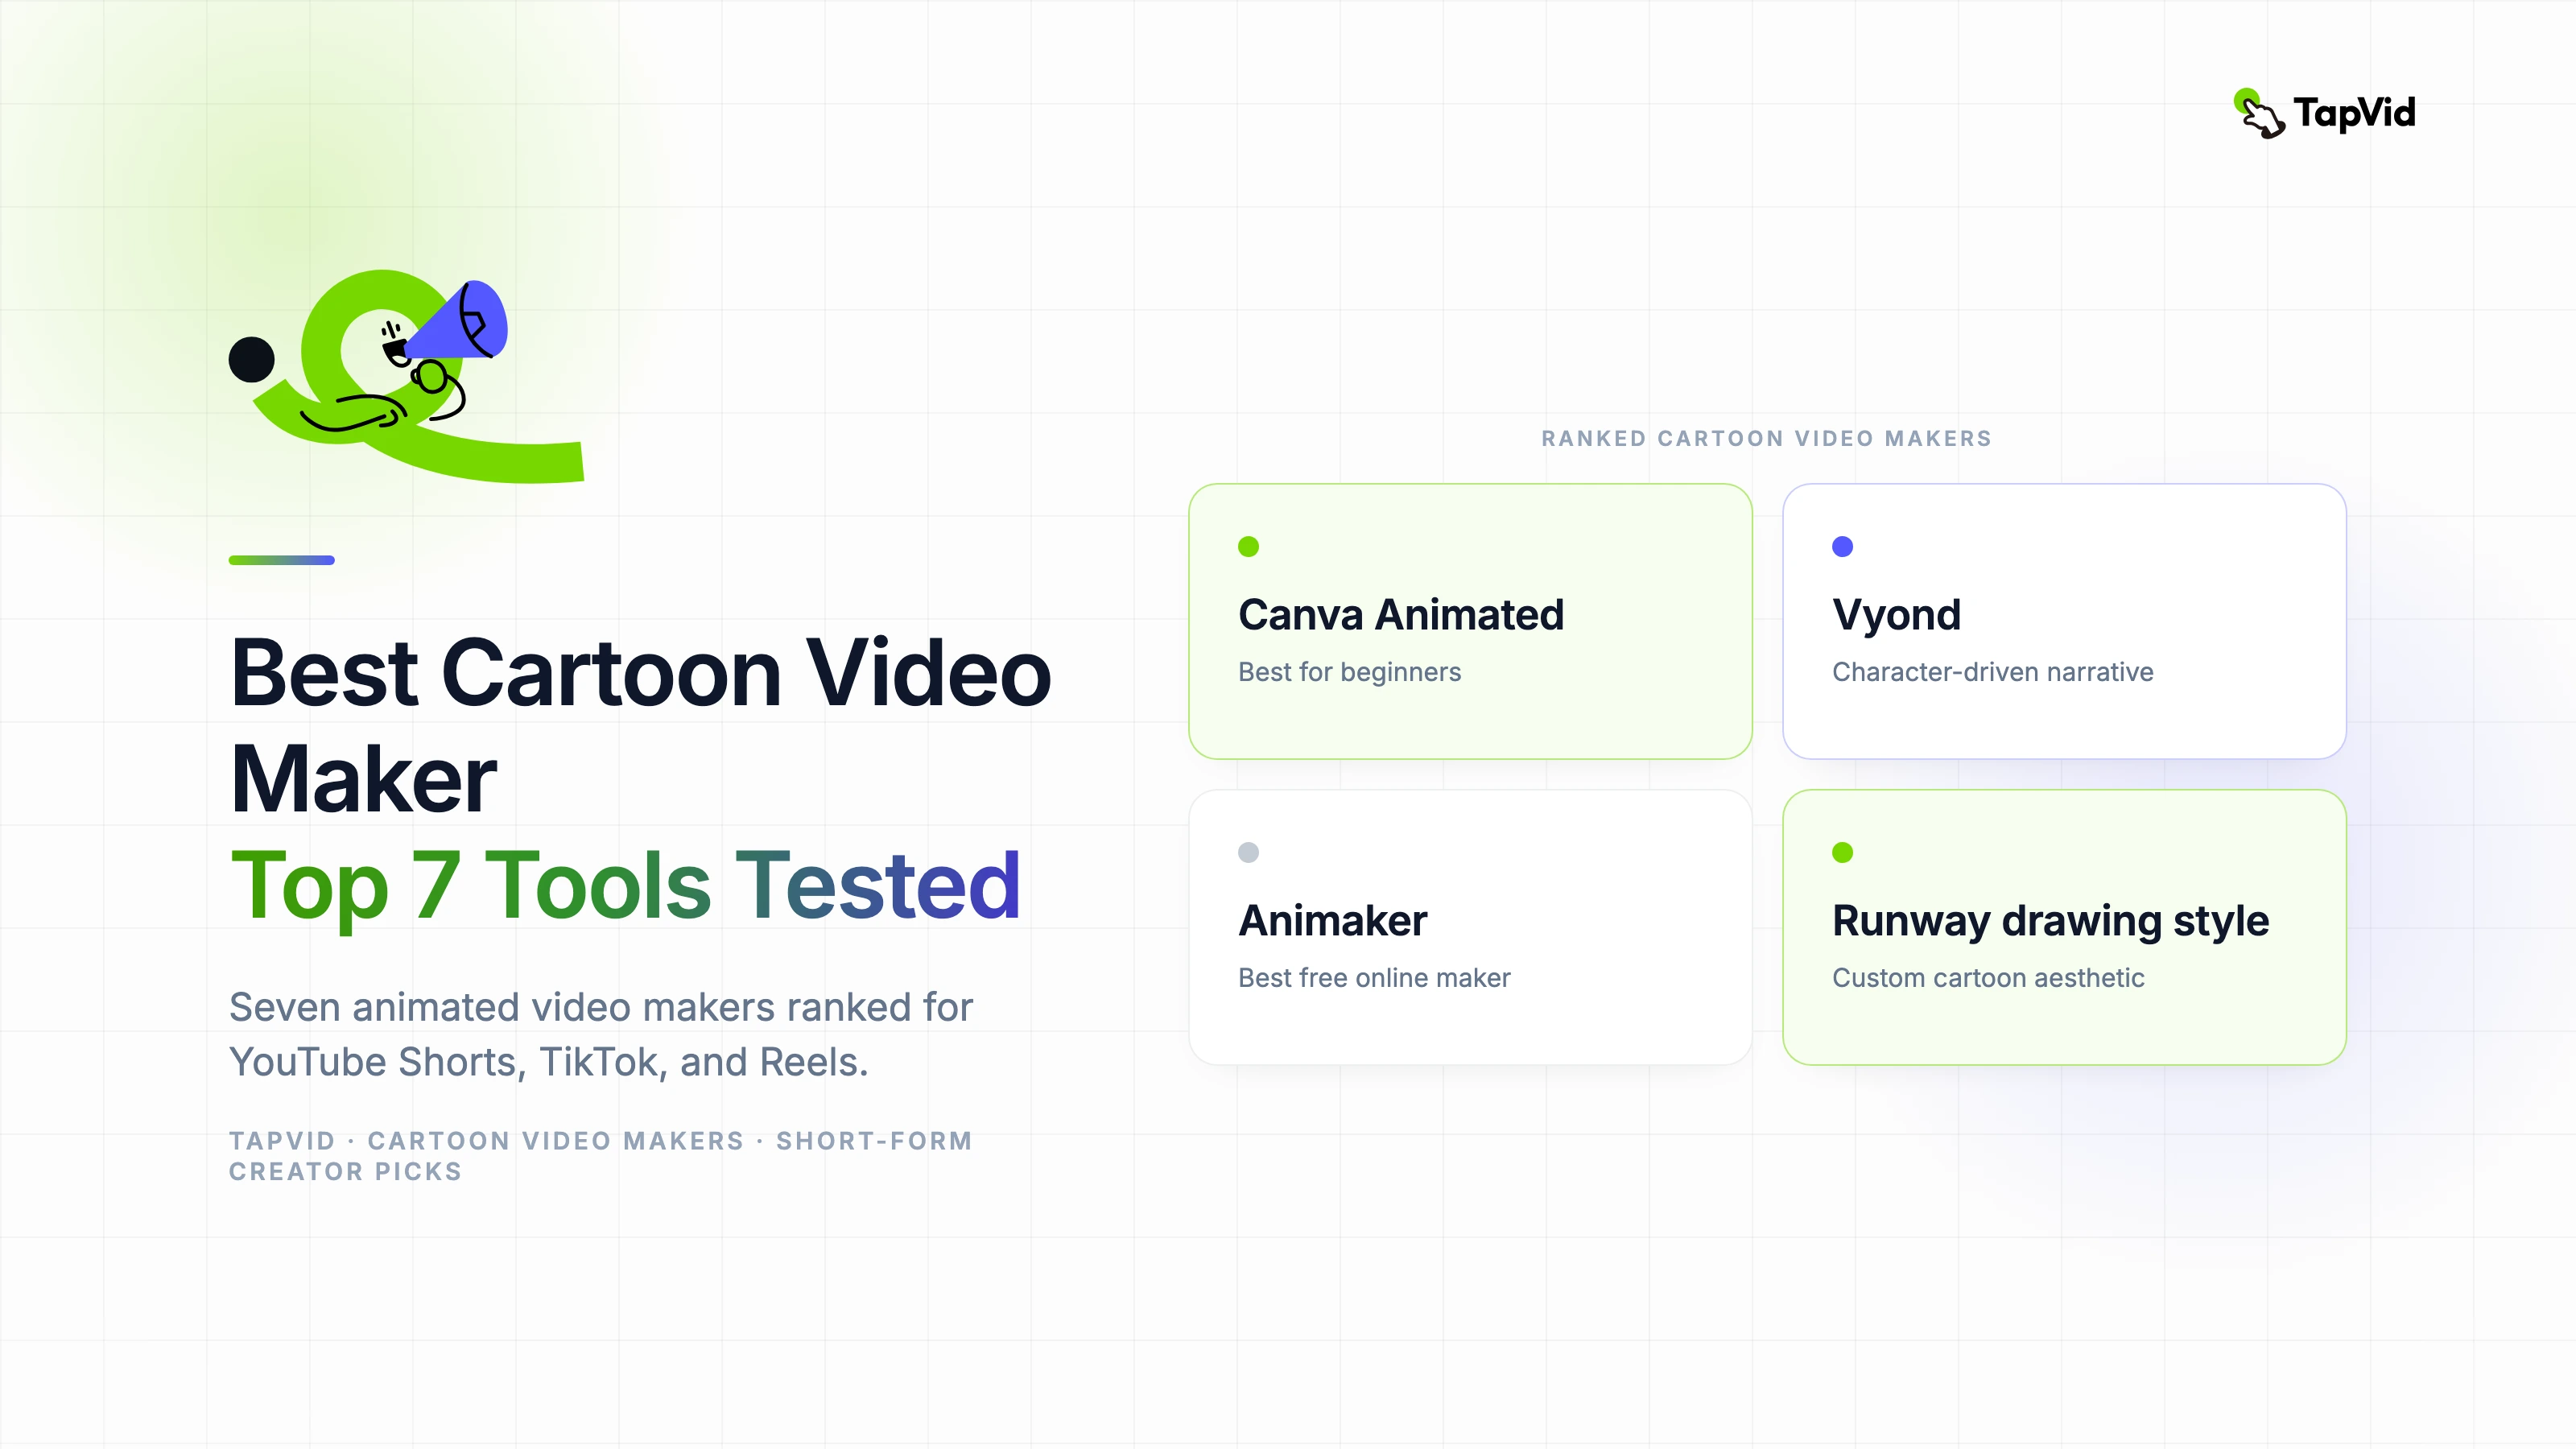
Choosing an animation video maker that fits your channel style
The most common mistake new creators make is choosing an animation video maker based on features rather than output aesthetic. Different tools produce very different visual styles, and your channel will look inconsistent if you switch tools mid-growth.
Watch ten sample videos made with any tool you are considering before signing up. Ask yourself honestly: does this look like the channel I want to build? If the default output style does not match your vision, you will spend more time fighting the tool than using it.
AI-powered animation makers have become the fastest option for getting from script to published video. They handle the scene generation and timing automatically, which removes the biggest bottleneck for creators who are not professional animators.
The workflow that works: script first, visuals second
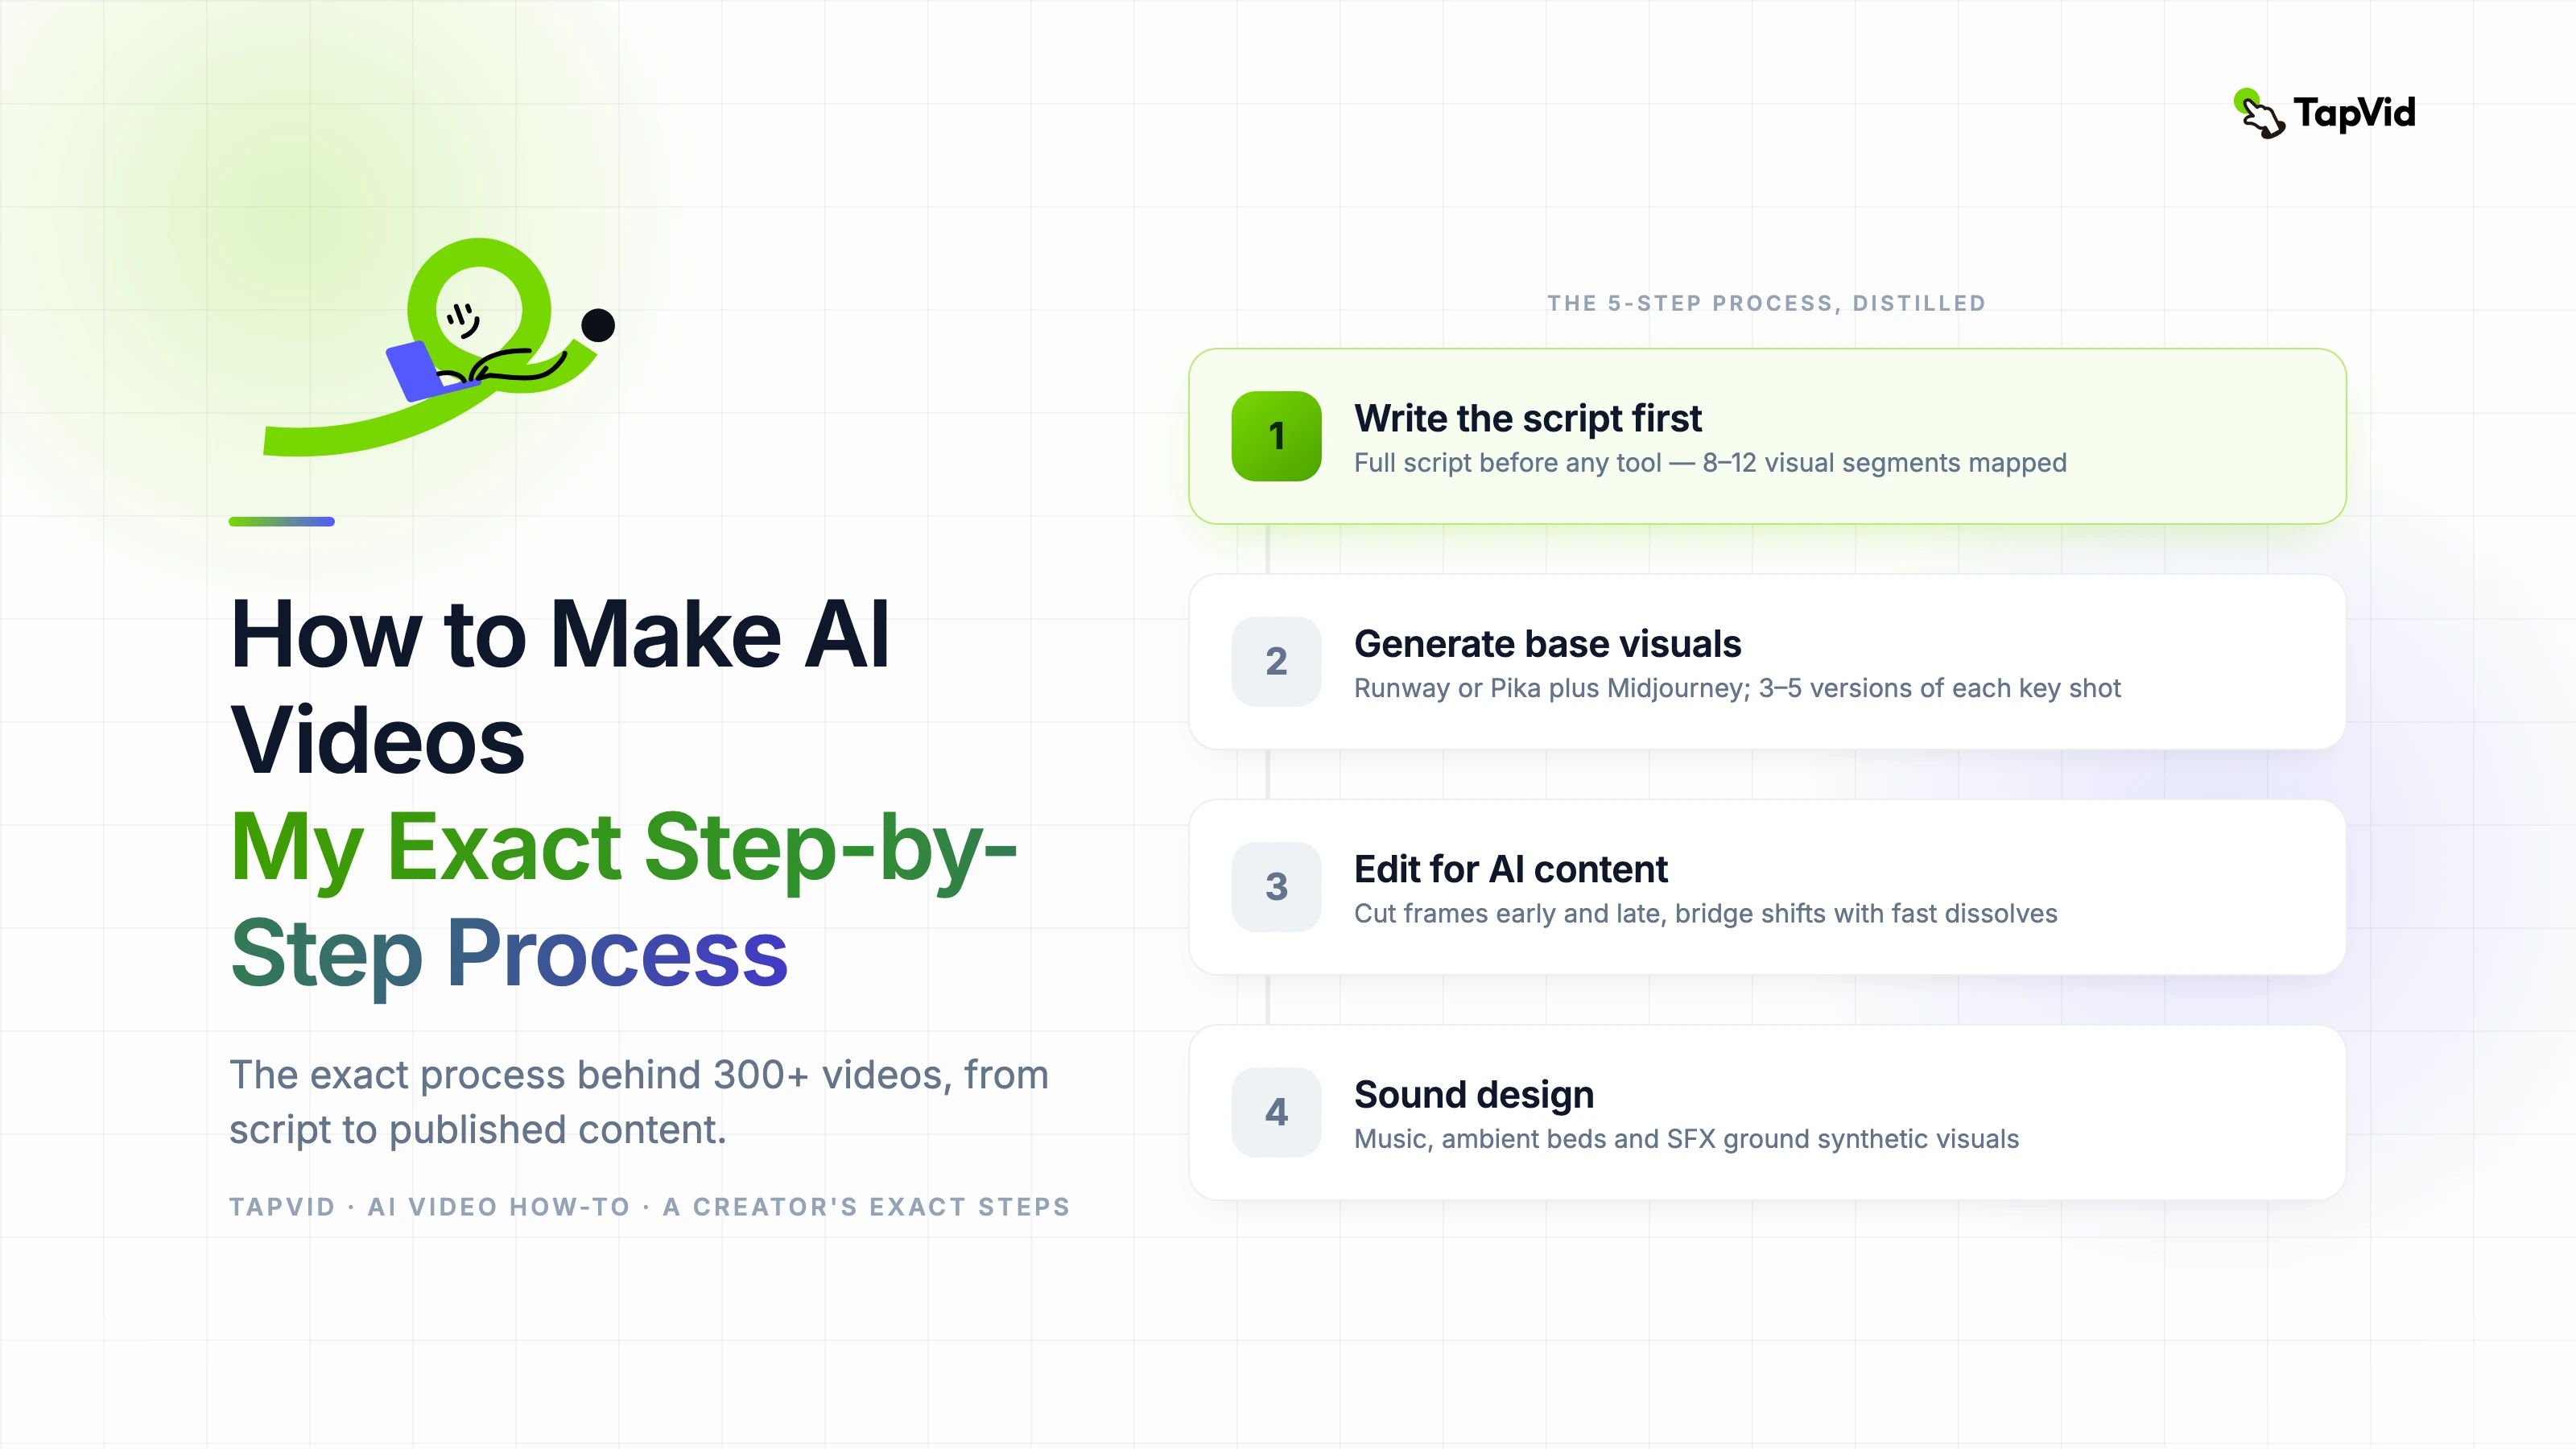
Every successful animated YouTube channel I have studied uses the same underlying workflow: the script is done before anything visual begins. This sounds obvious, but many creators try to build visuals and script simultaneously, which creates a chaotic process where neither comes out well.
Write the full script. Read it aloud and time it. Adjust the pacing and length. Only when the script is locked do you move to visual production. This discipline saves hours of revision later.
After the script is locked, map each paragraph or key point to a scene. This scene map becomes your production brief for the animation tool. Each scene should carry one idea, not two or three.
- Step 1: Write full script. Time it aloud. Lock it.
- Step 2: Map each key point to a scene (one idea per scene).
- Step 3: Generate animation scenes using your AI animation maker.
- Step 4: Record or generate voiceover, sync to scenes.
- Step 5: Add background music, adjust timing, export.
- Step 6: Create thumbnail, write title and description with target keyword.
Voiceover options for animated YouTube videos
You have three practical options for voiceover on animated YouTube videos: record your own voice, use an AI voice generator, or hire a voiceover artist on a freelance platform.
Recording your own voice, even with just a decent USB microphone, adds authenticity and helps build the personal connection that grows subscribers. AI-generated voices have improved dramatically but still lack the subtle emotional variation that keeps viewers engaged through a ten-minute video.
For new channels testing content ideas, AI voiceover is a perfectly reasonable starting point. Once a topic proves it can attract views, re-recording with your own voice and re-publishing the video often produces a meaningful improvement in watch time.
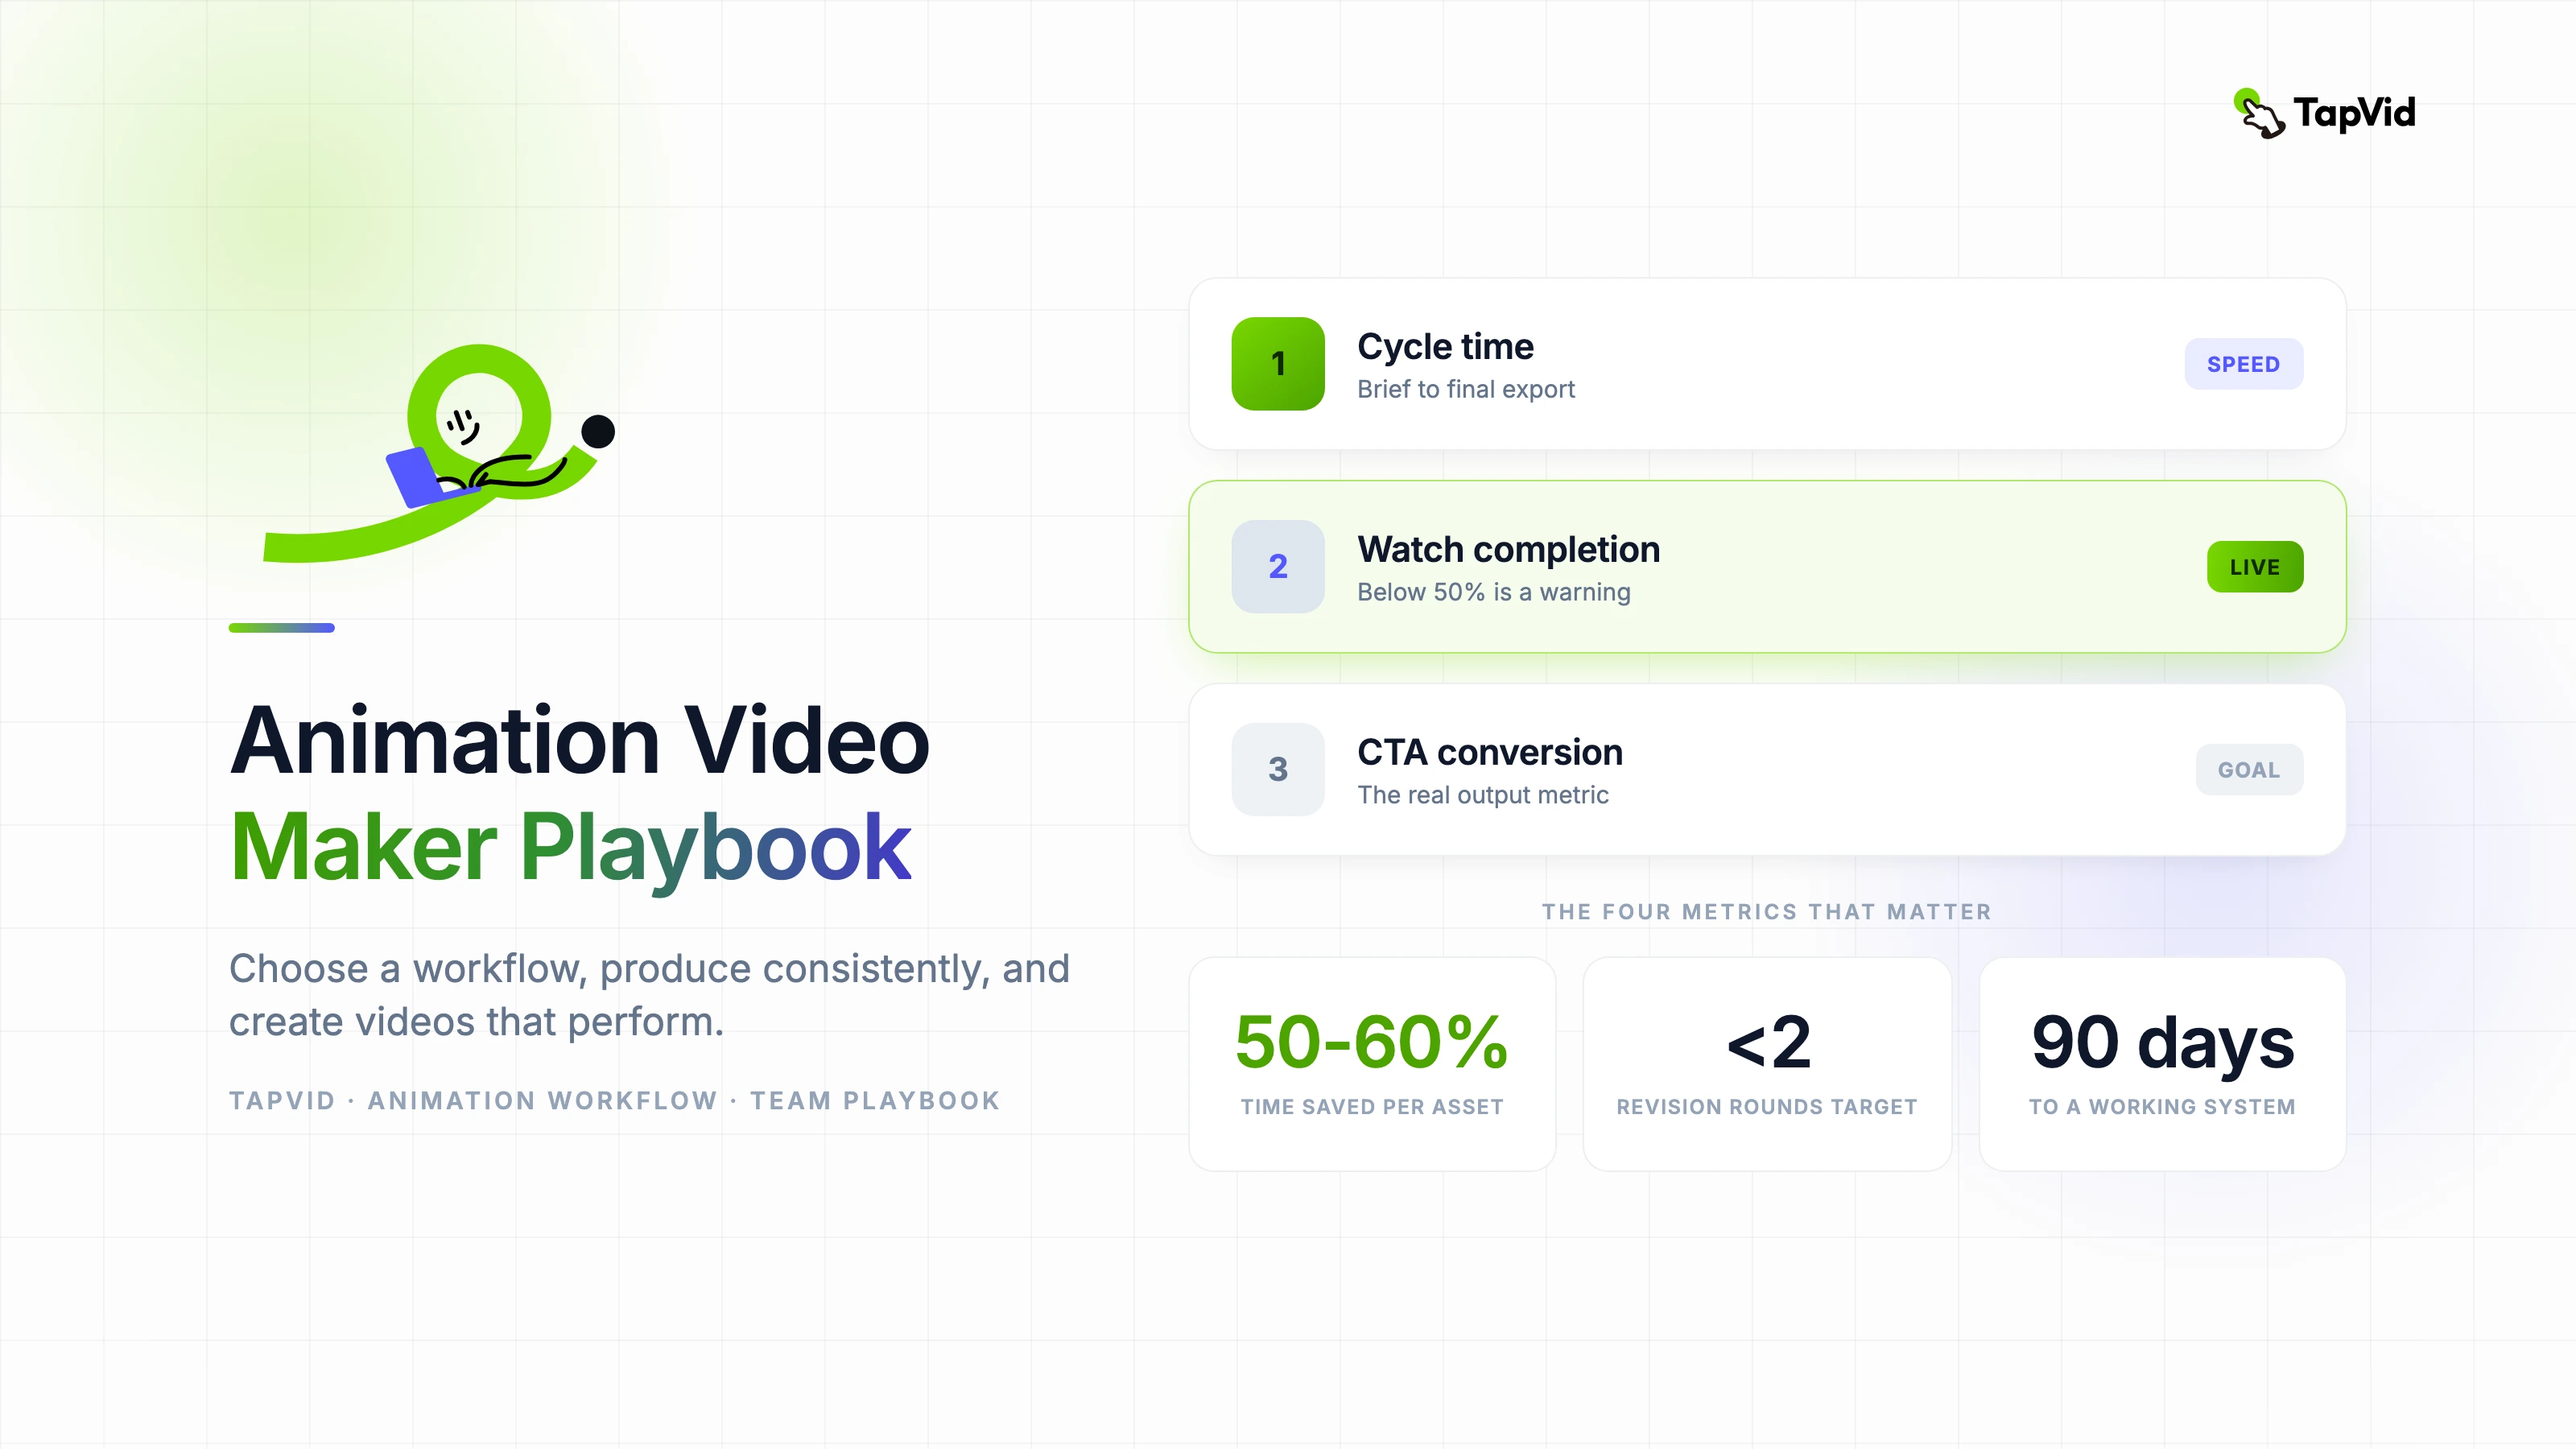
How often to publish and how to maintain quality
One animated video per week is a sustainable pace for most solo creators using AI animation tools. Two per week is aggressive but achievable with a locked script workflow and no perfectionism about early drafts.
Quality consistency matters more than production perfection. A channel that publishes clear, well-structured animated videos every week will outperform a channel that publishes a technically perfect video every three weeks. YouTube's algorithm rewards consistency.
Build a content queue: always have at least two videos in production ahead of your publish schedule. When life disrupts your workflow, the queue protects your consistency.
Optimizing animated videos for YouTube search
- Put the primary keyword in the video title, first 25 words of the description, and one on-screen text element in the first 30 seconds.
- Create a custom thumbnail that visually represents the core topic — animated thumbnails with bold text and a clear visual metaphor consistently outperform screenshot-style thumbnails.
- Add chapters using timestamps in your description — YouTube uses chapters for featured snippets and navigation.
- Include a pinned comment with a brief summary and a question to encourage engagement in the first hour after publishing.